Place the ground clamp on clean, bare metal as close to the weld area as you can. You want the shortest, lowest-resistance return path, so scrape off paint, rust, and grease first. Clamp directly to the body panel, exhaust pipe, or other solid metal, not to moving parts, mounts, or rusty surfaces. Keep the clamp tight and accessible so it won’t shift. Good placement protects the weld and the vehicle, and there’s more to get right.
Where to Place the Ground Clamp
Always attach the ground clamp directly to the part you’re welding, as close to the weld area as possible, to keep the electrical path stable and minimize voltage drop.
You should secure the ground clamp on clean bare metal so current flows without resistance or erratic arcing. Don’t rely on movable suspension points, and don’t ground on nearby parts that aren’t being welded; those choices weaken the circuit and can damage components.
Place the clamp where it has the shortest, most direct path to the weld, because distance adds voltage drop and reduces arc quality. For exhaust work, clamp to the exhaust pipe itself or to the nearest solid metal section if that gives you a firmer connection.
Keep the ground clamp as close as possible to the weld for the shortest, most stable electrical path.
When you position the ground clamp correctly, you take control of the weld, improve consistency, and avoid the kind of electrical instability that keeps you dependent on weak, improvised setups. Additionally, ensure proper grounding of the plasma cutter to avoid electrical shocks and maintain safety.
Why Clean Bare Metal Matters
You need bare metal contact for the ground clamp to conduct current efficiently and keep the weld circuit stable.
Remove paint, rust, and grease from the clamp point because these contaminants raise resistance and can cause arcing.
A clean surface improves clamp conductivity, supports a steadier arc, and helps you produce a sound weld joint. Additionally, clean metal preparation ensures better weld quality by minimizing defects such as porosity and slag inclusions.
Bare Metal Contact
For the ground clamp to carry current efficiently, it needs a clean, direct bite on bare metal. You want the ground clamp on a surface that gives electrons a low-resistance path, so the arc stays steady and your weld responds predictably.
Paint and rust interrupt that path, forcing current to fight through insulation and contamination. That resistance can cause voltage drop, erratic arc starts, and unnecessary heat at the contact point. When you wipe the area clean first, you help the clamp grip firmly and conduct freely.
That direct metal-to-metal contact supports consistent performance, reduces arcing risk, and keeps your welding setup under control. In practice, bare metal contact isn’t optional—it’s how you reclaim efficiency, precision, and weld quality.
Remove Paint And Rust
Strip away paint and rust before clamping the ground, because clean bare metal is what gives the circuit a low-resistance path. You free the weld from resistance and help the ground clamp lock onto a stable, conductive surface. Use a wire brush or grinder to clear the spot, then wipe away grease and dirt.
- Expose bright metal.
- Remove all corrosion.
- Confirm the clamp sits tight.
This preparation reduces arcing, steadies arc quality, and protects your machine from erratic current flow. When you place the ground clamp on clean metal, you build a reliable return path that supports consistent welds and helps prevent long-term damage to vehicle components.
Precision here isn’t extra work; it’s the discipline that lets you weld cleanly and move with control.
Improve Clamp Conductivity
Clean bare metal gives the ground clamp the low-resistance contact it needs to carry current efficiently, so remove paint, rust, and other coatings before attaching it.
You’ll get a steadier arc when the ground clamp bites into exposed steel instead of fighting insulation. That direct path cuts voltage drop, which helps you hold consistent penetration and stronger fusion.
If you leave oxidation or paint in place, resistance rises, heat builds, and weld defects become more likely.
Clamp it firmly on a broad, clean patch near the repair to keep current stable and protect nearby components from stray arcing.
When you control conductivity, you control the weld. That’s how you free your work from weak joints and unreliable results.
Best Ground Points on a Car
When you’re welding on a car, the best ground point is the part you’re actually welding, or the nearest clean, bare metal surface on that panel. That gives your ground clamp the shortest, most direct path and helps you keep a stable arc without unwanted resistance.
Use these practical points:
- Clamp directly to the workpiece whenever you can.
- If the panel isn’t suitable, choose nearby bare metal on the same panel.
- For larger body repairs, bumper brackets or front crossmembers can work well.
Keep the clamp close to the weld zone to reduce current loss and protect weld quality. Additionally, maintaining a stable arc helps ensure quality welds and reduces the risk of defects.
Don’t rely on movable suspension points or engine mounts; they can shift the electrical path and create inconsistency. You want clean contact, solid conductivity, and control.
When you ground smart, you weld with more precision and more freedom, because the machine responds to your command instead of fighting the circuit.
Products Worth Considering

Premium Material: This welded grounding clamp is made of iron. Iron has high strength and hardness and is able to withstand high mechanical stress. Iron grounding clamps ensure stable current transmission and maintain their structural integrity and stability. Iron has good durability, which allows the welding earth clamp to maintain its good performance and appearance during use.

Practical Function: This T-shaped welding grounding clamp has a 300A high-current capacity, meeting the high-power demands of automotive welding and circuit testing. During welding, the current remains stable and uninterrupted, ensuring welding quality. The duckbill design and powerful spring ensure a secure grip that does not easily come loose. Even during vehicle body vibrations or mobile operations in automotive repairs, it maintains stable grounding.

As with anything Spartan Power produces, these welding ground clamps are very high quality providing excellent clamping power & superior electrical conductivity. Features include a wide jaw with a braided copper shunt.
Ground Clamp Placement on Body Panels
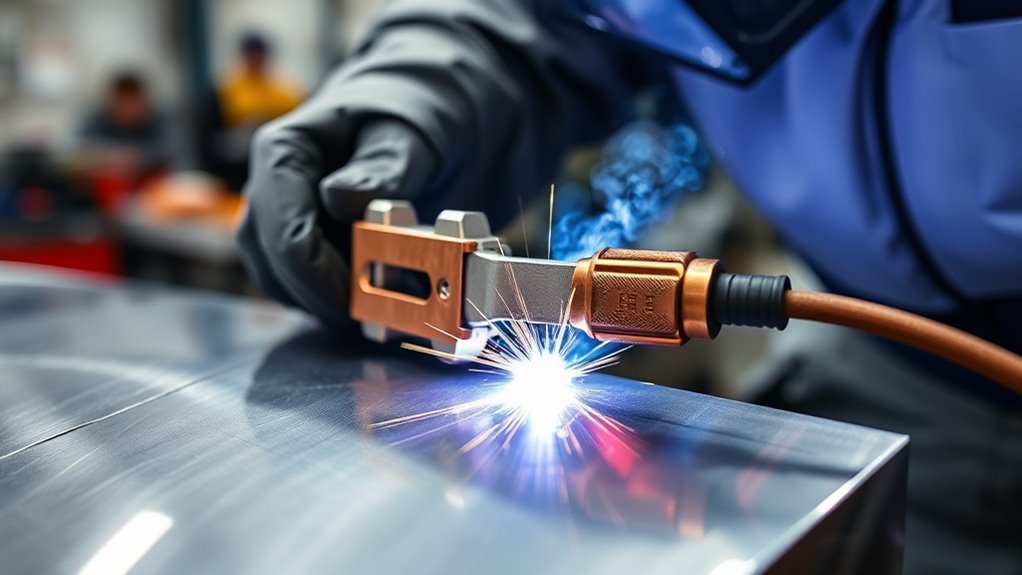
On body panels, your ground clamp should bite into clean, bare metal on the same panel you’re welding, as close to the weld area as possible. That direct path gives you stable current, a consistent arc, and better weld quality.
Don’t trust painted, rusty, or coated surfaces; they interrupt electrical flow and invite weak fusion, spatter, and heat wander. Tighten the ground clamp firmly so it can’t shift while you work, because movement can break continuity and make your bead inconsistent.
If you’re joining multiple panels, use a separate ground clamp for each panel when practical. That keeps resistance low and reduces arcing issues across seams and flanges.
You’re not asking for permission from bad conductivity; you’re taking control of it. Place the clamp intelligently, keep the contact area clean, and let the machine do its job without fighting avoidable voltage drop or unstable grounding. Proper grounding techniques can significantly enhance your welding results.
Products Worth Considering

7 inch long with 1-3/4 inch jaw opening.

Streamlined Magnetic Welding Ground Setup:Easily set your magnetic welding ground point without delays. Improve workflow and welding speed with this quick-to-place welder ground clamp on any metal surface
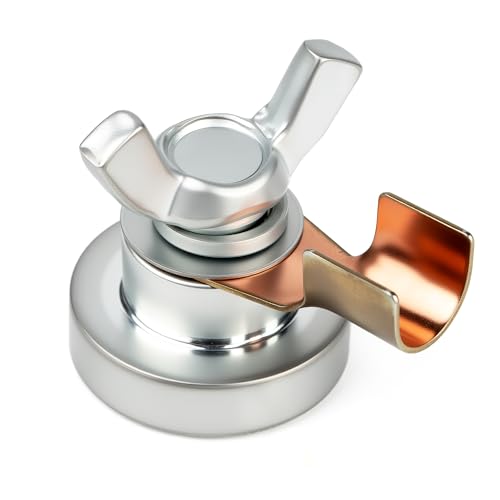
Strong Magnetic Hold: Features industrial-grade magnetism for a secure, slip-free grip on both flat and curved metal surfaces, ensuring reliable grounding
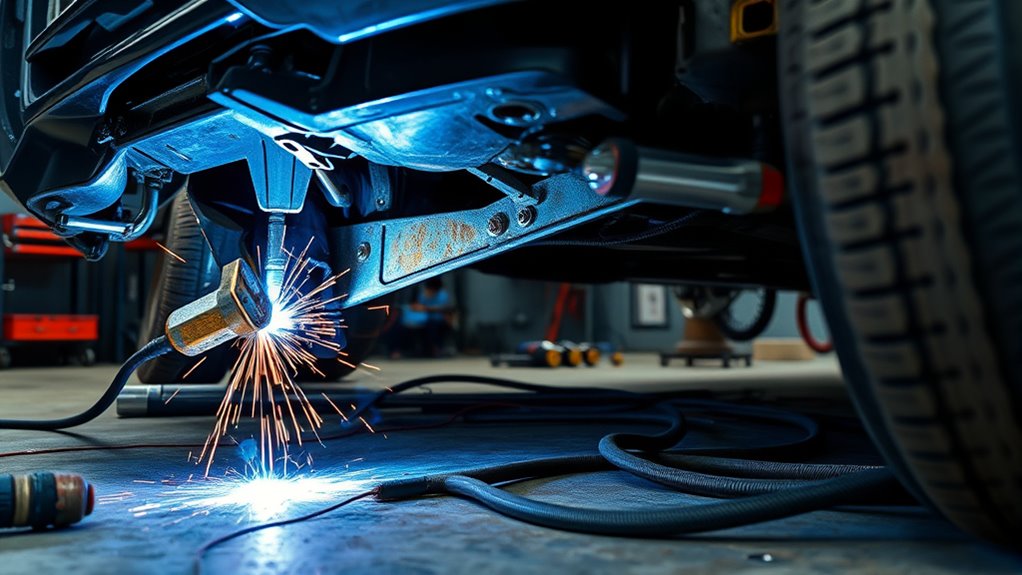
Grounding Safely Under a Vehicle
Under a vehicle, you should secure the earth clamp to a solid metal part close to the weld area so the current has a short, stable path and the arc stays consistent.
Choose a clean, bare surface on the chassis or nearby structure, not paint, rust, or a movable suspension point, because you need a firm electrical link that won’t wander.
Keep the ground clamp accessible, clear of tools, hoses, and your body, so you can work with control and freedom.
- Inspect the contact point and scrape to bright metal.
- Lock the clamp tight on rigid steel, near the joint.
- Recheck the connection often for heat, looseness, or arcing.
If the clamp shifts, you’ll get voltage drops, erratic arc behavior, and weak weld quality.
Stay deliberate: place it well, verify it often, and let the current move cleanly where you intend. Remember that proper fillet weld sizing is crucial for maintaining weld integrity and avoiding distortion.
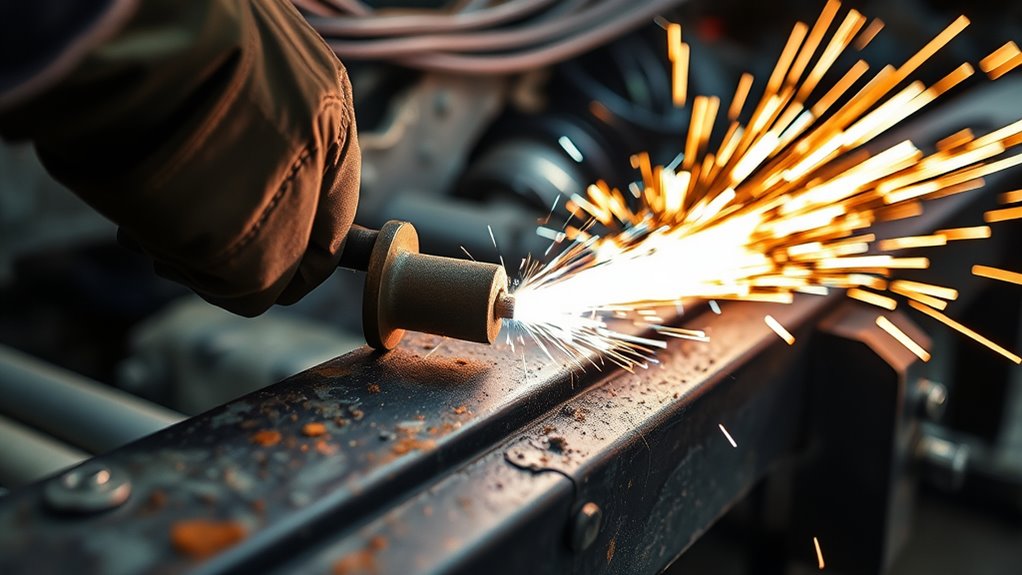
Grounding for Exhaust Welding
For exhaust welding, clamp the ground directly to the exhaust pipe or another clean, bare metal spot on the part you’re welding so the current has a short, reliable path. This lets your ground clamp deliver low-resistance flow and keeps the arc steady.
Place it as close to the weld joint as you can without crowding the torch or gun. That short path reduces voltage drop, improves arc control, and helps you build a cleaner bead with less spatter.
If the exhaust surface has paint, scale, or rust, clear it first so you’re not forcing current through weak contact. Check that the clamp sits on solid metal and won’t shift when you move. Keep it accessible, and make sure hoses, cables, and shields don’t block it.
When you ground this way, you protect nearby components and weld with greater control and freedom. Additionally, ensure that the grounding method follows recommended safety guidelines to minimize health risks from welding fumes.
Common Ground Clamp Mistakes
One common mistake is clamping the ground too far from the weld, which can hurt arc performance and even cause micro-welding on nearby sensitive components. You need the ground clamp close to the joint so current takes the shortest path and the arc stays stable.
If you attach it to painted, rusty, or insulated areas, you create resistance and weaken weld quality.
- Clamp on clean, bare metal.
- Place the ground clamp near the weld zone.
- Avoid movable suspension points and rubber-isolated parts.
When you ground to non-welded parts, the circuit can wander and the weld can become erratic. Experienced welders keep the ground clamp firm, direct, and secure because a tight connection reduces voltage drop and gives you better control. This is particularly important to prevent lack of fusion in your welds, which can lead to weak spots.
That simple setup lets you work with precision, protect the car’s electrical system, and weld with confidence.
What Poor Grounding Can Damage
Poor grounding can send stray current through brake lines, which can weaken or damage them. It can also fry wiring looms and create electrical faults that spread through the vehicle. You may also damage bearings and shock absorbers, leading to wear, noise, and costly repairs. Additionally, mastering stick welding can help you understand the importance of proper grounding in preventing such issues.
Brake Line Damage
If your ground clamp is placed poorly, welding current can arc through nearby components and damage brake lines, fittings, and related brake system wiring.
You need a clean return path so heat doesn’t concentrate on steel or aluminum lines. A bad ground can cause micro-welding at fittings, creating leaks you may not see right away. That hidden damage can turn into weak braking and costly repair.
- Place the ground clamp close to the weld.
- Keep it on bare metal, not painted surfaces.
- Inspect brake lines after welding for heat marks or seepage.
When you control the current path, you protect the brake system from surges, reduce fire risk, and keep your car free to move safely.
Wiring Loom Failure
A misplaced ground clamp can send welding current through a vehicle’s wiring loom, where it can arc, overheat, and damage sensitive wires, connectors, and electronic modules.
You may not see the failure right away, but poor grounding can quietly weaken the loom and trigger electrical faults later. Stray current can cause micro-welding at connection points, degrading contact integrity and inviting intermittent malfunctions.
If the ground clamp sits too far from the weld, current may hunt through harnesses and fry delicate circuits. Keep the clamp on clean, bare metal close to the work area so current returns directly.
That simple placement protects the loom, preserves vehicle electronics, and keeps you in control of the repair instead of letting hidden damage dictate it.
Bearing And Shock Harm
When you ground a welder incorrectly, the current can travel through parts you never meant to heat, and that can quietly damage bearings, shocks, brake lines, and even cam lobes.
You won’t always see the harm right away, but you’ll feel it later in noise, rough ride, or lost performance. Keep your ground clamp close to the weld and on clean metal.
- Bearings: stray current can pit races and shorten service life.
- Shocks: heat and arcing can weaken seals and mounts.
- Cam lobes and brake lines: micro-welding and arcing can cause wear, leaks, and costly repair.
A solid ground frees you from hidden damage and keeps the car’s motion and control intact.
Frequently Asked Questions
Where to Ground When Welding on a Car?
You should ground the clamp directly on the metal you’re welding, as close as possible to the joint. Clean the contact area first. This Safety Measures step keeps your arc stable, precise, and safe.
Where to Attach a Ground Clamp When Welding?
Attach it directly to the weldment; your Clamp Location should be clean, bare metal on the exact part you’re welding. You’ll minimize voltage drop, prevent arcing, and get stronger, more precise welds.
Where Does the Welder State Is the Best Place to Put the Ground Clamp?
You place the ground clamp directly on the part you’re welding; that Clamp Location gives you the best circuit, minimizes voltage drop, and keeps your weld clean, precise, and reliably grounded.
Where to Put Welding Ground Positive or Negative?
Put the ground on negative. Like a jump-start cable, I once saw a reversed lead spark confusion; your Ground Connection should clamp to the workpiece or chassis, not the positive, for safe, precise welding.
Conclusion
When you place the ground clamp right, your weld circuit acts like a calm river, not a storm. Clamp to clean, bare metal close to the repair, and you give current a short, safe path. Skip painted panels, rust, and moving parts, or you may send heat where it doesn’t belong. Good grounding protects modules, bearings, and panels alike. In welding, the right anchor keeps the whole car steady and the arc true.


