How to Clean Metal Before Welding
What’s in This Article
- Why Cleaning Metal Is Crucial for Welding
- Key Contaminants That Compromise Weld Quality
- Effective Rust Removal Techniques for Welding Prep
- How to Remove Paint Before Welding
- Safe Techniques for Removing Galvanized Coatings
- Essential Tools for Effective Metal Cleaning
- Best Practices for Pre-Weld Surface Cleaning
- How to Spot Incomplete Cleaning and Its Impact on Your Welds
- Final Touches: Inspecting Metal Before Welding
- Frequently Asked Questions
Dirty metal can make a weld look bad, but the bigger risk is hidden weakness. Rust, grease, paint, moisture, and coatings can stop the weld from bonding well to the base metal.
To clean metal before welding, remove contaminants like rust, grease, paint, dirt, and moisture. Use a wire brush for light rust, sandpaper for smoother surfaces, and sanding discs or grinders for tougher buildup. Use acetone for the final wipe so the surface is dry, clean, and ready for welding.
Quick Answer
Clean metal before welding by removing rust, paint, grease, dirt, coatings, and moisture. Start with mechanical cleaning, then wipe the surface with acetone or a suitable solvent. Let the metal dry fully before you weld. A clean surface helps the weld fuse better and lowers the risk of porosity, cracking, and excess spatter.
Key Takeaways
- Remove rust, grease, paint, dirt, coatings, and moisture before welding.
- Use a wire brush, sandpaper, sanding disc, or grinder based on the level of buildup.
- Use acetone or a suitable solvent for the final wipe after mechanical cleaning.
- Clean galvanized metal with extra care because zinc fumes can harm your health.
- Inspect the metal after cleaning so you can catch cracks, gaps, residue, or moisture.
Why Cleaning Metal Is Crucial for Welding
Cleaning metal before welding isn’t just a best practice. It helps you create a strong, reliable weld with fewer defects.
You need to remove contaminants like rust, grease, paint, dirt, and moisture. These impurities can weaken weld integrity and lead to problems such as porosity, cracking, and poor fusion.
Cleaning metal before welding helps you create a stronger weld by removing contaminants that can cause defects.
Contaminants can also produce harmful fumes during welding. This raises health risks and may leave you with more post-weld cleanup.
A thorough cleaning process gives you bare metal contact. That contact helps the weld pool fuse with the base metal. Wire brushing and solvent wiping can also improve penetration and reduce spatter.
When you weld galvanized steel, removing zinc coating before welding can reduce contamination and fume risk.
In jobs that require certified welds, inspectors often expect clean surfaces. Careful preparation helps your weld meet project standards and lowers the chance of rework.
Key Contaminants That Compromise Weld Quality
Several common contaminants can damage weld quality. Oil, grease, rust, oxidation, paint, dirt, and moisture can stop the weld from fusing cleanly with the metal.
Good prepping metal habits also help improve penetration and reduce the risk of cracks in your welds.
Oil and Grease Residue
Oil and grease create a barrier between the weld and the base metal. If you don’t clean the metal well, these residues can lead to weak welds and poor fusion.
Oil may also burn during welding and release toxic fumes. It can cause porosity, which leaves small holes or cavities in the weld.
Use proper cleaning methods, such as acetone or a suitable degreaser, to remove oily residue. Even small traces of oil can increase spatter and make post-weld cleanup harder.
Rust and Oxidation
Rust and oxidation also threaten weld quality. Rust weakens the surface, while oxidation can trap gases and create uneven contact.
These problems can cause incomplete fusion, extra spatter, and weak points in the joint. You should remove mill scale, rust, and oxidation before welding.
| Contaminant Type | Impact on Weld Quality |
|---|---|
| Rust | Weakens the surface and raises the risk of failure |
| Oxidation | Creates uneven surfaces and can trap gases |
| Mill Scale | Can block fusion and cause weld defects |
| Combined Effects | Can lead to porosity and weak points |
| Health Risks | May release harmful fumes during welding |
Dirt and Debris
Dirt and debris can keep the weld from bonding with the base metal. They may also burn during welding and create gas pockets in the weld.
To get strong, reliable welds, clean metal before welding and remove visible debris from the joint area. This simple step can reduce rework and help you build a safer weld.
Moisture on the Metal Surface
Moisture can create steam during welding. That steam can cause porosity and weaken the finished weld.
Dry the metal fully before you strike an arc. Pay close attention to cold metal, outdoor work, and metal stored in damp areas.
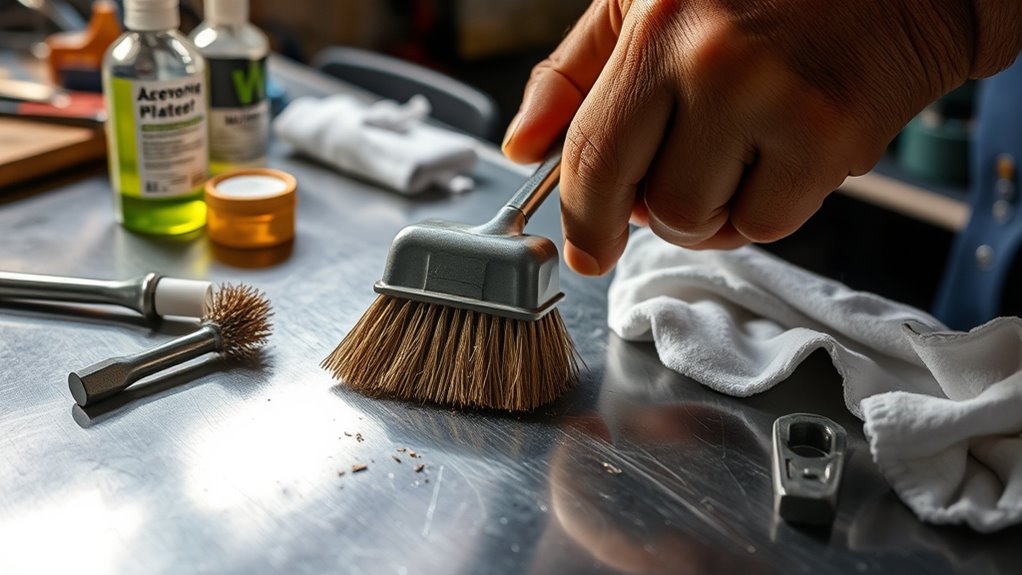
Effective Rust Removal Techniques for Welding Prep
When you prepare metal for welding, removing rust helps you create a stronger bond. For light surface rust, use a wire brush or sandpaper to scrub away oxidation.
Use steady pressure so you remove rust without gouging the surface. For heavy rust, use a grinder or power sander with sanding discs, especially on larger areas.
Always protect yourself while you clean rust. Wear a mask or respirator, gloves, and eye protection so dust and debris don’t harm you.
If you use chemical rust removers, work in a well-ventilated area and follow the label directions. Handle disposal with care so you reduce health and environmental risks.
Wearing respirators can help protect you from harmful particles created during grinding and metal cleaning.
Products Worth Considering

STRIP DISC / CLEAN & STRIP DISC / SURFACE CONDITIONING DISC – 5-pack of 4.5" x 7/8" arbor strip discs, compatible with 4.5-inch angle grinders for surface preparation and cleaning tasks.

COLORFUL PRECISION: Elevate your work with our WelderElite Grinding Disc Set featuring 4 black, 4 purple, 2 green, and 2 blue discs. Diversify your surface treatments with ease.

【Fits Angle Grinder Tool】 Our stripping discs are designed for 4” angle grinder with 5/8" arbor. NOT suitable for WAGNER PAINT EATER or DRILL. Please wear a mask, and gloves when using the strip disc. Do not press hard. Just touch the surface lightly to remove rust
How to Remove Paint Before Welding
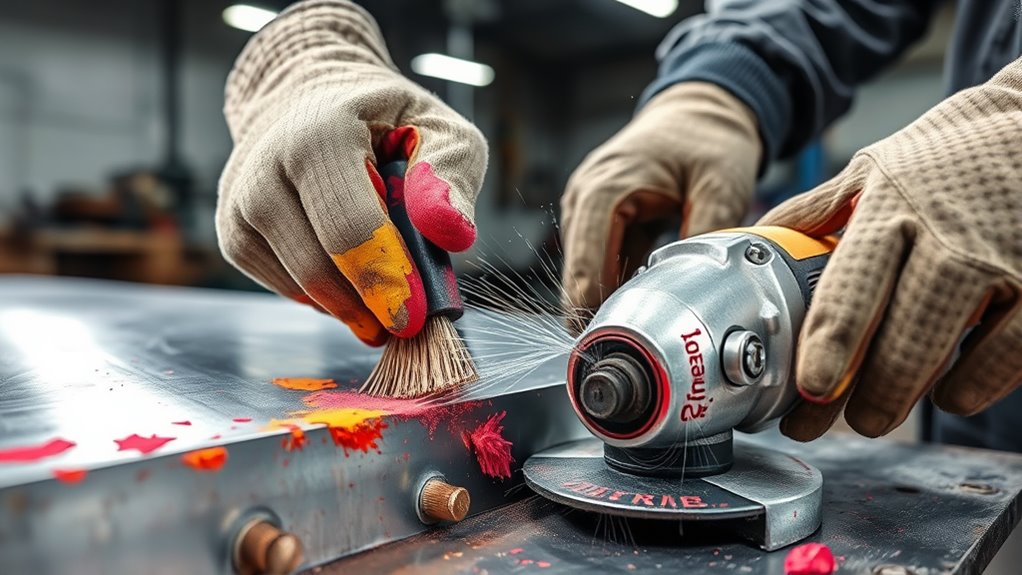
Before you weld, remove paint from the metal surface. Paint can block fusion, burn into fumes, and leave residue in the weld area.
You can use wire brushing, sanding, grinding, or chemical strippers. Also remove any light-to-medium surface rust so the weld area stays clean.
Wear a mask or respirator, gloves, and eye protection when you remove paint. Paint dust and chemical fumes can harm you if you don’t control exposure.
Effective Paint Removal Methods
Pick the removal method based on the paint thickness and the size of the work area. These options work well for most welding prep jobs:
- Use a wire brush: Remove loose paint and light buildup so you can expose the metal underneath.
- Use sanding discs or wheels: Clean larger surfaces faster and create a smoother surface for welding.
- Use chemical paint strippers: Soften thick paint when mechanical cleaning would take too long. Follow the label and protect your skin, eyes, and lungs.
After paint removal, inspect the surface for leftover residue. A clean surface gives you better welding conditions and fewer defects.
Safety Precautions Required
Protect yourself when you remove paint before welding. Use gloves, eye protection, and a mask or respirator to reduce exposure to dust and fumes.
Keep the work area well ventilated, especially when you use chemical strippers. Power tools can speed up the job, but you still need a final wipe with acetone to remove residue.
| Precaution | Description | Importance |
|---|---|---|
| Protective Gear | Wear gloves, eye protection, and a mask or respirator | Reduces exposure to dust and fumes |
| Ventilation | Work in a well-ventilated area | Lowers inhalation risk |
| Final Cleaning | Wipe with acetone after paint removal | Helps keep the weld area clean |
Safe Techniques for Removing Galvanized Coatings
Galvanized coatings need extra care because welding over zinc can create harmful fumes. Remove the coating from the weld area before you weld, and keep your face away from the fume path.
Warning: Never weld galvanized metal in a closed space without proper ventilation and respiratory protection.
Use these methods to remove galvanized coatings more safely:
- Use a wire brush: Start with a wire brush on loose or thin coatings to limit dust and surface damage.
- Use an angle grinder: Use a grinder for tougher coatings, but avoid removing too much base metal.
- Use chemical treatments with care: Some welders use weak acids or muriatic acid for thick galvanizing. Follow the product label and protect your skin, eyes, and lungs.
Always work in a well-ventilated area and wear personal protective equipment (PPE). You should also understand how toxic fumes can form during the welding process.
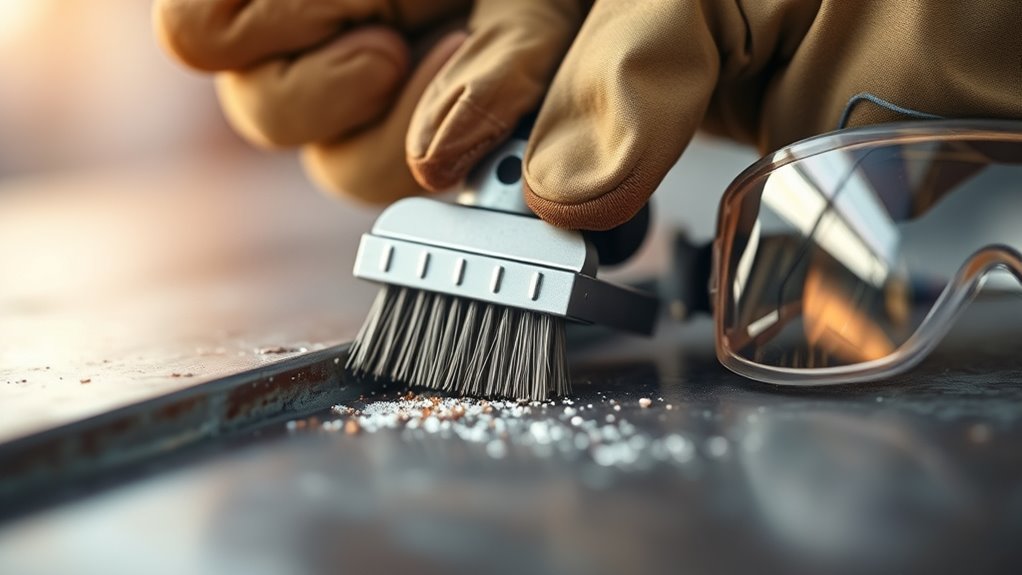
Essential Tools for Effective Metal Cleaning
Effective metal cleaning starts with the right tools. Choose tools that remove contamination without damaging the joint area.
| Tool | Purpose |
|---|---|
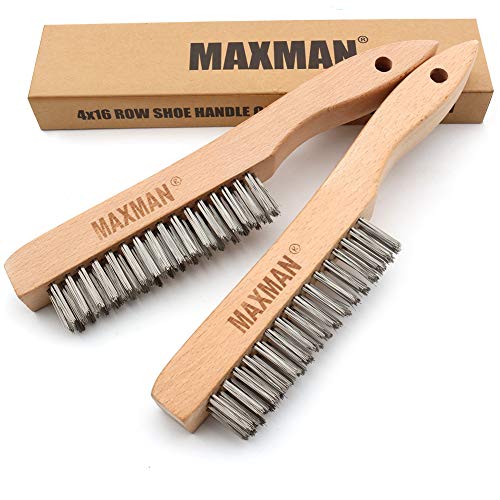
| Wire Brush | Removes dirt, light rust, and loose buildup. Use stainless steel or brass when the metal type calls for it. |
| Angle Grinder | Cleans larger areas with wire wheels or discs and helps remove tough rust, scale, or coating. |
| Sandpaper or Sanding Discs | Smooths the surface after brushing and removes lighter contaminants. |
| Acetone | Works as a final wipe-down solvent to remove oils and residue. |
| Lint-Free Cloths | Wipes the surface without leaving fibers behind. |
Don’t skip your safety gear. Wear gloves, eye protection, and a mask or respirator when dust, fumes, or solvents may be present.
Keep clean, lint-free cloths or paper towels nearby for the final wipe. Using wire wheels can also make cleaning faster on larger metal surfaces.
Products Worth Considering

Wire Brushes Set: You will receive 6 pieces wire brushes, including 2 pieces brass brushes, 2 pieces stainless steel brushes and 2 pieces nylon brushes; small wire brushes for daily cleaning

PRACTICAL: Wire brushes are ideal for removing paint stains, rust, welding slag,solder,scale, Great for remove corrosion and more from parts, equipment, machinery and other surfaces. Also great for cleaning threads, grills or tile.
MULTI-FUNCTION: Stainless steel wire brush for heavy duty jobs, Remove rust and paint quickly with this welding brush, Wire brushes are ideal for removing paint stains, rust, welding slag,solder,scale, Great for remove corrosion and more from parts, equipment, machinery and other surfaces, steel brush also great for cleaning aluminum or stainless and other hard surfaces threads, grills or tile.
Best Practices for Pre-Weld Surface Cleaning
Cleaning metal surfaces before welding helps you create strong, reliable joints. Use a simple process so you don’t miss hidden residue.
Cleaning metal surfaces before welding helps improve fusion and lowers the risk of common weld defects.
- Brush the surface: Use a wire brush to remove rust, dirt, paint, and loose debris from the weld area.
- Sand or grind as needed: Remove stubborn rust, mill scale, or coating until you reach clean metal.
- Wipe with acetone: Use acetone or a suitable solvent to remove oil, dust, and residue before welding.
- Let the metal dry: Give the solvent time to flash off before you weld.
- Inspect the joint: Check the surface for residue, moisture, gaps, cracks, or sharp defects.
Proper cleaning can also help you meet fillet weld sizing needs because contaminants can affect weld shape and strength.
Take your time with preparation. Clean metal helps you reduce spatter, improve appearance, and lower the chance of post-weld rework.
How to Spot Incomplete Cleaning and Its Impact on Your Welds
You can often spot poor cleaning before and during welding. Watch for discoloration, oily streaks, leftover paint, rust patches, dust, or moisture on the surface.
During welding, incomplete cleaning may cause more spatter, smoke, popping, or uneven weld behavior. These signs can point to residue that still sits on the metal.
Poor cleaning can also cause porosity, craters, cracks, or inconsistent penetration. These defects can weaken the joint and hurt the final appearance.
A clean, dry surface gives you a better chance of creating a strong weld with fewer defects.
Final Touches: Inspecting Metal Before Welding
Before you start welding, inspect the metal one more time. Small problems can still affect weld quality after cleaning.
Follow these final checks:
- Check for contaminants: Look for grease, rust, paint, dust, and coating residue.
- Inspect for flaws: Check for cracks, gaps, sharp edges, or damage that needs repair.
- Confirm the surface is dry: Make sure no moisture remains on the metal.
- Wipe the area again: Use acetone or a suitable solvent if you see residue.
Good surface preparation, including removing surface oils, helps the weld fuse and penetrate well.
Frequently Asked Questions
What’s Best to Clean Metal Before Welding?
The best method depends on the contaminant. Use a wire brush, sandpaper, or grinder for rust, paint, and scale. Use acetone or a suitable solvent for the final wipe to remove oil and residue.
Should You Use Acetone Before Welding?
Yes, acetone works well as a final wipe before welding when you use it safely. Let it dry fully before you weld because solvent vapors can catch fire.
Can You Weld Over Rust or Paint?
You should not weld over rust or paint if you want a strong, clean weld. Rust and paint can block fusion, create fumes, and cause porosity or cracking.
What Is the Golden Rule in Welding?
The golden rule is to prepare the joint before you weld. Clean, dry, well-fit metal gives you a better chance of making a strong and safe weld.
What Do Welders Use to Clean Metal?
Welders often use wire brushes, grinders, sanding discs, acetone, degreasers, and lint-free cloths. The right tool depends on the metal, the contaminant, and the weld requirements.
Safety Disclaimer: This article is for informational purposes only and does not replace professional welding safety training. Always follow your equipment manual, workplace rules, safety data sheets, and local safety requirements before welding or using solvents, grinders, acids, or chemical strippers.
Conclusion
Clean metal gives you a better chance of making a strong, reliable weld. Remove rust, paint, grease, dirt, coatings, and moisture before you strike an arc.
Use the right tool for the job, then finish with a safe solvent wipe and a close inspection. Good prep takes a little extra time, but it can save you from weak welds, rework, and safety problems.
Before your next welding project, make surface cleaning your first real step. Better preparation leads to better welds.


