Clean welds on auto body panels by first removing grease, dust, and loose spatter with a degreaser, wire brush, or flap disc. Use a grinding disc to knock down high spots, then switch to a flap disc or 60-grit wheel to smooth the weld without gouging the panel. Keep pressure light to avoid heat distortion. Wipe the metal clean, apply weld-through primer right away, and seal hidden seams for long-term rust protection, as the finer points make a real difference.
Clean Welds Before You Grind
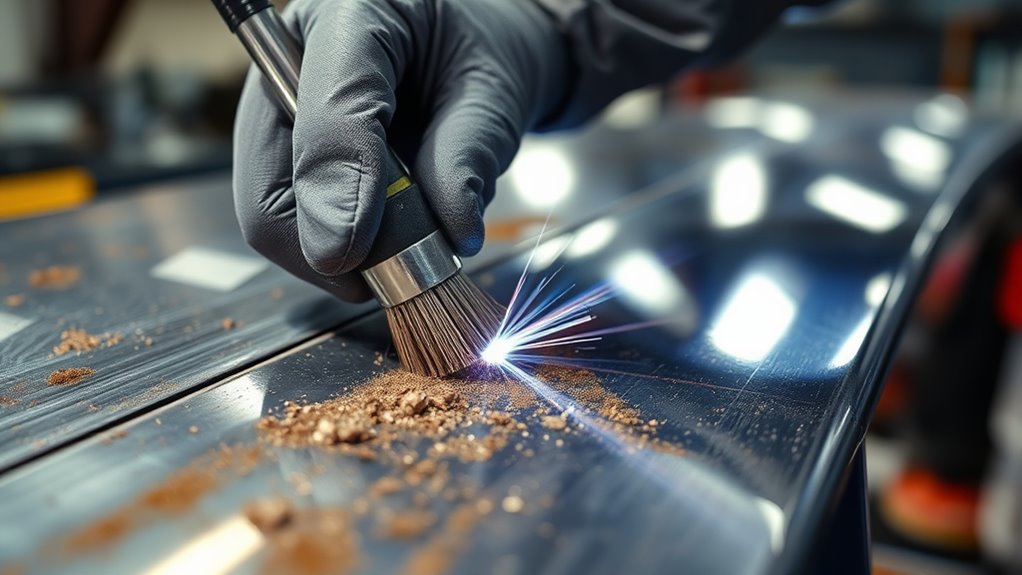
Before you grind, clean the weld area so you’re not pushing dirt, grease, or oxidation deeper into the metal. Use a wire brush or flap disc to strip loose scale and surface contamination from the bead and surrounding panel.
If the joint still carries factory grease or oil, wipe it with a degreaser and let it flash off completely. That prep keeps debris from loading your disc and helps you see the true weld profile.
If you welded with shielding gas, clean any spatter or residue now so it doesn’t get dragged across the panel during cleanup.
Start with a grinding disc only if you need to knock down heavy excess material, and keep it flat to avoid cutting into the sheet metal. Then switch to a finer flap disc to smooth the surface and reduce deep scratches.
Remember to always inspect your accessories and ensure they are grinder-rated accessories to maintain safety during the grinding process.
Wear gloves and goggles, because liberated repair work still throws sharp particles.
Choose the Best Weld Cleanup Tools
For light weld cleanup, an angle grinder with a flap disc gives you the best balance of control and finish, since it smooths the bead without chewing up the surrounding panel.
Use it first when you want fast, clean weld cleanup techniques that keep you in charge of the metal. For thicker spots, switch to a grinding disc for initial cleanup, then step down to finer abrasives.
Start with the right abrasive, then refine in stages for fast, controlled weld cleanup that preserves the metal.
If the weld stands proud and heavy, a belt sander can strip excess material faster, but you still need a steady hand.
- A flap disc skimming a bright weld bead
- A grinding disc biting into a rough seam
- A belt sander clearing a heavy pass
Your tool selection criteria should match weld thickness, panel condition, and the finish you want. Additionally, ensure your work area is free from flammable materials to prevent fire hazards while you work.
Don’t overbuy; choose cost-effective tools that handle the job without waste.
After each pass, check finish quality assessment by sight and touch, and stop before you risk cutting through.
Products Worth Considering
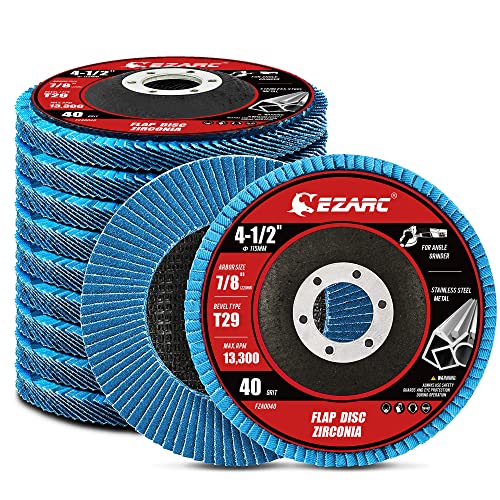
【Great Performance】EZARC flap sanding discs are made of hard zirconia material which lasts longer than standard aluminum oxide abrasive material, built for a more robust and economical grinding wheel

【Professional Grinder Flap Disc】Flap discs 4 1/2 for Angle Grinder with 40/60/80/100/120 Grit T29, 40 packs in total. Includes 20pcs for 40 grit, 10pcs for 60 grit, 5pcs for 80 grit, and 5pcs for 120 grit. A perfect flap disc for cutting various metals and meets all your needs.

【4 1/2 Flap Disc】The 40 grit flap discs 4 1/2 for angle grinder is 40 packs in total, ideal flap disc for blending and stock removal on metals, rust removal, paint, blending, cleaning, and finishing, etc.
Flatten Welds on Auto Body Panels
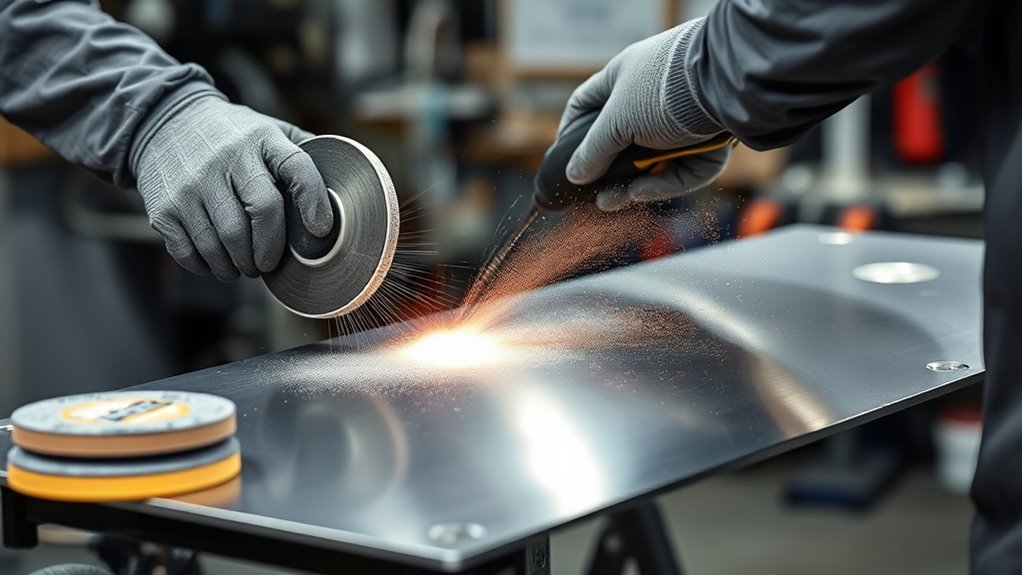
Start by flattening the weld with an angle grinder fitted with a grinding disc. Then switch to a flap disc to smooth the surface on the auto body panel.
Keep the grinder moving and use grinder pressure control so you don’t gouge the metal or cut through the panel. Work the weld down in stages, checking weld profile consistency as you go.
If the bead is heavy, a belt sander can remove bulk faster while reducing risk to the surrounding sheet. Start with a coarser grit, around 60, to knock down excess material, then move to finer grits for a cleaner finish.
Maintain panel thickness awareness at every pass; thin automotive steel gives you little margin for error. Let the tool do the work, and use a light touch to preserve shape, fit, and strength. Ensure you verify the wheel speed rating to avoid wheel failure during the grinding process.
Once the weld sits flush, clean the area with degreaser before primer or paint so the finish bonds properly.
Products Worth Considering

16 PIECE SET INCLUDES: Cubitron 3 1182C, 4-1/2 in x TN, 36 plus , Quick Change Fibre Discs (5), 769F, 4-1/2 in x 5/8 in-11 40 plus , T27,Quick Change Flap Discs (2), Cubitron 3 - 4-1/2 in x 1/4 in x 5/8 in-11, T27, Quick Change Grinding Wheels (2),

VALUE PACK: Pack of 20, 40 60 80 120 grit Assorted kit, 5 flap discs of each grit, 4-1/2 Inch Diameter, 7/8 Inch Arbor, Flat wheel bevel Type 27, 13300RPM maximum speed

HIGH-DENSITY JUMBO DESIGN: Type 29 flap discs with a high-density jumbo layout support surface blending, beveling, grinding, deburring, and edge chamfering. Curved profile aids finishing, stock removal, and rust cleanup for pros and DIY enthusiasts.
Remove Spatter and Heat Marks
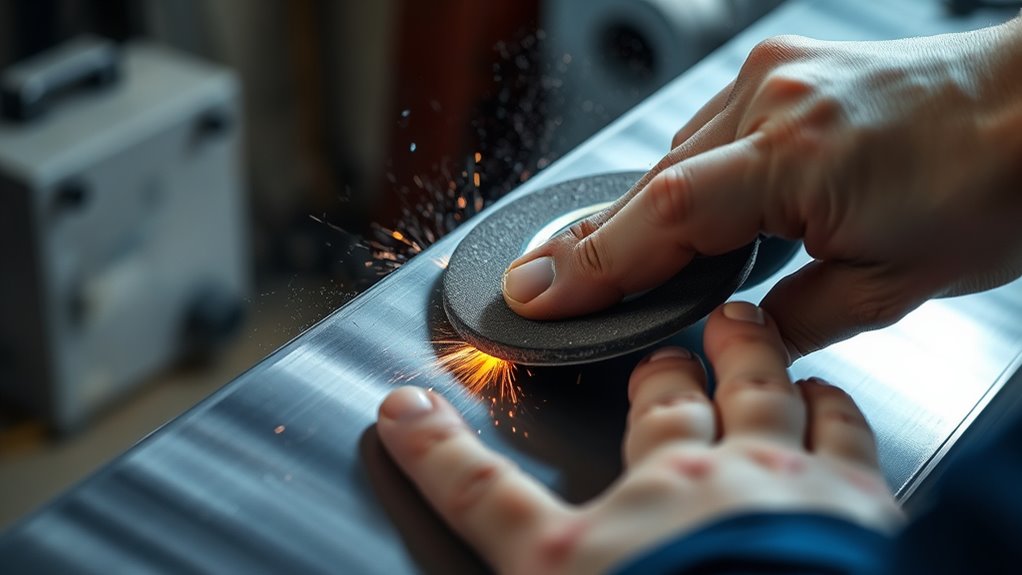
To remove spatter, you’ll start with a grinding disc to knock down the heavy debris.
Then switch to a 60-grit flap wheel or flap disc for cleaner control.
Work carefully so you don’t cut into the panel or leave new gouges, and use tools sized for the metal thickness.
Once the weld area is clean, you can apply weld-through primer to help prevent rust and keep the surface ready for finishing. Additionally, always ensure the metal is clean and free of contaminants before starting the welding process.
Spatter Cleanup
Knock down weld spatter and heat marks with a flap disc on an angle grinder, since it removes material quickly while minimizing damage to the surrounding panel. You’ll get clean control with this first pass, and your spatter removal techniques stay precise.
Use effective grinding methods to shave high spots without gouging the sheet metal. For stubborn beads, a wire brush attachment can lift residue and oxidation while preserving panel integrity.
If the weld is thick, switch to a belt sander for heavier cleanup, then finish with a grinding disc to blend rough edges.
- Spark trails fading off fresh metal
- A smooth weld line under bright shop light
- Fine dust clearing from a freed panel
Finish with surface preparation tips: wipe the area with degreaser, such as Prepsol, so primer or paint bonds to a clean surface.
Heat Mark Removal
Remove heat marks and remaining spatter with an angle grinder fitted with a grinding disc, keeping the tool moving so you don’t cut into the panel. Use firm, controlled passes and check the bead often; these grinding technique tips help you stay flat and precise.
Heat discoloration causes include excess weld temperature and slow cooling, so don’t chase color with pressure alone. When the weld is thick, switch to a belt sander for faster, heavier removal.
After the rough work, move to a flap disc to refine the metal without gouging it. Inspect the area from different angles, then apply a chemical rust remover or prep solution as part of your metal surface treatment.
That clears residue, supports paint adhesion, and keeps corrosion off your liberated panel.
Prep Welded Panels for Primer
Once the welds are cleaned up, apply a weld-through primer right away to help prevent rust and promote adhesion for later coatings. You’re building a clean base, so strip any remaining primer from replacement panels; it usually isn’t weld-through and can block surface adhesion.
Use paint stripper or sanding until bare metal shows. Next, remove all factory grease with a quality degreaser, then let the panel dry fully. For the welded areas, touch up any missed spots with a light coat of weld-through primer before etching.
- A flap disc skims off proud weld metal fast.
- A belt sander leaves the bead smooth and even.
- Cavity wax spray reaches tight voids that primer can’t.
After that, you can move to etch primer and final coatings with confidence. Every step you take now protects your work, keeps corrosion out, and helps the panel stay solid for the long haul. Additionally, ensure you maintain consumables like electrodes for your plasma cutting tools to ensure clean welds during the initial welding phase.
Seal Hidden Seams and Edges
Seal hidden welds by cleaning the seams thoroughly. Then spray cavity wax into hard-to-reach areas to block moisture and slow rust. If the joint needs extra protection, apply a zinc-rich weld-through primer before sealing. Finish by smoothing the edges so you get a clean connection and better long-term corrosion resistance. Additionally, it’s crucial to assess load-bearing significance to ensure the integrity of the repair in the long run.
Cavity Wax Protection
After the welds are clean and dry, apply cavity wax to hidden seams, edges, and boxed sections to stop moisture from reaching bare metal.
You get key cavity wax benefits: it blocks rust, reaches blind spots, and adds long term protection without heavy buildup.
Use a spray wand or flexible nozzle for precise application techniques, and keep the panel on a tilt so wax flows into joints.
Work from the inside out, then inspect for coverage.
- Fine mist coats a narrow seam like a shield
- Wax creeps into a dark rocker cavity
- A wet sheen marks sealed edges
Let the coating cure, then check it during service intervals.
Reapply if you see thinning, damage, or exposed metal.
Seal Hidden Welds
With the welds clean and dry, you should seal hidden seams and edges to keep moisture out and prevent rust in hard-to-reach areas. Use hidden seam techniques that start with degreaser cleanup, then apply etch primer for adhesion. For exposed lap joints, a zinc-rich weld-through primer boosts corrosion prevention strategies before final paint. In cavities, spray cavity wax to reach boxed sections and overlap points. These protective coating options block moisture and extend service life.
| Area | Action |
|---|---|
| Hidden seams | Seal with primer and wax |
| Edges | Coat after prep and drying |
| Access points | Reinspect for wear |
Inspect the sealed zones regularly and touch up damage fast. You keep the panel resilient, self-reliant, and ready for the road.
Edge Rust Prevention
To keep edge rust from starting in hidden seams and overlaps, you’ll want to clean the welded area thoroughly with a degreaser, then apply a zinc-rich weld-through primer for base corrosion protection.
Next, choose rust prevention techniques that fit the joint:
- Mist cavity wax spray into tight flanges and boxed sections.
- Brush primer filler over exposed edges for full coverage.
- Use fish oil where access is limited and moisture lingers.
These protective coating options block oxygen, slow corrosion, and help you finish the panel without trapping contamination.
Let the coatings cure before sanding or topcoating.
For long-term control, build simple maintenance practices into your routine: inspect seams after washes, touch up chips fast, and keep drains open.
Clean metal, sealed edges, and timely follow-up give you a body panel that stays free, solid, and rust-resistant.
Avoid Common Weld Cleanup Mistakes
Avoid aggressive grinding, because it can distort the panel and remove too much metal too fast. For weld distortion prevention, follow a controlled weld cleanup timeline: start with a grinding disc, move to a belt sander for heavy welds, then finish with a flap disc. That grinding techniques comparison keeps you in command of the metal. Remember to consider proper surface preparation to enhance weld strength and durability.
| Tool | Best use |
|---|---|
| Grinding disc | Remove excess weld material |
| Belt sander | Level heavy welds safely |
| Flap disc | Blend final surface |
Don’t chase perfection in one pass; gradual material removal protects shape and freedom from rework. Avoid dwelling in one spot, since heat buildup warps thin sheet. After cleanup, wipe the panel with degreaser to strip factory grease before etch primer. Clean metal gives the coating a solid bond and extends finish life. Measure, inspect, and stop when the weld sits flush.
Frequently Asked Questions
What Is the Best Thing to Clean Welds With?
You’ll get the best results with an angle grinder using a flap disc, then finer sanding. Pair proper welding techniques and metal preparation with the right cleaning tools to remove welds cleanly without damaging surrounding metal.
What to Spray on Metal After Welding?
Use zinc-rich weld-through primer, then etch primer. One survey found rust can start within 24 hours on bare steel, so you’ll want strong welding safety, metal preparation, and corrosion prevention. Add cavity wax for hidden seams.
Why Do Welders Lose Their Eyesight?
You lose vision because welding safety failures expose your eyes to intense UV exposure, sparks, and debris. Without proper eye protection, you can get arc eye, retinal damage, cataracts, or macular degeneration.
How to Clean up Metal After Welding?
Use a grinder, flap disc, or belt sander to remove spatter, then clean the area thoroughly. Good metal preparation techniques prevent weld discoloration causes. Choose cleaning tool options that won’t thin the panel.
Conclusion
When you finish welding, think of your panel as a fresh road after a storm: first clear the debris, then smooth the ruts. You’ve cleaned the weld, knocked down the crown, and chased away spatter and heat marks. Now the metal is ready for primer, sealer, and paint. If you skip a step, the finish will show it later. Take your time, use the right tools, and you’ll leave the panel strong, flat, and ready to travel.


