
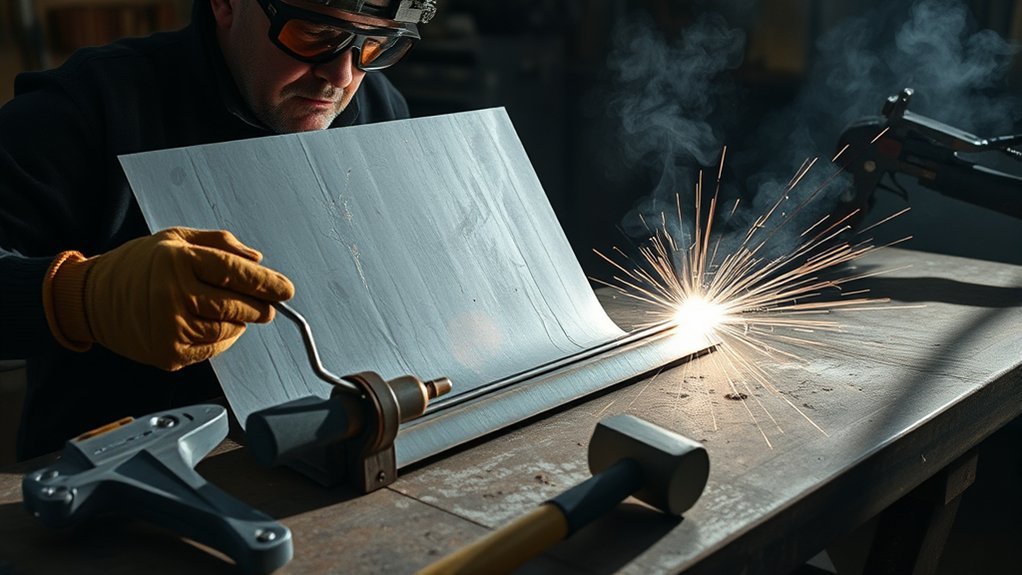
Welding heat can pull a flat panel out of shape quickly, but mild distortion in a non-structural mild-steel panel can often be corrected. The safe approach is to identify the material first, map the high and low areas, relieve weld shrinkage in small steps, and check the shape after every adjustment. Vehicle panels made from high-strength steel, ultra-high-strength steel, or aluminum may require a different method or replacement.
Quick Answer
To fix a mildly warped mild-steel panel after welding, map the high and low areas, dress the weld flush without thinning the base metal, planish the shrunken weld with light hammer-and-dolly work, and shrink remaining highs only when the material allows it. Do not heat an unknown, structural, high-strength-steel, or aluminum vehicle panel without the OEM repair procedure.
Key Takeaways
- Confirm the panel material and whether the part is structural before applying heat or force.
- Map the distortion before you hammer, grind, or shrink the metal.
- Dress welds only until they are flush; thinning the base metal weakens the panel.
- Use light hammer-and-dolly work to correct weld shrinkage, then use a shrinking disc only when the material and repair procedure allow it.
- Stop if the panel cracks, tears, becomes sharply creased, or affects vehicle structure, fit, or safety.
At a Glance
| Time Required | Typical DIY estimate: about 1–3 hours for mild distortion, plus refinishing time |
| Difficulty | Intermediate; advanced when oil canning, creases, or vehicle structure are involved |
| Tools Needed | Straightedge, sanding block or guide coat, body hammer, dolly, grinder with suitable abrasive, clamps, PPE, and an optional shrinking disc |
| Cost | Usually limited to abrasives and refinishing materials when the main tools are already available |
Why Welded Sheet Metal Warps
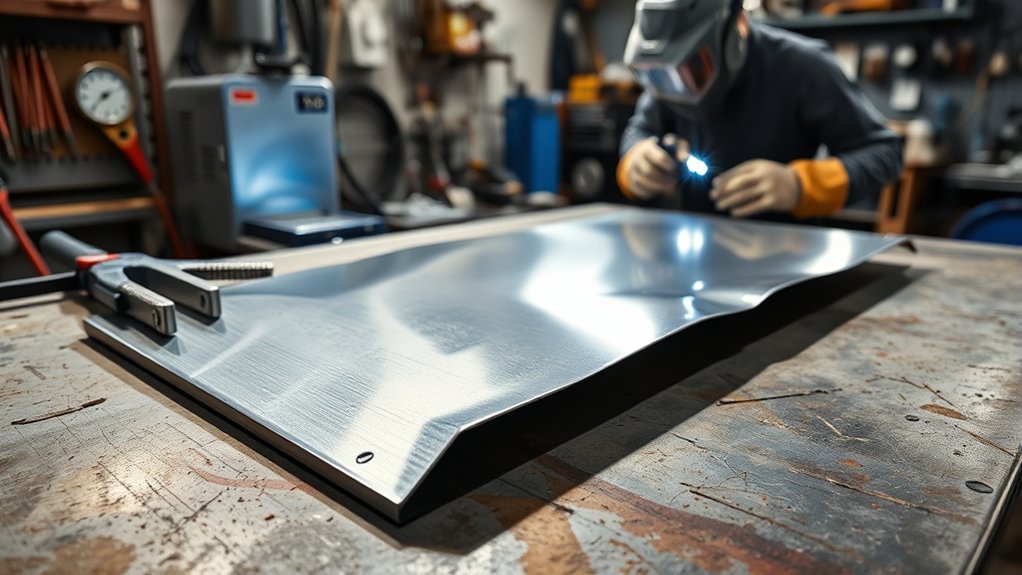
Sheet metal expands while it is heated and contracts while it cools. A weld bead and its heat-affected zone cool and shrink more than the surrounding metal, so the joint can pull the panel inward, bow an edge, or create a wave. Uneven heat input makes the movement worse.
Common causes include long weld beads, slow travel, loose fit-up, wide gaps, poor clamping, excessive grinding heat, and welding too much in one area before it cools. Miller recommends spreading heat with intermittent or skip welding and using backing bars where suitable to reduce distortion.
Oil canning is different from a simple high spot. The panel pops in and out because an area has become unstable, often after the metal stretches or the surrounding weld shrinks. Mild oil canning may respond to careful shrinking and support, but random hammering can stretch the panel further.
Before You Begin: Identify the Panel Material
Do not assume every sheet-metal panel can be repaired with the same heat-shrinking method. First determine whether the panel is mild steel, galvanized steel, high-strength steel, ultra-high-strength steel, stainless steel, or aluminum. Also determine whether it is a cosmetic skin, a structural part, a reinforcement, or a mounting area.
For vehicle repairs, use the exact year, make, model, body repair manual, and OEM procedure. I-CAR explains that heat should be applied only when the vehicle maker allows it, and that some parts must be replaced instead of straightened. Review I-CAR’s cold-straightening guidance and the vehicle-specific repair information before working on any structural or unknown panel.
Warning: Do not use a torch, shrinking disc, stud welder, or rapid quench on an unknown vehicle panel. Heat can damage coatings, adhesives, heat-treated steel, aluminum temper, nearby wiring, foam, seam sealer, glass, fuel-system parts, or high-voltage components. Disconnect and protect systems only as the OEM procedure directs.
Check the Panel and Your Work Area
Clean the surface and remove dust, oil, loose paint, body filler, seam sealer, and corrosion from the repair area. Inspect both sides of the panel when possible. Look behind it for wiring, hoses, trim, insulation, sound-deadening pads, adhesives, foam, fuel lines, and anything else that could melt or burn.
Support the panel on a stable fixture without forcing it into a false shape. Use bright light from more than one angle. Keep a fire extinguisher nearby, control sparks, and provide suitable ventilation. OSHA requires appropriate eye, face, clothing, and ventilation controls for welding and related hot work. See OSHA 29 CFR 1910.252 for general welding, cutting, and brazing requirements.
Wear safety glasses under a face shield when grinding, hearing protection, heat-resistant gloves, suitable clothing, and respiratory protection selected for the coating, dust, or fume hazard. Never grind or heat over unknown paint, zinc coating, filler, or adhesive without checking the product and exposure requirements.
How to Find High and Low Spots
Map the panel before changing the metal. A few minutes of careful inspection can prevent hours of random hammering.
Tools for Detection
- Straightedge or flexible ruler: Shows gaps, raised areas, and contact points.
- Sanding block: Contacts high areas first and helps reveal surface waves.
- Dry guide coat or washable marker: Makes highs and lows easier to see.
- Contour gauge or profile template: Helps compare a curved panel with the correct shape.
- Good reflected light: Reveals ripples that are hard to feel by hand.
- Tape measure or tram gauge: Helps compare diagonals, mounting points, and panel openings.
Visual Inspection Techniques
Look across the panel at a low angle rather than straight at it. Move a work light so the reflection travels across the surface. Circle high spots and mark low spots with a different symbol.
Pass a sanding block lightly over a guide coat. The first clean areas are high; untouched guide coat usually remains in low areas. On curved panels, compare the damaged area with the opposite side or a known-good profile when the design is symmetrical.
Check panel gaps, body lines, edges, and mounting holes before and during the repair. A surface can look flat in the center while an edge or opening remains pulled out of position.
Must-Have Tools for Repairing Warped Sheet Metal
The exact tool list depends on the material and the amount of distortion. For a mild cosmetic steel panel, the core tools are a body hammer, matching dollies, a straightedge, a sanding block, clamps, and a controlled way to dress the weld. A shrinking disc is optional, not the first tool for every repair.
Products Worth Considering

Auto Body Repair Kits contain all the tools necessary for automobile fender, bumper, and large or small body car dent repairs.

7 Piece Auto Repair Kit: Each pack comes with a standard bumping hammer, pick & finish hammer, reverse curve hammer, curved dolly, utility dolly, double end hand dolly, and shrink dolly to provide the perfect fit both large and small body car dent repairs.

This Body Hammer Set uses high quality fiberglass shaft, covering all body repair and panel beating requirements. High quality fiberglass shaft panel percussion hammer. Long lasting quality.
Essential Hammer and Dolly
A dolly supports the back of the panel while the hammer moves metal from the front. Use a dolly shape that closely matches the panel curve. Smooth, polished faces reduce marking.
- A lightweight body hammer for controlled taps
- A pick or low-crown hammer only when the shape requires it
- Several dolly shapes for flats, crowns, edges, and body lines
- A slapping file or spoon for spreading force over a larger area
- A clean cloth or tape to protect finished dolly surfaces
Control matters more than force. Heavy blows can stretch thin steel and turn a small warp into oil canning.
Shrinking Disc Setup
A shrinking disc creates friction heat mainly on raised metal. It is commonly fitted to a suitable grinder or polisher with the correct backing system. The tool, backing plate, guard, spindle, and disc must all be compatible, correctly mounted, and rated for the machine speed.
Use a shrinking disc only on material that can safely be heat-shrunk. Do not use it on a structural vehicle panel, high-strength steel, ultra-high-strength steel, aluminum, or an unknown alloy unless the specific repair procedure allows that method.
Quality Clamps and Fixtures
Clamps and fixtures hold the panel in its intended position while you measure, weld, grind, or reshape it. Use enough support to prevent movement, but do not clamp so hard that you force a temporary shape into the metal.
- Clean, straight clamps with smooth contact surfaces
- Adjustable fixtures that support edges and openings
- Copper or aluminum backing bars when the welding procedure allows them
- Different clamp sizes for narrow flanges and hard-to-reach areas
- Heat-resistant protection for nearby surfaces and components
Step-by-Step: Fix a Mildly Warped Panel After Welding
This sequence is intended for mild distortion in a non-structural mild-steel panel. Stop and use the approved repair procedure when the material or part type is uncertain.
Products Worth Considering

Hickory handles are flame treated for reliable strength

【Package】Hiceeden auto body repair kit is a must-have for any car enthusiast! Our auto body repair kit including 11.6 inches standard bumping hammer, pick & finish hammer, reverse curve hammer, and curved dolly, utility dolly, double end hand dolly, shrink dolly. Come with a portable plastic case.

7 Piece Auto Repair Kit: Each pack comes with a standard bumping hammer, pick & finish hammer, reverse curve hammer, curved dolly, utility dolly, double end hand dolly, and shrink dolly to provide the perfect fit both large and small body car dent repairs.
1. Release External Stress
Check whether clamps, bolts, brackets, or a twisted workbench are holding the panel out of shape. Loosen external loads and let the panel settle before deciding where the true warp is.
2. Map the Distortion
Use reflected light, a straightedge, and a guide coat to mark the high and low areas. Check edges, body lines, panel gaps, and diagonals. Photograph the marks so you can compare progress.
3. Dress the Weld Carefully
Remove only the proud part of the weld until it is flush with the surrounding surface. Use light pressure, keep the abrasive moving, and pause often so grinding heat does not create new distortion. Do not grind below the original panel surface.
I-CAR’s weld-dressing guidance warns that reducing the base-metal thickness weakens the steel. Review the I-CAR procedure for dressing steel GMA welds before grinding a vehicle repair seam.
4. Planish the Shrunken Weld
If the weld seam has pulled the panel inward and the material permits metal finishing, support the seam with a matching dolly and use light, controlled hammer taps. Work a short section at a time. The goal is to restore metal lost to weld shrinkage, not to flatten the entire panel with heavy blows.
5. Correct Nearby Highs and Lows
Use hammer-off-dolly work when a low area sits beside a high area. Place the dolly behind the low spot and tap the nearby high spot so the metal moves toward the intended contour with less stretching. Use hammer-on-dolly work sparingly for fine leveling or controlled planishing.
6. Shrink Only if Needed
If the panel is verified mild steel and a broad high or oil-can area remains, make a brief pass with the shrinking disc over the highest area. Keep the disc moving and stop as soon as a small, controlled area becomes warm. Do not chase the panel with repeated heat cycles.
7. Cool and Recheck
Allow the panel to return to room temperature before judging the final shape. When no approved quench method is given, let the panel cool in still air. A damp cloth is sometimes used in traditional mild-steel shrinking, but do not rapidly quench an unknown alloy, structural part, high-strength steel, aluminum, or vehicle panel without specific approval.
8. Finish and Protect the Metal
Recheck the surface with a straightedge and guide coat. Remove sharp edges and repair only the minimum remaining surface variation with an approved filler system. Do not bridge a crack, tear, loose weld, or unstable oil-can area with body filler. Restore primer, seam sealer, cavity wax, and backside corrosion protection as required. Bare steel left behind a repair can corrode even when the visible side looks finished.
Pro Tip: Make one small correction, then move the light and check again. Thin sheet metal often changes shape beyond the exact point you strike or heat, so several light cycles are safer than one aggressive pass.
How to Use a Shrinking Disc Safely
A shrinking disc is for controlled friction heating on a verified repairable panel. It should skim raised metal rather than dig into the surface.
- Confirm that the panel is non-structural mild steel and that heat shrinking is allowed.
- Install the correct disc and backing system, inspect them for damage, and confirm the machine’s speed rating.
- Mark the highest area and support the panel so it can move naturally.
- Run the disc flat and keep it moving in broad, overlapping passes.
- Stop after a brief pass and check the temperature and shape.
- Allow the area to cool, then inspect with reflected light and a straightedge.
- Repeat only when the previous cycle improved the panel.
Do not hold the disc on one spot, force the edge into the panel, or use aggressive pressure. Excess heat can create a tighter buckle, damage coatings, or change the properties of some metals.
Note: A shrinking disc cannot correct every low spot. It mainly reduces excess area in a raised or unstable zone. If the shape is wrong because the weld seam has shrunk, controlled planishing of the seam may be the more direct correction.
Hammer and Dolly Techniques for Panel Repair
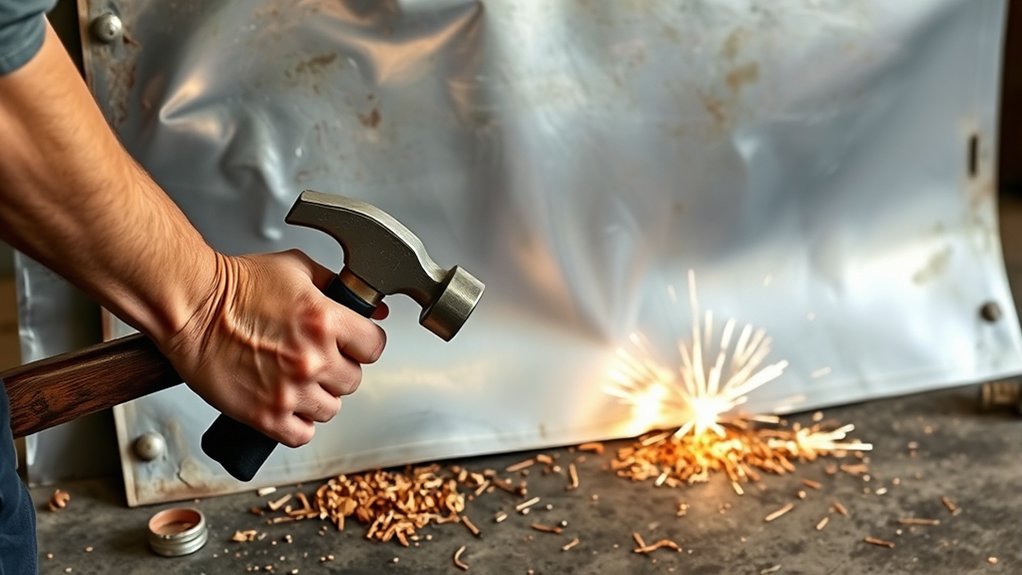
Hammer-and-dolly work gives precise control when you can reach both sides of the panel. Match the dolly to the panel crown and keep the hammer face clean.
Hammer-On-Dolly
With hammer-on-dolly work, the dolly sits directly behind the hammer strike. The metal is squeezed between the two tools, which can smooth and stretch it. Use this method lightly for planishing a shrunken weld or leveling a small high area. Too much hammer-on-dolly work can create oil canning.
Hammer-Off-Dolly
With hammer-off-dolly work, the dolly supports a low area while the hammer taps a nearby high area. This can move the shape with less direct stretching. It is often the safer first choice when a high and low sit next to each other.
Working a Weld Seam
When a butt-welded mild-steel seam has shrunk, work in short sections. Support the seam, tap lightly, and check the panel after each section. Do not strike a structural weld or a weld on high-strength material unless the repair procedure calls for that operation.
Assessing and Monitoring Repair Progress
Measure and inspect the panel throughout the repair, not only at the end. Check diagonals, panel gaps, body lines, mounting holes, and the reflection across the surface.
- The panel improves, then springs back: An unstable stretched area may still need controlled shrinking or better edge support.
- A low spot gets deeper after hammering: The dolly may be in the wrong place, or the hammer blows may be stretching the surrounding metal.
- New waves appear while grinding: Stop and let the panel cool; grinding heat can warp thin sheet metal.
- The metal turns blue, cracks, or tears: Stop. The area has been overheated, overworked, or damaged beyond a simple finishing repair.
- You cannot reach the back: Do not improvise on a structural or vehicle safety part. Use an approved access method, paintless-dent method, or professional repair.
- Oil canning remains after several small cycles: The panel may be stretched too far for a simple DIY correction.
Take photos after each major step. If a correction makes the panel worse, return to the last stable condition rather than adding more heat or force.
Preventing Future Sheet-Metal Warping
The best repair is to limit distortion during the weld. Thin sheet metal needs tight fit-up, small welds, and time to cool.
- Trim the joint for a tight, even gap before welding.
- Clamp the panel without forcing the surrounding shape.
- Tack the joint at spaced points, then fill between the tacks in a staggered sequence.
- Use short weld bursts instead of a continuous bead when the joint design allows it.
- Move to a distant area between welds so heat does not build in one spot.
- Let the panel cool naturally before adding more weld.
- Use the smallest sound weld that meets the approved joint design.
- Use the shielding gas type and flow specified for the wire, process, and material.
- Do not pre-stretch an edge unless the drawing or approved repair method calls for it.
- Use a copper or aluminum backing bar when suitable for the joint and process.
- Keep grinding passes brief and avoid heating the panel during weld dressing.
Miller’s auto-body sheet-metal guide recommends short weld bursts, good fit-up, and full cooling between welds to limit distortion. Lincoln Electric also explains fixturing, welding sequence, and heat-control methods in its weld-distortion guide.
When to Seek Professional Help
Contact a qualified welding or collision-repair professional when the distortion affects structural integrity, panel fit, door or glass openings, suspension or restraint mounting areas, crash structures, pressure vessels, load-bearing equipment, or safe operation.
Professional help is also the safer choice when the panel is high-strength steel, ultra-high-strength steel, aluminum, heat-treated alloy, galvanized material with unknown coatings, or a complex shape with limited backside access. Stop if your work creates cracks, tears, severe oil canning, a sharp crease, or more distortion than you started with.
For vehicle work, a skilled shop should verify the VIN, model year, construction material, sectioning limits, welding method, corrosion protection, and any required pre- or post-repair scans and calibrations. Precision matters more than saving a panel when occupant protection may be affected.
Safety Disclaimer: This article is for general information and does not replace a welding procedure, engineering specification, vehicle body repair manual, workplace safety program, or qualified technician. Do not heat-straighten or modify a structural or safety-related part unless the applicable manufacturer or engineer-approved procedure permits it.
Frequently Asked Questions
How do you fix a warped panel after welding?
For a repairable mild-steel panel, map the high and low areas, dress the weld flush without thinning the base metal, planish the shrunken weld with light hammer-and-dolly work, and shrink remaining high or unstable areas only when needed. Recheck the panel after every small correction.
How do you correct distortion after welding?
First remove external stress and identify whether weld shrinkage, a stretched area, poor fit-up, or edge movement caused the distortion. Correct the cause in short sections with approved planishing, shrinking, fixturing, or replacement methods.
How do you flatten a warped piece of metal?
Use a straightedge and reflected light to map the shape before working it. Support low areas, reduce nearby highs with light hammer-off-dolly work, planish a shrunken weld where appropriate, and use controlled shrinking only on a material that safely allows it.
Does welding cause warping?
Yes. The weld and nearby metal expand during heating and contract during cooling. Uneven shrinkage pulls the panel out of shape. Tight fit-up, short weld bursts, staggered welding, good clamping, cooling time, and backing bars can reduce the movement.
Can you fix oil canning after welding?
Mild oil canning in repairable mild steel may improve after the shrunken weld is planished and the stretched high area is carefully reduced. Severe oil canning, sharp creases, cracks, or safety-related vehicle panels should be assessed by a professional.
Should you cool a shrinking-disc repair with water?
Air cooling is the safest default. Some traditional mild-steel techniques use a damp cloth, but rapid water quenching should not be used on unknown alloys, structural parts, high-strength steel, aluminum, or vehicle panels unless the approved procedure specifically allows it.
Can you use a torch to shrink a warped vehicle panel?
Do not use a torch unless the vehicle maker’s exact repair procedure permits that heat source and method. Many modern panels contain high-strength steel, aluminum, adhesives, coatings, wiring, foam, or nearby components that heat can damage.
Conclusion
You can correct many mild weld warps in non-structural mild steel by identifying the distortion first, dressing the weld carefully, planishing shrunken areas, and using controlled shrinking only when the material allows it. The process depends on light corrections and frequent checks, not heavy hammering or repeated heat.
Start by confirming the material and repairability, then mark the high and low spots before touching a grinder or hammer. If the panel affects structure, safety, fit, or an unknown modern vehicle material, stop and use the OEM procedure or a qualified repair professional.
Sources
- Miller Electric: Successfully Welding Sheet Metal With MIG and TIG — heat control, skip welding, fit-up, and backing bars.
- Miller Electric: How to MIG and TIG Weld Auto Body Sheet Metal — tack spacing, short weld bursts, cooling, and controlled grinding.
- Lincoln Electric: Weld Distortion — causes and methods used to limit welding distortion.
- Occupational Safety and Health Administration: 29 CFR 1910.252 — welding, hot-work, eye, clothing, and ventilation requirements.
- I-CAR: Cold Straightening — material limits, OEM authorization, and repair-versus-replace guidance.
- I-CAR: Dressing Steel GMA Welds — grinding welds flush without reducing base-metal thickness.




