To manage heat when welding auto body panels, you should use .023 wire, set the welder at the low end of the chart, and verify fusion on scrap first. Clean both panels to bare metal and keep the gap tight. Make short tack or stitch welds, skip around the seam, and let each tack cool before the next. Use copper backup if needed. Planish the welds to control shrinkage, and there’s more to refine your results.
Prevent Warping in Auto Body Welding
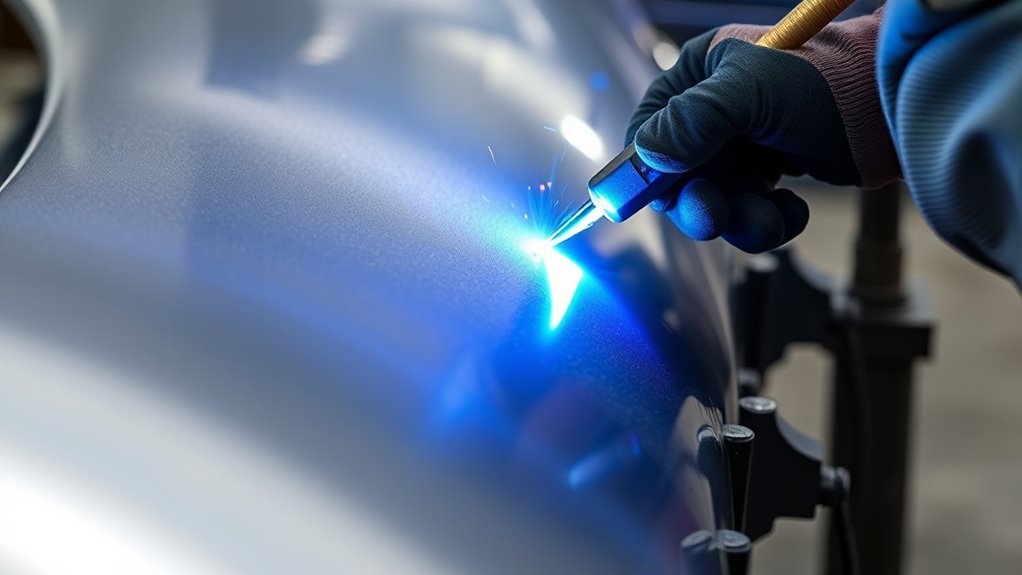
To prevent warping in auto body welding, use stitch welding or short tack welds so you keep heat concentrated for only a brief moment at each spot. You’ll preserve panel shape by limiting thermal buildup and keeping heat control disciplined. Skip around the seam or alternate welding directions so each area can shed heat before you return. That rhythm reduces distortion and keeps thin sheet metal from fighting back. Set your welder to the lowest output that still gives full fusion; if you overdrive it, you’ll invite panel movement. After each weld, use compressed air to cool the metal fast, and don’t add another bead until it’s cool enough to touch. Keep stickout length steady and wire speed consistent so penetration stays predictable without overheating the panel. This method gives you cleaner results, tighter fitment, and the freedom to build without unnecessary rework. Additionally, maintaining a tight arc ensures better heat distribution, reducing the risk of burn through.
Choose the Right Wire and Settings
Choose .023 wire for sheet metal so you keep heat input low and reduce warping; larger wire like .035 adds more heat than you need.
Set your welder to the low end of the machine chart, then verify fusion on scrap before you weld the panel.
Tune wire speed to match the arc; if the wire feeds too fast or too slow, you’ll raise heat and lose control of the bead. Additionally, maintaining proper stick-out length is crucial for achieving optimal arc stability and preventing excessive heat.
Products Worth Considering
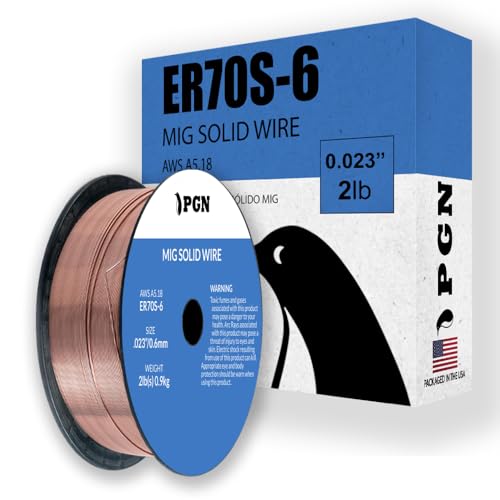
Consistent Welding Performance ... ER70S-6 solid MIG welding wire is designed to provide stable arc characteristics and reduced spatter during single-pass and multi-pass welding applications. Suitable for T-joints, butt joints, and lap joints.

ER70S-6 MIG WIRE: It's the most common wire of the copper-coated mild steel GMAW (MIG) wires for single or multiple pass welding.

Size: ER70S-6, 0.023 inches (0.6 mm) in diameter and 11 lbs
Wire Size Matters
Wire size has a direct effect on heat input, so for sheet metal you’ll usually get better control with 0.023 mm wire instead of 0.035 mm, which helps reduce warping.
You should match wire speed to that smaller diameter to keep the arc stable and the heat input predictable. For panels up to 1.5 mm, 0.6 mm wire gives you finer control; above 1.5 mm, 0.8 mm wire can feed more consistently.
ER70S-7 also works well on thinner stock because its higher manganese content helps you lay flatter welds.
Keep the same wire brand and type from job to job, and test any new roll before you weld.
Then adjust voltage for the wire size so you fuse cleanly without dumping excess heat into the panel.
Set Heat Low
Start with the lowest heat setting that still gives you solid fusion, especially on thin auto body panels where burn-through is easy to cause. You’re protecting the metal, your time, and your freedom to repair without rework. Use 0.023 in wire for sheet metal; it gives tighter control and cuts heat input. ER70S-7 can help you weld thinner material with flatter beads and steady penetration. Check the weld, then adjust voltage and wire speed just enough to keep the puddle calm and the HAZ small.
| Setting | Effect | Use |
|---|---|---|
| Low heat | Less burn-through | Thin panels |
| 0.023 wire | Better control | Sheet metal |
| ER70S-7 | Flatter welds | Thin material |
Tune Wire Speed
Dial in wire speed to control heat as much as voltage does: on thin sheet metal, a smaller wire such as 0.023 in. helps reduce heat input and gives you finer control, while a compatible MIG welder keeps feed consistent and prevents burn-through.
Set wire speed to match thickness; too slow raises heat, too fast crowds the puddle. Keep stickout steady so current stays predictable and heat management stays under your command.
Try ER70S-7 on thinner panels for smoother fusion and a flatter bead.
- Faster wire speed cuts dwell time.
- Slower feed can overheat edges.
- Correct settings free you from distortion.
Clean and Fit Panels Before Welding
Before you strike an arc, clean both panels to bare metal and remove oil, paint, rust, and other contaminants so the weld starts from a stable, defect-free surface. That clean substrate gives you the best chance at a sound weld and keeps hidden contamination from turning into porosity or weak fusion.
Set the fit-up tight so the edges meet with no air gaps; gaps trap heat, invite distortion, and pull the panel out of shape. Use clamps or supports to lock alignment before you weld, because movement ruins joint quality fast.
Check material thickness and, when needed, place copper backing to absorb excess heat and help prevent warping. Also respect the panel’s crown shape; if you force it flat, you can trigger oil canning after the repair. When you preserve the original contour, you keep the panel stable, efficient, and free from unnecessary heat damage. Additionally, be mindful of maximum fillet weld size, as improper sizing can lead to excessive heat input and warping.
Use Hot Tacks for Auto Body Welding
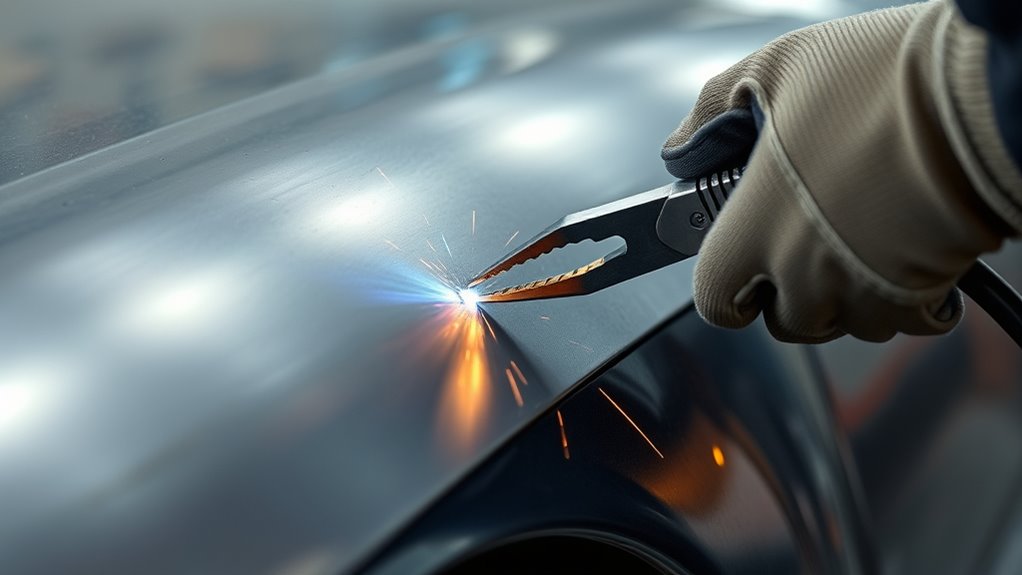
Use hot tacks to control heat input by making quick, controlled weld deposits that bond the panel without building excessive temperature. When you use hot tacks on a welding sheet, keep the gap tight so the edges stay aligned and the metal doesn’t wander.
Work from one end to the other, overlapping each dot by about 1/3 to 1/2 so heat spreads evenly and the joint holds firm.
- Let each tack cool until you can touch the panel.
- Keep your tacks small, fast, and deliberate.
- Correct any shrinkage with a hammer-on dolly after welding.
This approach gives you disciplined control, limits warping, and keeps the panel’s shape under your command. You’re not forcing the metal; you’re guiding it. Additionally, remember to wear flame-resistant clothing to protect yourself from heat and sparks during the welding process.
Products Worth Considering

✅Arc & Flame Resistant for Life - This 7 oz material is a soft, breathable cotton. They will remain arc and flame retardant regardless of the washes and wear cycles. These cotton fr balaclavas are NFPA 70E Compliant, HRC / CAT 2, EBT = 12 cal/cm² and meet ASTM F1506.

Functional FR MATRIALS:Water & Oil Repellent Finish.6.5OZ Light weight Cotton Twill FR Treated,FR Buttons,FR Sewing Threads!Flame Resistant 100%C NFPA2112 Fire Retardant welding Shirt .Clear FR Tag on front.UL NFPA2112 Classifeid,More FR info On Neck Tag About UL Certification.We Attached A Small Sample Inside Package For Cunstomers Simple FR Try

Exceptional Safety: Expertly crafted from 310g (11 oz) flame-resistant cotton, this NFPA2112-certified welding jacket is ideal for TIG and MIG welding, providing reliable protection against sparks and molten slag. Designed to be worn by both men and women, it ensures all-day safety and comfort
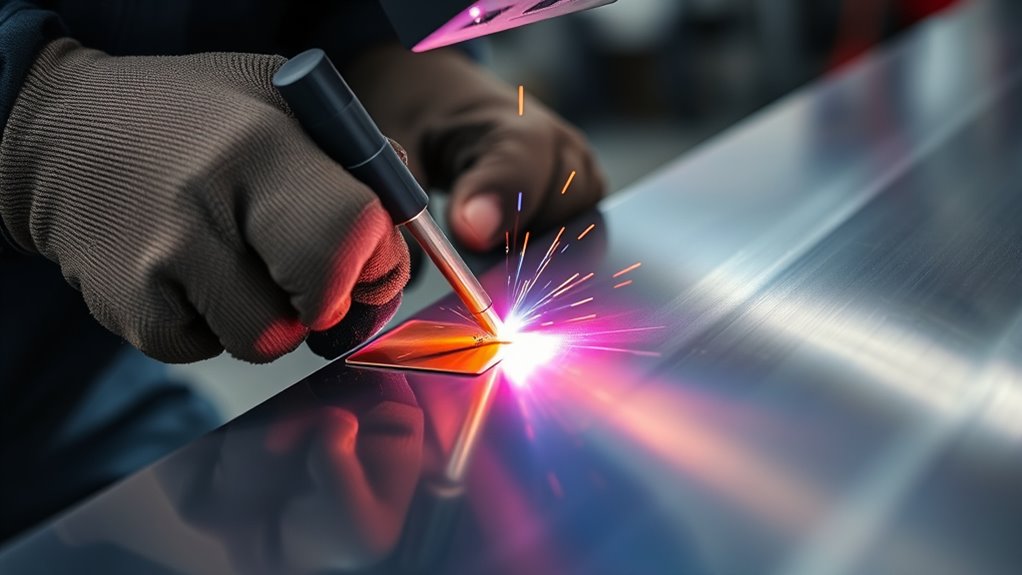
Stitch Weld to Control Heat
Stitch welding lets you control heat by laying down short, spaced welds instead of a continuous bead, so the panel stays cooler and less likely to warp.
With stitch welding, you make controlled tacks, leave gaps, then return after each area cools. That pause is essential for heat management because thin auto body metal can distort fast.
Controlled tacks, cooling pauses, and steady rhythm keep thin metal calm and help prevent warping.
Overlap each stitch by about one-third to one-half so you keep a solid seam without dumping excess heat into the panel. If your welder has stitch mode, use it; it helps regulate heat distribution and keeps you precise on delicate sheet metal.
Start from the same point each time and follow a steady pattern so heating stays even. You’re not fighting the metal—you’re guiding it.
That discipline gives you clean joins, flatter panels, and the freedom to shape repairs on your terms, not the panel’s. Additionally, grinding off zinc from galvanized steel is crucial to avoid toxic fumes and achieve stronger welds.
Skip Around as You Weld
Skip around as you weld to spread heat across the panel instead of building it up in one spot. In your welding process, jump to distant points and return later so heat management stays under control. This keeps thin sheet metal flatter and lowers the chance of warping, oil canning, or a wide heat-affected zone.
- Weld at intervals like 0, 6, 12, then 3 and 9.
- Let each tack cool to a touchable temperature before you continue.
- Alternate direction or location so cooling stays even.
You’re not chained to a linear bead. You direct the sequence, let the panel breathe, and keep the joint stable. That discipline gives you cleaner welds and better structural integrity, especially on material rated at 440 MPa or lower. Additionally, managing heat input effectively can prevent burn-through and improve overall weld quality.
When you skip around with intent, you gain control, preserve fit, and keep the panel free.
Back up Thin Metal With Copper
Back up thin metal with copper, and you give the weld a heat sink and a solid stop behind the puddle. You use a copper backer to pull excess heat out of the panel fast, which helps you hold shape in thin sheet metal.
Its high thermal conductivity improves heat distribution, so the surrounding area stays more stable while you build the bead. Set the copper tightly against the backside of the joint; if you leave a gap, heat can pool unevenly and invite distortion.
Copper’s high conductivity spreads heat fast, keeping the surrounding metal stable and reducing distortion.
The backer also blocks burn-through, giving you more control when you need to fuse delicate auto body panels. Combine it with stitch welding so you can place short, deliberate welds and keep the panel under control. Additionally, using heat sinks during the welding process minimizes the risk of warping and ensures a smoother finish.
With this setup, you work cleaner, waste less material, and keep your metal free to stay flat, strong, and ready for finish work.
Keep Gaps Tight for Better Fusion
You need a tight fit-up to get consistent fusion and keep heat from concentrating in one spot. Hold your panel gap to about 1/16 inch so you can get good penetration without overloading thin material. Use clamps or backing supports to maintain alignment and reduce the chance of warping, poor fusion, or oil canning. Additionally, using dedicated stainless brushes can further prevent contamination and enhance the overall quality of your welds.
Tight Fit-Up Matters
Tight fit-up is critical when welding auto body panels because small gaps help concentrate heat where it’s needed and reduce the heat-affected zone, lowering the risk of warping and distortion. You should hold a tight fit-up under 1mm so the arc can fuse both edges cleanly.
Larger openings steal heat, weaken penetration, and invite poor joint strength. Clamp the panels firmly to stop air gaps that can trap impurities and spoil the weld. Use backing supports, like copper backers, to stabilize the seam and resist burn-through.
Check alignment before you strike and again while you weld, because a slight shift can free the panel from control.
- Tight contact improves fusion
- Stable support limits distortion
- Inspection keeps the joint true
Gap Control For Fusion
Once the panels are lined up, keep the seam gap as small as possible so the arc can fuse both edges without chasing air pockets or excess heat spread. Aim for 0.5 mm or less on thin sheet; that tight fit gives you better penetration and cleaner fusion.
Use clamps, magnets, or backing bars to hold the joint steady while you work, because any shift opens the seam and steals heat from the puddle. Good gap control also limits distortion, so you keep the panel shape true and the repair easier to finish.
When you control the opening, you control the weld path, reduce warping, and build a stronger joint that lasts longer.
Let Welds Cool Between Passes
Let welds cool to the touch between passes so you can limit warping and heat distortion, especially on thin auto body panels. When you let cool, you slow heat buildup and keep the sheet metal stable, which helps you work with precision instead of fighting movement.
Test each area with a bare hand; if you can touch it comfortably, it’s ready for the next pass. That simple check keeps your process disciplined and your panel free.
- Space tacks farther apart at first.
- Shorten the spacing only after cooling.
- Use compressed air sparingly to assist cooling.
Don’t rush the cycle. Fast cooling can lock stress into the metal and raise the chance of cracks. Instead, control the pace, monitor temperature, and advance methodically. Remember that preheating cast iron can also mitigate the risk of cracking during welding.
Planish Welds to Prevent Oil Canning
You should planish along the weld pattern with a hammer and dolly to control shrinkage distortion before it spreads into the panel.
Keep the blows consistent so you can restore the original crown without stretching low spots or creating new highs.
This step helps you flatten the weld and reduce oil canning in the finished panel. Additionally, ensuring proper cleaning of aluminum before welding can further enhance the quality of your panels.
Planish Along Weld Pattern
Work the weld with a hammer and dolly as soon as it cools enough to handle, planishing along the weld pattern to restore the panel’s shape and reduce oil canning.
Use controlled, light blows so you can flatten the bead without stretching the metal. Watch the heat-affected zone and keep the weld as flat as possible; that makes planishing easier and limits finishing work.
- Follow the weld sequence in order.
- Keep stress spread evenly across the seam.
- Stop if the panel starts to wave.
When you planish immediately, you free the panel from heat-bent tension while the metal is still responsive.
Stay systematic, and you’ll build a tighter, cleaner seam with less distortion and more control over the final shape.
Control Shrinkage Distortion
To control shrinkage distortion and prevent oil canning, stitch weld or use short tacks so heat stays localized and the panel doesn’t pull in unevenly.
Keep fit-up tight before welding; gaps let the metal move and amplify shrinkage distortion.
Watch the heat-affected zone closely and stop before the HAZ spreads too far, because controlled heat gives you flatter welds and less grinding later.
After each weld section, planish along the weld pattern with a hammer-on dolly to release localized contraction and lock in alignment.
Use steady, precise blows, not brute force, so you can correct distortion without overworking the panel.
This method keeps the sheet stable, preserves its intended shape, and gives you the disciplined control you need at the bench.
Restore Panel Crown
Restore the panel crown after welding by planishing the weld line with a hammer-on dolly so the metal stretches back into shape and doesn’t oil-can later. You should work systematically along the seam, using planishing to relieve shrinkage and recover the original contour.
Keep heat low and focused; a minimal heat-affected zone helps you avoid warping and preserves panel freedom.
- Use tight fit-up and progressive tacking before welding.
- Strike lightly, then check the crown and surface.
- Test your weld settings on scrap and refine them.
As you move, listen for solid support under the dolly and watch for flat spots. Flattened welds need less grinding, so you save time and keep the panel clean.
Control each pass, and you’ll keep the body line strong, smooth, and ready for finish work.
Frequently Asked Questions
How to Reduce Heat When Welding?
You reduce heat by using stitch welding techniques, skipping between spots, lowering amperage, and letting each weld cool. Use heat control practices and a copper backer so you can weld precisely without warping panels.
Is It Better to TIG or MIG Weld Car Panels?
You’ll usually choose MIG for car panels: MIG efficiency makes thin-sheet repairs faster, while TIG advantages give you cleaner, cooler, more precise welds if you’ve got the skill and want distortion minimized.
Why Do Welders Not Live Long?
You don’t die young because welding itself is fatal; you face health risks from welding exposure, fumes, UV, noise, and strain. If you control ventilation, PPE, posture, and breaks, you can extend your working life.
What Is the Golden Rule in Welding?
You’ll often lose less than 1% strength when you control heat, and that’s the golden rule: use the lowest setting that fuses properly. You’ll respect metal properties, apply welding techniques, and avoid distortion.
Conclusion
When you weld auto body panels, you control heat like a dimmer switch, not a spotlight. Choose the right wire and settings, keep panels clean and tight, and use hot tacks and stitch welds to spread the thermal load. Back up thin metal with copper, let each weld cool, and planish to settle the panel. If you manage heat patiently, you’ll keep warping down and the metal smooth, flat, and ready for paint.


