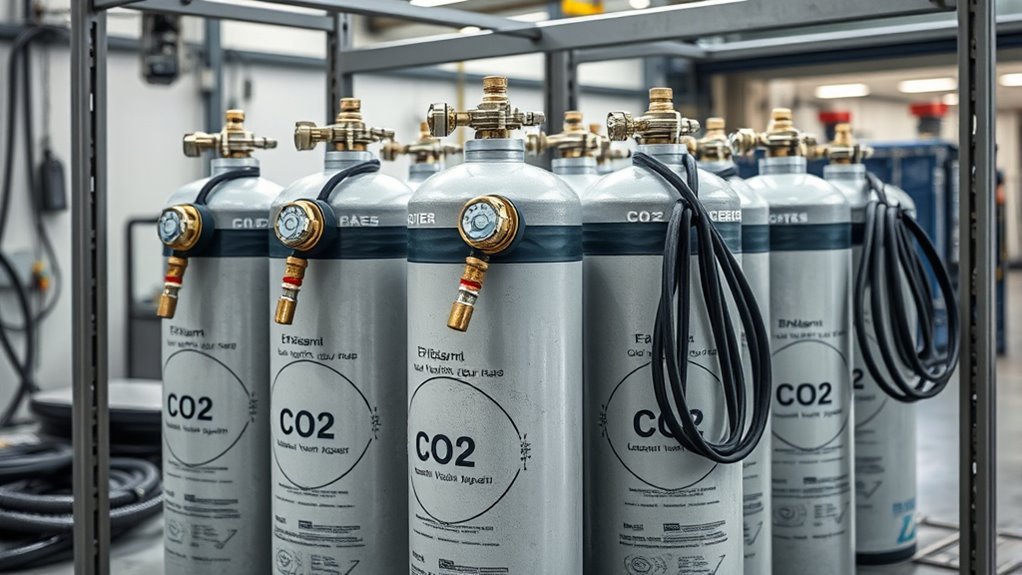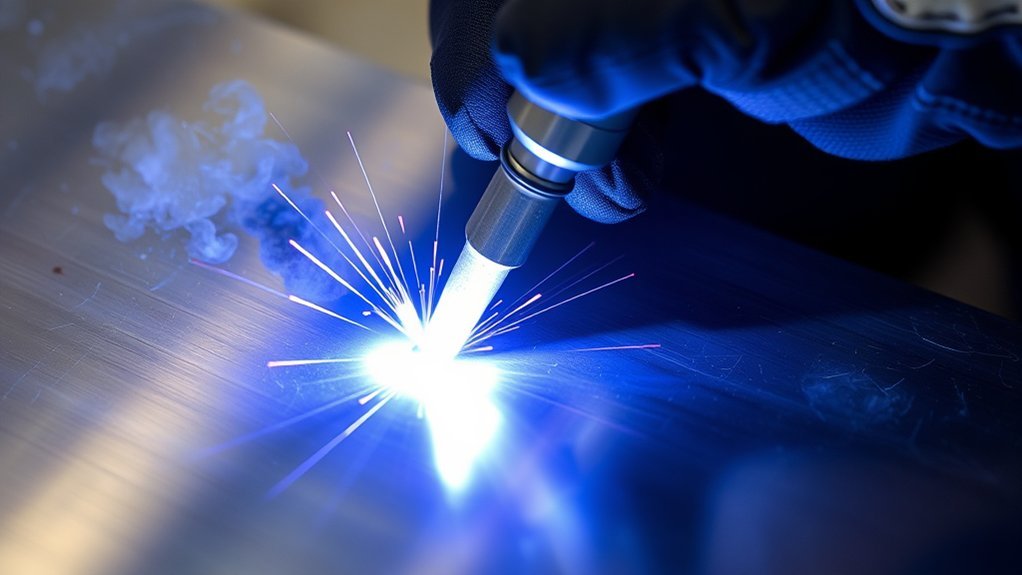
Backing gas protects the root side of a stainless steel weld while the metal is hot enough to react with air. A controlled purge can prevent heavy heat tint, rough black oxide, and loss of corrosion resistance. It does not replace clean metal, correct fit-up, torch shielding, heat control, inspection, or a qualified welding procedure.
Quick Answer
Seal the root side, connect a separate argon purge line, provide an unrestricted vent, and purge until a suitable low-oxygen analyzer reaches the WPS limit. Maintain gentle flow during the root and hot pass, then continue until the root cools. Inspect the root and remove every temporary purge dam.
Key Takeaways
- Use clean 100% argon as the general-purpose backing gas unless the alloy-specific WPS approves another gas.
- Control the torch gas and purge gas separately. A MIG shielding mixture is not automatically suitable as a root-purge gas.
- Use a low-range purge oxygen analyzer for critical work instead of relying only on time, flow rate, or weld color.
- Keep an open vent and use gentle flow. Back purging needs gas movement, not pressure inside a sealed pipe.
- Silver or pale-straw color often suggests better shielding, but the WPS, customer specification, service, and inspection criteria determine acceptance.
At a Glance
| Time Required | Often 10–30 minutes for setup and purging in a small local chamber. Large pipe, complex branches, leaks, or very low oxygen limits can require more time. |
| Difficulty | Intermediate. The process is easier with purpose-made purge plugs, separate flow controls, a diffuser, and a low-range oxygen analyzer. |
| Tools Needed | Argon cylinder, dual flowmeter or separate regulators, clean purge hose, diffuser, purge dams or plugs, unrestricted vent, low-range purge analyzer, leak-check solution, stainless cleaning tools, local exhaust, and welding PPE. |
| Cost | Low to moderate for basic plugs, hose, and argon. Purpose-made purge systems and calibrated low-ppm oxygen analyzers cost more but reduce rejected welds and wasted gas. |
Why Backing Gas Matters on Stainless Steel

When you weld stainless steel, the torch shielding gas protects the arc, tungsten, molten puddle, and nearby weld face. The root side can still be exposed to air. Backing gas, also called back-purge gas or root-protection gas, replaces that air with a controlled protective atmosphere.
Without effective root protection, hot stainless can form thick, rough oxide. Welders commonly call severe black root oxidation sugaring. The oxidized surface may be rough, difficult to clean, and less resistant to corrosion. It can be unacceptable inside sanitary tubing, pharmaceutical lines, food-processing systems, exhaust tubing, chemical piping, and other corrosion-sensitive fabrications.
TWI explains that heat tint creates a chromium-rich oxide over a chromium-depleted layer and can impair the corrosion resistance of a stainless weld. A controlled back purge reduces this root oxidation while the weld and adjacent heat-affected zone are hot.
Warning: Argon, helium, and nitrogen can displace breathable oxygen. Never purge a tank, vessel, pit, crawl space, pipe spool, or other enterable space without evaluating confined-space hazards and following the applicable written entry procedure.
Backing Gas vs. Torch Shielding Gas
Backing gas and torch shielding gas protect different areas. The torch gas exits the welding cup and protects the front side. The backing gas flows behind or inside the joint and protects the root. They may both be argon during TIG welding, but they need separate flow control.
- Torch shielding line: Supplies the TIG torch and follows the machine’s pre-flow and post-flow timing.
- Purge line: Supplies the enclosed root area and normally starts before welding begins.
- Separate control: A dual flowmeter or two appropriate regulators lets you adjust one line without changing the other.
- Continuous purge: Do not connect the purge through a valve that shuts off automatically when the arc stops unless the qualified setup is designed to maintain the required cool-down protection.
This distinction is especially important with MIG welding. Argon-CO2, argon-oxygen, and tri-mix gases may be suitable front-side shielding gases for specific GMAW procedures, but their reactive components make them unsuitable as general-purpose stainless root-purge gases.
When You Need Backing Gas
Use backing gas when the root side must remain clean, smooth, or corrosion resistant and would otherwise be exposed to air during welding. The service requirement and qualified procedure matter more than whether the job looks cosmetic from the outside.
- Open-root stainless pipe: The internal root is directly exposed to air without a purge.
- Sanitary and high-purity tubing: Food, beverage, dairy, pharmaceutical, and semiconductor systems often require tightly controlled internal surfaces.
- Thin stainless exhaust tubing: A purge helps prevent rough oxide and excessive internal scaling.
- Critical corrosion service: Chemical, chloride, moisture, salt, and process environments can make root oxidation especially important.
- Full-penetration sheet or plate joints: Use a localized enclosure or backing box when the underside cannot be shielded by the torch.
- Procedure-controlled work: Follow the WPS, code, customer specification, and inspection plan.
A full purge may not be required for a non-penetrating fillet weld or a cosmetic joint whose root is not exposed to service. Some qualified welding processes, backing fluxes, backing tapes, or proprietary controlled-transfer procedures can also reduce or eliminate purging in limited applications. Do not make that substitution on code, sanitary, duplex, pressure, or corrosion-service work unless the procedure has been approved and qualified.
Note: Back purging protects the root atmosphere. It does not correct incomplete penetration, lack of fusion, excessive reinforcement, undercut, contamination, or the wrong filler metal.
Best Backing Gases for Stainless Steel
Clean 100% argon is the safest general-purpose backing gas for stainless steel. It is inert, widely available, and suitable across a broad range of stainless grades. Other gases can be technically useful, but alloy family, service conditions, gas safety, and the WPS must control the choice.
| Gas | Appropriate Use | Important Limits |
|---|---|---|
| 100% argon | Default root-protection gas for most stainless TIG welding and many other open-root procedures. | Use clean, dry gas, uncontaminated hose, leak-free fittings, and an open vent. |
| Nitrogen | Procedure-specific use on selected nitrogen-bearing austenitic, duplex, or highly alloyed stainless grades. | Do not treat nitrogen as a universal low-cost substitute. It can alter root metallurgy and is unsuitable for some grades, including ferritic applications unless an authoritative procedure specifically permits it. |
| Nitrogen-hydrogen forming gas | Specialized, qualified procedures for compatible austenitic stainless steels. | Hydrogen-containing mixtures must not be used as a blanket choice for ferritic, martensitic, or duplex stainless steels. Follow the WPS and gas supplier’s handling requirements. |
| Helium or argon-helium mixtures | Specialty qualified procedures where gas behavior, thermal conductivity, or production requirements justify the mixture. | Not normally needed for routine stainless back purging. Helium also behaves differently from argon during displacement and is more difficult to contain. |
| CO2, oxygen, shop air, or ordinary MIG mixtures | Not suitable as general stainless backing gases. | They can introduce oxygen, carbon, moisture, or other contamination to the hot root. |
The worldstainless Welding Handbook discusses backing-gas selection and the need for very low oxygen around the root. For any code, sanitary, pressure, duplex, or customer-controlled job, use the gas listed in the qualified WPS rather than choosing by price or availability.
Products Worth Considering

WIDE APPLICATION: It easily connects to Argon, Helium, and Argon/CO₂ mixed gas tanks via the CGA-580 inlet nut. No additional adapters are required. Featuring superior airtight and leak-proof performance, it achieves stable and sealed gas supply with minimal gas loss. This regulator is ideal for MIG/TIG welding, chemical processing, general industrial use, and electronics industry applications.
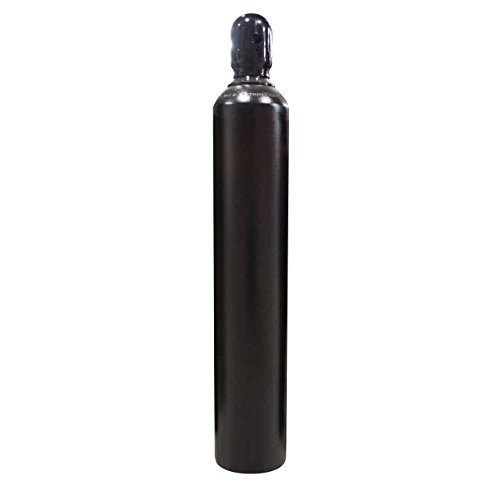
All HP cylinders come with a 10 year hydrotest date stamped.

APPLICATION: The ARCCAPTAIN gas pressure regulator can be used with argon, helium, and carbon dioxide gas tanks.
Tools and Materials for Back Purging
Gather the complete setup before sealing the joint. Opening a purge chamber after it reaches a low oxygen level can force you to begin the purge cycle again.
- Approved purge gas: Usually clean 100% argon.
- Separate flow control: A dual flowmeter regulator or an independently regulated purge supply.
- Clean purge hose: Keep it dry and free from oil, dirt, and shop-air contamination.
- Gas diffuser: Helps slow and distribute the incoming gas instead of creating a high-velocity jet.
- Purge dams or plugs: Commercial plugs, inflatable dams, approved water-soluble paper, foil enclosures, or a rigid backing box.
- Open vent: Large enough to prevent pressure buildup throughout purging and welding.
- Low-range purge oxygen analyzer: Suitable for the WPS oxygen limit and calibrated according to its manufacturer’s instructions.
- Leak-check solution: Compatible with the fittings and cleaned away before welding where necessary.
- Stainless-only cleaning tools: Dedicated brush, clean abrasives, lint-free wipes, and an approved solvent.
- Safety equipment: Welding PPE, suitable ventilation or local exhaust, cylinder restraint, and an ambient oxygen meter where the risk assessment requires one.
Note: A low-ppm purge analyzer and a workplace oxygen meter do different jobs. The purge analyzer checks residual oxygen inside the weld chamber. A workplace meter checks whether the surrounding air remains safe to breathe. Confirm that each instrument covers the required measurement range.
Products Worth Considering

⚛️ RESIDENTIAL: Perfect for residential combustion and ambient air quality analysis or probe / continuous sampling in confined or toxic spaces. Comes FACTORY-CALIBRATED. Turn ON and GO.

Easy-to-read backlit LCD display

⚙️ USES: For analyzing carbon monoxide levels from emissions of motorcycle, forklift, automotive, and small gas engines.
How to Set Up Backing Gas Step by Step
A reliable purge follows a controlled sequence. You need to clean the joint, minimize the purge volume, sweep air out without excessive mixing, verify the oxygen level, maintain protection through the hot passes, and account for every temporary dam afterward.
1. Confirm the Material and Procedure
Identify the stainless grade, wall thickness, joint design, welding process, filler metal, service, inspection method, and root acceptance requirement. For ordinary 304 or 316 TIG work, argon is a common starting point. Duplex, ferritic, martensitic, high-alloy, sanitary, pressure, and customer-controlled work requires procedure-specific decisions.
2. Clean the Joint and Root Area
Remove oil, marker, cutting fluid, adhesive, paint, moisture, oxide, and shop dirt from both sides of the joint. Use an approved solvent and a brush or abrasive dedicated to stainless steel. Carbon-steel particles can become embedded in the surface and cause later rust staining.
Allow solvent to evaporate fully before welding. Never weld over chlorinated solvent residue or clean with a product that the manufacturer does not approve for welding preparation.
3. Fit the Joint Correctly
Keep the root gap, land, alignment, and bevel consistent with the WPS. Poor fit-up can force you to dwell, add excess filler, or overheat the root. It can also open new air-leak paths as the joint moves during tacking.
4. Connect and Leak-Check the Gas Lines
Connect the torch and purge lines to separate flow controls. Inspect the regulator, flowmeter, fittings, O-rings, hose, and diffuser. Leak-check the connections before sealing the purge chamber, then remove any leak-check residue that could contaminate the weld area.
Confirm that the cylinder contains the intended gas. Do not identify a gas solely by cylinder color.
5. Install Purge Dams or Plugs
Limit the purge zone with commercial plugs, inflatable dams, approved water-soluble paper, collapsible dams, foil, heat-resistant tape, or a reusable backing box. Keep temporary materials far enough from the joint that welding heat will not burn, melt, shrink, or release contaminants from them.
Make the chamber reasonably leak-tight, but never eliminate the vent. Record the number and location of temporary dams when one could be left inside a completed pipe or assembly.
6. Place the Inlet, Vent, and Sample Point
For a calm argon purge, place the inlet near the low point and the vent near the high or remote point when the geometry allows. Argon is denser than air, but density alone will not overcome a poor diffuser, turbulence, dead-end branch, or short path between inlet and outlet.
Place the oxygen-analyzer sample tube where it measures gas that has swept through the weld zone. Do not sample directly beside the inlet, where the reading may appear clean before the rest of the chamber is ready.
7. Purge to the Required Oxygen Level
Begin with enough flow to create an orderly sweep through the enclosure. Watch the analyzer rather than starting the weld after an assumed number of minutes. If the reading stalls, check for leaks, trapped volumes, wet hose, contaminated dam materials, outgassing, analyzer faults, or a sample point that does not represent the weld zone.
The worldstainless Welding Handbook notes that oxygen at the root should be very low and cites a maximum of about 20 ppm for best results. That figure is not a universal acceptance limit. Your WPS, alloy, corrosion service, sanitary specification, and customer requirements may set a different value.
8. Reduce to a Stable Maintenance Flow
After the oxygen level reaches the required limit, reduce the flow if the setup allows it while watching the analyzer. Use the lowest stable flow that keeps oxygen below the job limit and maintains slight outward gas movement through the vent.
Do not restrict the vent to create pressure. Excess internal pressure can distort a thin root, increase penetration, cause concavity, move a dam, or push gas through the molten pool.
9. Weld and Maintain the Purge During Cooling
Maintain the purge through the root pass and any hot pass or following pass that can reheat the root enough to oxidize it. Do not shut the purge off automatically when the arc stops.
TWI notes that many specifications maintain the back purge through the root and hot pass, sometimes through additional fill passes, or until the root region is below about 250°C. Follow the WPS whenever it provides a specific pass sequence, time, or temperature.
10. Inspect the Root and Remove Purge Materials
Inspect the complete root with direct access, a mirror, or a borescope as appropriate. Check oxidation, penetration, reinforcement, concavity, undercut, incomplete fusion, porosity, and surface roughness against the job criteria.
Remove every plug, dam, tape piece, sample tube, and temporary component. For water-soluble paper, follow the product and system flushing procedure. Do not assume that a hidden dam will dissolve or flush out without verification.
Flow Rates, Purge Time, and Oxygen Targets
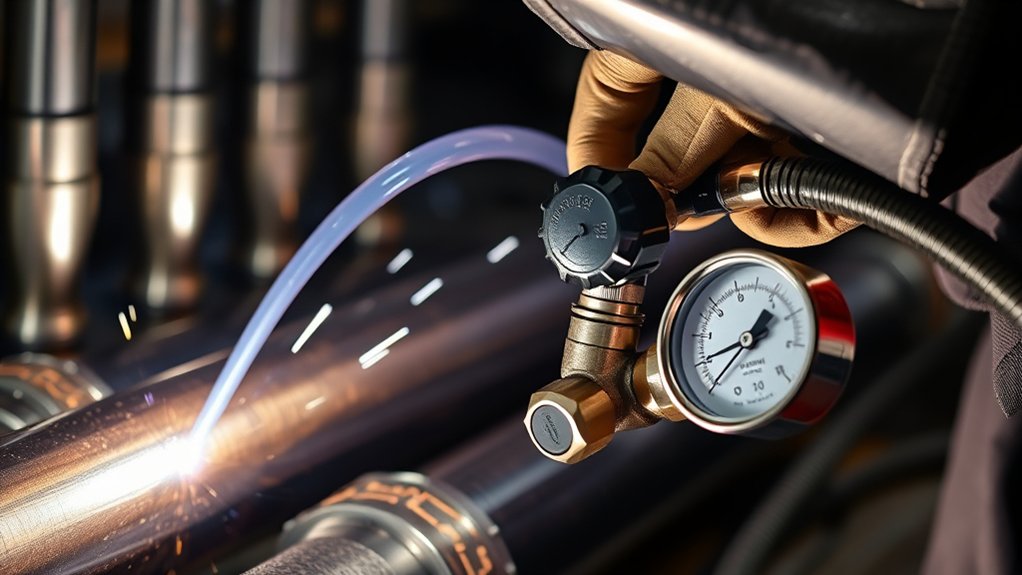
There is no universal CFH or L/min setting for every stainless weld. The useful flow depends on chamber volume, inlet size, diffuser design, vent restriction, leaks, joint gaps, pipe orientation, gas temperature, and the oxygen target.
You may see shop examples that begin around 20–40 CFH and later fall to 5–15 CFH. Do not treat those values as default settings. They can be excessive for a small localized chamber and inadequate for a large or leaky assembly. The WPS, analyzer trend, vent behavior, and root result should control the setup.
| Control Point | Practical Rule |
|---|---|
| Initial purge flow | Use enough flow to sweep the chamber without a high-velocity jet, excessive mixing, or pressure buildup. |
| Maintenance flow | Reduce only after oxygen is stable. Keep enough flow to hold the required reading throughout welding and cooling. |
| Vent | Keep it continuously open and sufficiently free-flowing so the chamber does not become pressurized. |
| Oxygen target | Follow the WPS or customer limit. About 20 ppm may be used as a best-results reference, but not as a universal code limit. |
| Cool-down point | Follow the specified pass sequence or temperature. Approximately 250°C is a published technical reference, not a substitute for the WPS. |
Estimating Theoretical Purge Time
You can estimate how quickly gas moves through the chamber with this formula:
Theoretical minutes per volume change = chamber volume in cubic feet × 60 ÷ flow in CFH
For example, a 0.25 cubic-foot purge chamber supplied at 10 CFH has a theoretical volume-change time of 1.5 minutes. The chamber will not reach a low oxygen level after only one theoretical change. Mixing, leaks, trapped pockets, and outgassing increase the real time, so use the calculation only for planning and confirm the final condition with the analyzer.
Pro Tip: Watch the oxygen trend while lowering the maintenance flow. If the reading begins to rise, find the leak or increase the flow slightly. Do not compensate for a major leak by blasting more argon into the chamber.
Do not confuse gas flow with gas pressure. Flow is measured in CFH or L/min. A successful purge has controlled gas movement and an open vent, not a sealed cavity held under pressure.
A high flowmeter reading does not prove that the root is protected. Low oxygen at the weld zone, stable flow, clean metal, correct heat input, and an open vent work together.
Setting Up Purge Dams and Enclosures
Purge dams reduce gas use by limiting the protected volume to the area around the weld. A compact, well-designed chamber normally reaches its oxygen target faster than an entire pipe spool or vessel.
Purge Dam Materials
- Commercial purge plugs: Useful for repeated tube and pipe work because they seal quickly and often include separate inlet, vent, and sampling ports.
- Inflatable purge dams: Suitable for larger pipe when the product is rated for the pipe size, temperature, and distance from the weld.
- Water-soluble paper: Common in pipe fabrication when the downstream system and flushing procedure allow it.
- Aluminum foil or compatible heat-resistant tape: Useful for temporary sheet, plate, or tube enclosures when kept away from direct heat.
- Rigid backing boxes: Effective for repeat bench work, longitudinal seams, and localized sheet-metal purging.
Do not use unidentified foam, ordinary plastic, adhesive, rubber, or paper close to the weld. Heat can make unsuitable materials shrink, burn, release fumes, contaminate the purge gas, or remain trapped inside the completed assembly.
Effective Enclosure Techniques
Keep the chamber as small as practical without placing the dams where welding heat can damage them. Seal unnecessary gaps, but maintain a clear gas path from the inlet, through the weld zone, to the vent and analyzer sample point.
Use a diffuser or low-velocity inlet rather than directing a narrow gas jet at the root. On pipe, position the inlet and vent so gas crosses the protected volume instead of moving directly from one port to the other.
Localized Purging for Sheet and Open Joints
For full-penetration sheet or plate welds, place a rigid backing box, shallow stainless enclosure, or carefully sealed foil chamber beneath the joint. Add a low-velocity gas inlet at one end and a vent at the other. Support the enclosure so heat and joint movement do not open a leak while welding.
For a short seam, the backing box only needs to cover the hot root and adjacent heat-affected zone. For a long seam, use a moving trailing enclosure only when the qualified setup maintains protection behind the arc long enough for the root to cool.
Dead Ends, Branches, and Complex Assemblies
Branches, reducers, valves, closed ends, and internal fittings can trap air. One clean reading at a convenient outlet may not represent every part of the assembly. Move the sample point, add temporary vents, use more than one purge zone, or verify multiple locations when the geometry creates isolated pockets.
Do not weld a dead-ended chamber with one gas inlet and no vent. Gas pressure can rise even when the flowmeter setting appears low.
Common Back-Purging Problems and How to Fix Them
Use the oxygen reading, weld appearance, chamber behavior, and root geometry together. One observation by itself may not identify the cause.
| Problem | Likely Cause | Fix |
|---|---|---|
| Black, rough, crusty root sugar | High oxygen, major leakage, purge stopped too early, or severe root overheating. | Stop and evaluate the weld. Repair leaks, repurge to the required limit, control heat, and maintain gas through cooling. |
| Blue, purple, or gray root tint | Partial oxidation, excess heat input, slow travel, or oxygen above the procedure limit. | Improve the purge, verify the sample point, reduce heat input where permitted, and apply the specified cleaning or repair procedure. |
| Oxygen reading will not fall | Leak, trapped air, contaminated hose, wet dam, outgassing material, restricted vent, or analyzer problem. | Leak-check the system, inspect dead ends, verify calibration, relocate the sample point, and remove unsuitable chamber materials. |
| Purge dam moves or blows out | Blocked vent, excessive flow, internal pressure, poor restraint, or dam too close to heat. | Open or enlarge the vent, lower the flow, secure the dam correctly, and increase its distance from the joint. |
| Root becomes excessively concave or penetration changes | Purge pressure is acting on the molten root or the vent became restricted. | Restore free venting, lower the maintenance flow, and confirm joint fit-up and welding parameters. |
| Good reading before welding, poor color afterward | A seal opened, the tack gap changed, a dam heated and leaked, oxygen rose during welding, or the root overheated. | Monitor during welding when possible, inspect seals and dams, reduce turbulence, and control heat input. |
| One part of the root is clean and another is oxidized | Uneven gas distribution, dead-end geometry, poor diffuser placement, or a local leak. | Change the inlet and vent layout, add a diffuser or sample point, and divide the assembly into smaller purge zones. |
| Porosity or dirty weld face | Joint contamination, wet gas path, poor torch shielding, contaminated filler, or tungsten contact. | Clean and dry the joint, inspect both gas systems, replace contaminated consumables, and correct torch technique. |
How to Judge Root Color and Weld Acceptance
Root color is a useful process clue, but it is not a universal acceptance standard. The British Stainless Steel Association explains that heat-tint color depends on alloy composition, oxygen level, exposure time, and surface finish. A color chart cannot by itself prove the root temperature, corrosion resistance, or code acceptance.
| Appearance | What It May Suggest | Required Action |
|---|---|---|
| Bright silver | Low oxidation and effective root shielding. | Still inspect penetration, profile, fusion, undercut, and all procedure requirements. |
| Pale straw or light tint | Limited oxidation or heat exposure. | Check the WPS and service criteria. It may be acceptable, require cleaning, or be rejected in high-purity work. |
| Blue, purple, or gray | Greater oxidation, excess heat, or inadequate purge quality. | Evaluate against the acceptance standard and apply the approved cleaning, testing, or repair procedure. |
| Black, rough, or sugary | Severe oxidation and poor root protection. | Do not cover it with another pass without evaluation. Removal and repair are commonly required. |
For sanitary, process, pressure, or corrosion-critical work, use the specified visual comparator, borescope inspection, surface treatment, nondestructive examination, or other acceptance method. Do not approve a root solely because it looks shiny from one viewing angle.
What to Avoid When Back Purging
| What to Avoid | Why It Matters |
|---|---|
| Using MIG gas, CO2, oxygen, or shop air as the purge gas | Reactive gas, moisture, or carbon can oxidize or contaminate the hot stainless root. |
| Sealing every opening with no vent | Pressure can move the dam, distort the root, or push gas through the molten pool. |
| Using high flow to hide a leak | Excess flow wastes gas and may increase mixing or root pressure without solving the leak. |
| Skipping root-side cleaning | Oil, moisture, adhesive, cutting fluid, and dirt can cause porosity or discoloration even in low oxygen. |
| Sampling oxygen beside the inlet | The analyzer may read clean incoming gas instead of the atmosphere surrounding the root. |
| Using an ambient oxygen meter as a low-ppm purge analyzer | The instrument may not have the range or resolution needed for weld-purge control. |
| Shutting off the purge when the arc stops | The root can oxidize during the hot pass or early cooling period. |
| Assuming nitrogen or forming gas is always acceptable | Suitability depends on stainless family, weld metallurgy, service, safety, and procedure approval. |
| Leaving a dam or temporary part inside the assembly | Foreign material can block flow, contaminate service, damage equipment, or violate inspection requirements. |
Safety Precautions When Using Inert Gases
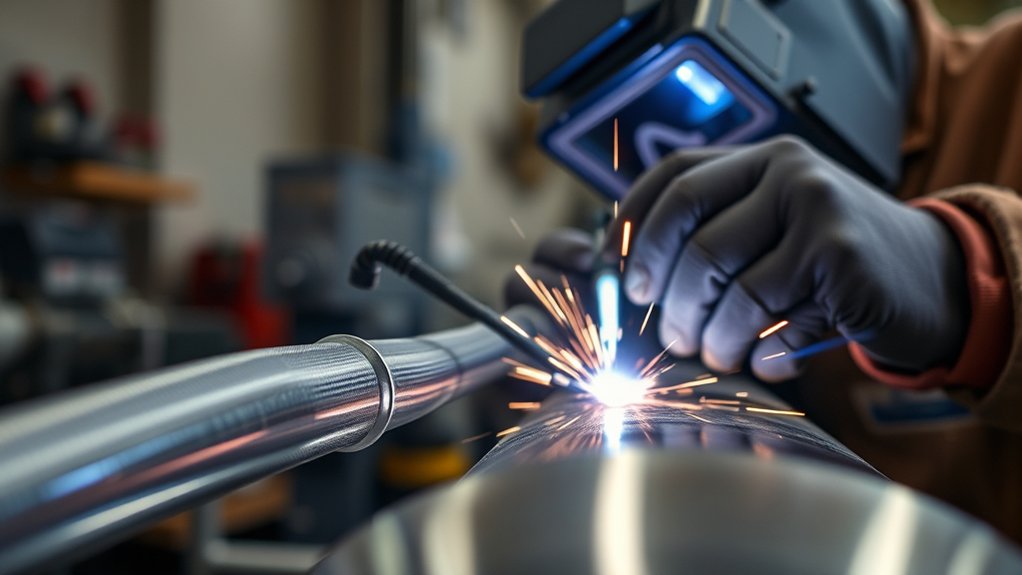
Argon, helium, and nitrogen are not poisonous in the usual sense, but they can displace oxygen without providing an obvious warning. OSHA defines an oxygen-deficient atmosphere as one containing less than 19.5% oxygen. Its permit-space rules also warn that inerting can create an immediately dangerous oxygen-deficient atmosphere.
General-industry work may fall under OSHA 29 CFR 1910.146. Construction work may fall under OSHA’s Confined Spaces in Construction rules. Other jurisdictions and industries may have additional requirements.
Stainless welding also creates fume hazards. OSHA identifies welding on stainless steel as a major potential source of hexavalent-chromium exposure. Use suitable local exhaust, keep the fume plume out of your breathing zone, and follow the exposure-control plan for the workplace.
Warning: A dust mask, filtering welding respirator, or organic-vapor cartridge does not supply oxygen. Never enter or lean into an oxygen-deficient space. Supplied-air respiratory protection and confined-space entry require a qualified written program, trained personnel, atmospheric testing, and rescue provisions.
- Ventilate the welding area. Use source capture or local exhaust suitable for stainless welding fumes and gases.
- Vent purge gas safely. Keep discharge away from your face, other workers, pits, floor openings, tanks, and enclosed corners.
- Use the correct atmospheric monitor. A purge analyzer does not automatically protect workers from an oxygen-deficient room or vessel.
- Keep equipment outside confined spaces. Follow applicable rules for gas cylinders, welding machines, hoses, and entry work.
- Secure cylinders. Keep them protected from impact, heat, electrical circuits, and unauthorized movement.
- Inspect regulators and hoses. Remove damaged fittings, cracked hose, or leaking equipment from service.
- Wear complete welding PPE. Use the correct helmet shade, eye protection, gloves, flame-resistant clothing, and hearing protection.
Best Practices for High-Quality Stainless Welds
Backing gas is only one part of a controlled stainless welding procedure. Cleanliness, heat input, joint preparation, filler selection, torch shielding, tungsten condition, interpass temperature, and inspection all affect the result.
- Use stainless-only tools. Keep brushes, files, and abrasives away from carbon steel and other contaminating materials.
- Keep filler wire clean. Store it properly and do not drag it across a dirty bench or glove.
- Protect the weld face. Set torch flow, cup size, gas lens, torch angle, travel speed, and post-flow for the procedure and working conditions.
- Control heat input. Avoid unnecessary dwelling, excessive amperage, and slow travel that deepen heat tint and increase distortion.
- Keep the tungsten clean. Regrind or replace it after contamination rather than trying to continue with an unstable arc.
- Verify the analyzer. Follow its calibration, sensor, warm-up, sample-hose, and maintenance instructions.
- Record critical purge data. Procedure-controlled work may require oxygen readings, flow settings, dam locations, gas identification, and inspection records.
- Inspect the complete root. Do not judge only the easiest section to see.
- Account for every dam. Record removal or verified dissolution and flushing where required.
Post-weld cleaning may still be required even when the purge performed well. The British Stainless Steel Association explains that visible heat tint can reduce available corrosion resistance and may need mechanical, electrolytic, or chemical removal.
Warning: Stainless pickling pastes and liquids may contain highly hazardous acids. Use them only with the manufacturer’s instructions, required training, chemical PPE, ventilation, spill controls, neutralization procedure, and waste-disposal plan.
Frequently Asked Questions
Should I back purge stainless steel?
Back purge stainless when the root side must remain clean, smooth, or corrosion resistant and would otherwise be exposed to air. It is especially important for open-root pipe, sanitary tubing, process systems, exhaust tubing, full-penetration joints, duplex work, and any job whose WPS requires root protection.
What gas should I use for stainless steel back purging?
Use clean 100% argon as the safest general-purpose choice. Nitrogen, nitrogen-hydrogen forming gas, helium, and specialty mixtures are procedure-specific. Confirm the stainless family, service, gas safety requirements, and qualified WPS before using an alternative.
Can I weld stainless with straight argon?
Yes. Straight argon is commonly used for TIG shielding and stainless root purging. The torch and purge circuits still need separate flow control because they protect different areas and may require different flow rates and timing.
What oxygen level should I reach before welding?
Use the oxygen limit stated in the WPS, customer specification, or sanitary standard. A worldstainless handbook cites about 20 ppm oxygen for best root-protection results, but that is not a universal acceptance limit. Different alloys and services may use different requirements.
How long should I purge before welding stainless?
Purge time depends on chamber volume, flow, diffuser design, leaks, trapped spaces, and the required oxygen level. Estimate the time from volume and flow for planning, but start welding only after a suitable analyzer confirms that the purge zone meets the job limit.
What flow rate should I use for a stainless steel back purge?
There is no single flow rate for every job. Use enough initial flow to sweep the chamber without turbulence or pressure, then reduce to the lowest maintenance flow that keeps oxygen stable below the required limit. Keep the vent open throughout the process.
When can I stop the backing gas?
Follow the WPS. Many procedures maintain the purge through the root and hot pass, sometimes longer, or until the root region has cooled below a specified temperature. About 250°C is a published technical reference, but it does not replace a procedure-specific requirement.
Can I use one argon cylinder for the torch and purge?
Yes, when an approved dual-flow regulator or correctly rated distribution setup provides independent control for both lines. Confirm that the cylinder has enough gas for uninterrupted torch shielding, purging, and cool-down before starting the weld.
What are common mistakes when welding stainless steel?
Common mistakes include poor cleaning, carbon-steel contamination, incorrect purge gas, no vent, excessive purge flow, a misleading analyzer sample point, welding before oxygen is low enough, excessive heat input, weak torch shielding, and stopping the purge too early.
What does sugaring mean on a stainless weld?
Sugaring is severe, rough, dark oxide that forms on the root side when hot stainless is exposed to too much oxygen. It can create an unacceptable internal surface and reduce available corrosion resistance. The weld often requires evaluation, oxide removal, or repair.
Conclusion
Successful stainless back purging depends on more than opening an argon valve. Confirm the alloy and procedure, clean and fit the joint, create a compact vented chamber, verify the atmosphere with the correct analyzer, and maintain gentle flow through the required hot passes and cool-down period. Then inspect the complete root and remove every temporary purge component. This process helps prevent sugaring and preserves a cleaner, smoother, and more corrosion-resistant root.
Sources
- worldstainless — Welding Handbook — supports root-protection gas selection, low-oxygen purging, and oxygen-analyzer guidance.
- TWI — Avoiding Heat Tint During Stainless Welding — supports corrosion, pure-argon, purge-duration, and approximate root-temperature guidance.
- British Stainless Steel Association — Post-Weld Cleaning and Finishing — supports heat-tint removal and corrosion-restoration guidance.
- OSHA 29 CFR 1910.146 — Permit-Required Confined Spaces — supports oxygen-deficiency and inerting safety guidance.
- OSHA — Hexavalent Chromium — supports stainless welding-fume and Cr(VI) exposure guidance.
- Miller — Stainless Steel Tube and Pipe Welding — supports practical argon purging, cleanliness, heat control, and procedure-qualification guidance.