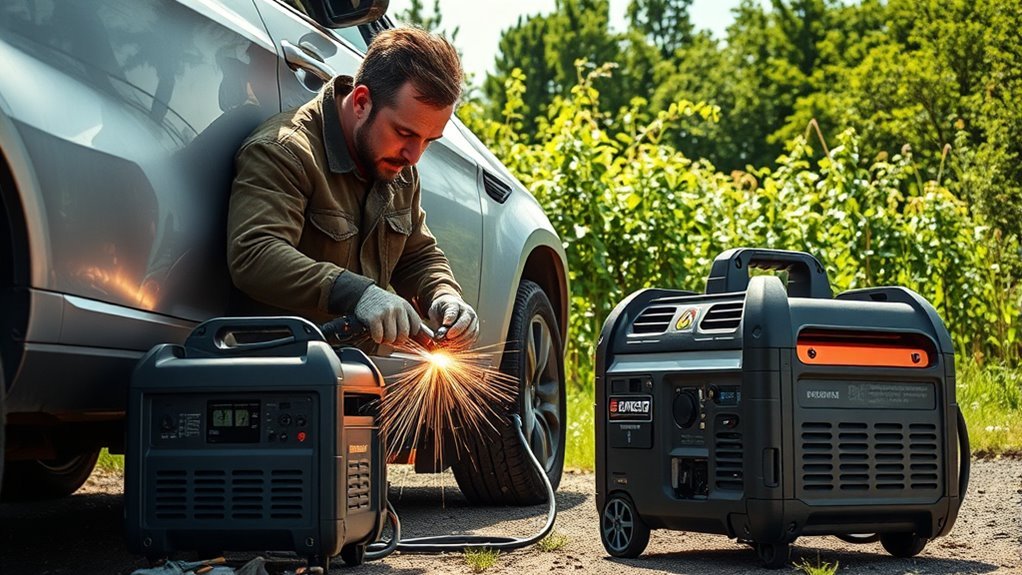
Using a generator for welding on a car outdoors is possible, but the setup has to protect your welder, the generator, the vehicle, and you. The safest method is to size the generator from the welder’s input label, match the voltage and outlet correctly, keep the generator outside and dry, and prepare the vehicle so welding current cannot damage electronics or start a fire.
Quick Answer
For light car welding outdoors, use a generator that matches your welder’s input voltage and has enough running watts for the welder’s nameplate input amps, plus safety margin. A 4000 to 5000 running-watt generator can handle some low-amp 120V inverter welding, but many 240V MIG, TIG, and multiprocess welders need 8000 to 10,000+ watts.
Key Takeaways
- Size the generator from the welder’s input label, not just the weld amperage shown on the front panel.
- Use the correct 120V or 240V outlet, a properly rated cord, and no undersized adapters.
- Keep the generator outdoors, dry, well ventilated, and away from doors, windows, vents, fuel, and sparks.
- Before welding on a car, disconnect and isolate the battery cables, protect electronics, and place the work clamp close to the weld.
- If the generator bogs, the breaker trips, or the arc becomes unstable, lower the amperage or move to a larger generator.
At a Glance
| Time Required | 20 to 45 minutes for safe setup before welding |
| Difficulty | Intermediate; requires welding skill and electrical safety awareness |
| Tools Needed | Generator, compatible welder, rated cord or plug, welding PPE, fire extinguisher, welding blanket, hand tools, wire brush or grinder, CO awareness, and vehicle service information |
| Cost | Usually $0 if you already own the equipment; $500 to $3000+ if buying a generator or welder-generator |
Warning: Do not weld on or near leaking fuel lines, fuel tanks, hybrid high-voltage systems, airbags, or unknown vehicle electronics until you have checked the vehicle maker’s repair procedure. If you are not trained for that system, stop and hire a qualified repair professional.
Understand Your Generator’s Power Output
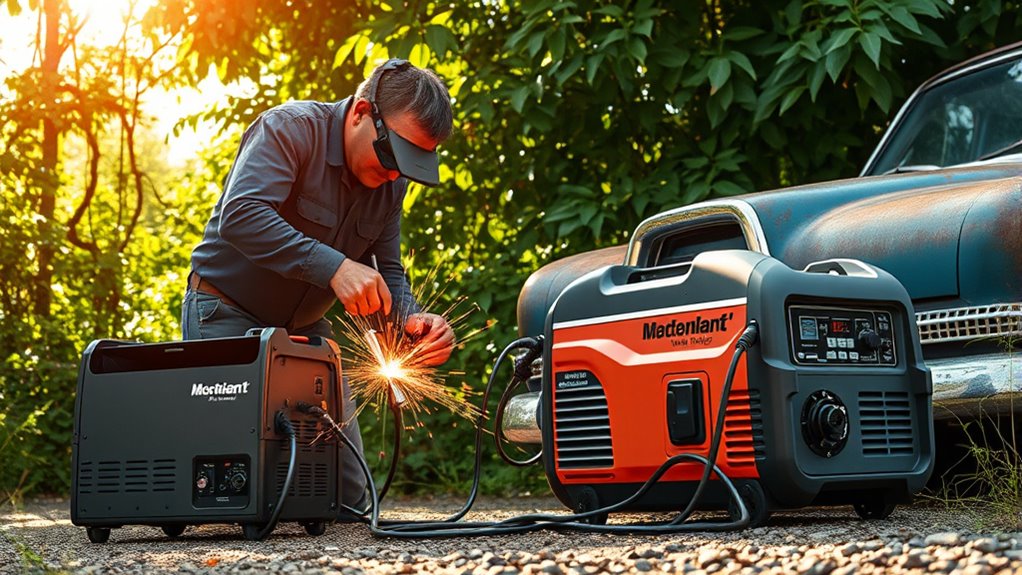
To use a generator for welding, start with the generator’s running watts, not its peak or surge watts. Running watts are what the generator can supply steadily. Surge watts only help for brief startup loads.
Next, read the welder’s input label or manual. Look for input voltage, input amps, phase, frequency, and rated input power. A simple sizing estimate is:
Generator running watts should be at least the welder’s input volts × input amps, plus extra margin for voltage sag, heat, altitude, cord loss, and arc starts.
For example, a 120V welder that draws 20 amps needs about 2400 watts before margin. In real use, you would usually want a generator closer to 3000 to 4000 running watts for smoother operation. A 240V welder drawing 30 amps needs about 7200 watts before margin, so an 8000 to 10,000+ running-watt generator is more realistic.
If you have a 3200 running-watt generator, do not assume it can deliver 100+ weld amps just because the arc voltage is under 25 volts. A welder changes generator input power into welding output power with losses, power-factor limits, and duty-cycle limits. Treat a 3200-watt unit as a light-duty source for low-amperage work only.
Note: If you also run a grinder, light, compressor, or charger from the same generator, subtract that load before you size the welder. Do not size a welding setup from a plasma cutter generator guide or a plasma cutting tip chart; welders and cutters have different input demands.
Products Worth Considering

Dual fuel design runs on both gasoline (8000 surge watts, 6500 rated watts) and propane (7200 surge watts, 5850 rated watts)

Powerful & Stable Performance: Featuring 8000W peak & 6500W rated power, this portable generator uses a 327cc 4‑Stroke OHV engine. Its pure sine‑wave (≤2% THD) delivers clean, stable power for sensitive electronics like laptops, TVs, and refrigerators

【Triple-Fuel Flexibility】Switch between gasoline (8000 surge, 6000 running watts), propane (7250 surge, 5500 running watts), and natural gas (6500 surge, 4800 running watts) via a dedicated selector—flexible power for long-term home backup, RV travels, or job site demands.
Check Compatibility With Your Equipment
Generator compatibility comes down to voltage, outlet type, running watts, cord rating, and power quality. Check whether your welder runs on 120V, 240V, or dual voltage. Some small inverter stick welders, including many DEKOPRO-style machines, are dual-voltage, but you still need to confirm your exact model label.
Use the outlet your welder is designed for. Do not force a 240V welder into a 120V generator outlet with an unsafe adapter. Do not use an adapter that changes the plug shape without confirming the voltage, amperage, grounding, and breaker rating.
Use a short, heavy, outdoor-rated extension cord if a cord is needed. A long or undersized cord can drop voltage, heat up, trip the generator breaker, or make the arc unstable. OSHA’s portable generator guidance warns users to use grounded, properly rated cords, avoid damaged cords, avoid overloading the generator, use GFCI protection in wet or damp locations, and keep the generator dry. OSHA portable generator safety guidance
- Use the welder’s factory plug when possible.
- Match the cord amp rating to the welder input load.
- Keep cords off sharp metal, water, hot exhaust, and weld spatter.
- Do not weld in rain, standing water, or damp ground conditions.
- Check the generator manual for grounding requirements before use.
Choosing the Right Welder for Your Generator
The easiest welder to run from a portable generator is usually a small inverter stick welder at low amperage. MIG and flux-core welders can also work, but wire-feed machines often show generator weakness through stuttering wire feed, arc sputter, and poor starts. TIG can be sensitive to power quality, especially if the machine uses high-frequency start.
| Welder Type | Generator Fit | Best Use on a Car |
|---|---|---|
| Inverter Stick Welder | Best for smaller generators at low amps | Brackets, tabs, thicker repair pieces |
| Flux-Core Welder | Good outdoors if generator power is stable | Light body repairs and small brackets |
| MIG Welder | Needs enough watts and wind protection | Body panels, exhaust, and thin sheet metal |
| TIG Welder | Use only if the manual allows generator power | Precise tabs, stainless, aluminum, and clean bench work |
| Multi-Process Welder | Often needs 8000 to 10,000+ watts for full output | Shop-level repairs when paired with a large generator |
For car work, choose the process based on the metal and joint, not just the generator. Thin sheet metal usually needs better control than thick brackets. Joint design matters too, so consider weld size and fit-up before you strike an arc. If you are welding a bracket or reinforcement plate, check the limits of the joint instead of guessing from the generator size alone. A maximum fillet weld size guide can help you avoid overwelding small parts.
Products Worth Considering
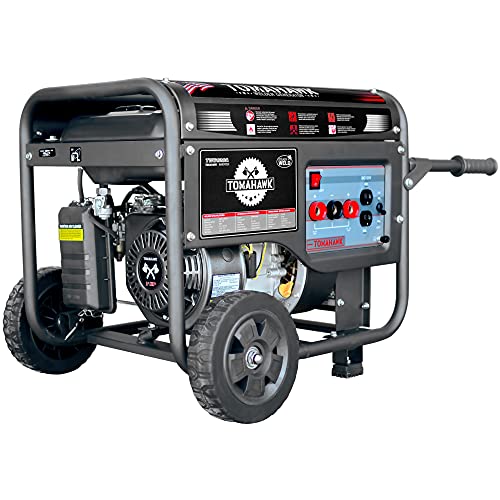
[120 AMP WELDER] Up to 120 amps of output with a 60% duty cycle
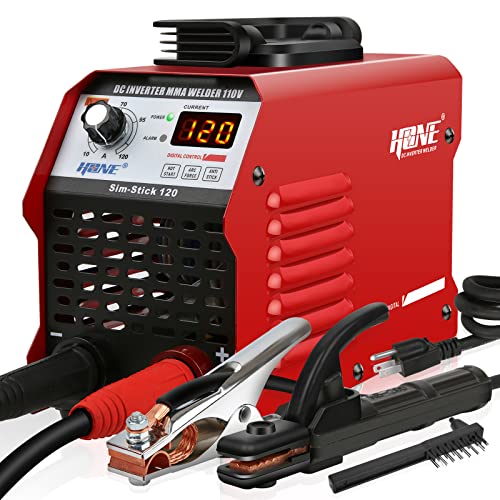
➠【Easy to Weld】Bulit-in smart Hot-start and Arc-force provide easy, quick and reliable arc start, and stable welding current, this mini welder is easy to make a beginner becoming a master welder.
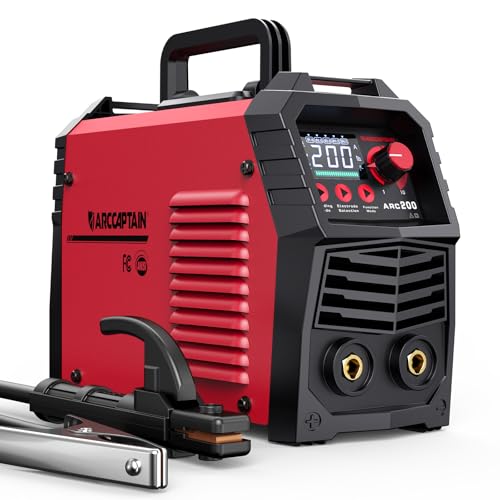
【EASY TO USE】Intelligent LED screen design, provides you with accurate data display and more choices, helps you read it easier and more clearly without taking off your helmet. Good performance on 6010, 6011, 6013 and 7018 rods. It's very suitable for outdoor maintenance, garage, farm, craft, and home DIY. Note: DO NOT power on until the screen turns off and the fan stops working!
How to Safely Set Up Your Generator and Welder
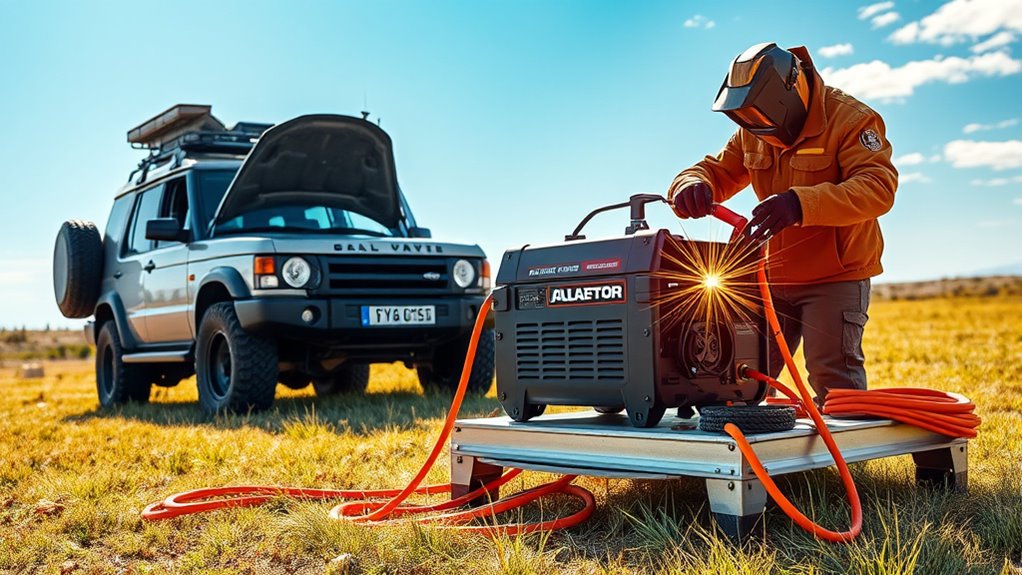
Set up the generator before you prep the weld. Place it outdoors, on stable ground, away from doors, windows, vents, fuel containers, dry leaves, and the welding area. The CDC says portable generators should be used outside and more than 20 feet from homes, doors, and windows because carbon monoxide cannot be seen, smelled, or heard. CDC generator safety guidance
- Check the generator oil, fuel, air filter, and rated output. Do not start with a poorly maintained machine.
- Place the generator outside and downwind when possible. Keep exhaust away from people, the vehicle cabin, doors, windows, and vents.
- Keep the generator dry. Do not weld in rain or on wet ground. Use only weather-safe covers that do not block ventilation.
- Connect the welder with the correct plug or rated cord. Avoid damaged cords, loose adapters, and undersized extension leads.
- Start the generator and let it warm up. Turn off economy or idle-control mode if it causes the welder to stumble when you strike an arc.
- Set the welder low first. Test on scrap metal of the same thickness before welding the car.
- Watch the generator while welding. If it bogs, surges, smokes, trips, or the arc becomes erratic, stop and lower the load.
Pro Tip: Keep the welder close enough to use a short lead and cord, but keep the generator far enough away that exhaust, noise, and sparks are not concentrated around the vehicle.
Prepare the Car Before You Weld
Outdoor generator setup is only half the job. A car has wiring, sensors, modules, paint, carpet, foam, fuel lines, and sometimes high-voltage components. Protect those before welding.
I-CAR warns that welding current or voltage spikes can destroy sensitive electronic parts. It recommends keeping the current path short, placing the work clamp close to the weld on the same panel, disconnecting and isolating both battery cables, disconnecting the high-voltage service disconnect if applicable, routing cables away from computers and sensors, and removing sensitive parts if welding close to them. I-CAR vehicle welding electronics guidance
- Check the vehicle maker’s repair information before welding structural parts.
- Disconnect and isolate both 12V battery cables, removing the negative cable first.
- For hybrid or electric vehicles, follow the OEM high-voltage shutdown procedure before any welding work.
- Place the work clamp as close to the weld as practical, on clean bare metal, on the same part or panel.
- Keep welding cables away from computers, wiring harnesses, sensors, and airbag components.
- Remove or shield trim, carpet, paint, glass, foam, seam sealer, undercoating, and sound deadener near the weld.
- Inspect for fuel leaks, brake lines, plastic lines, and vapor hoses before you strike an arc.
Warning: Never weld on a fuel tank or a part that may contain fuel vapor unless it has been removed, cleaned, purged, and verified safe by a qualified person. An “empty” fuel tank can still explode from vapor.
Adjust the Welder’s Amperage for Optimal Performance
Start lower than you would on shop power, then increase only if the generator holds steady. On a small 3200 to 4000 running-watt generator, low-amperage stick welding is usually more realistic than pushing the welder near its maximum output.
For stick welding, a 3/32 inch rod is a better starting point than a 1/8 inch rod on a small generator. A 3/32 inch 6010, 6011, 6013, or 7018 rod often falls into a practical low-to-mid amp range, but the exact setting depends on electrode type, material thickness, polarity, and position. Use a stick welding amperage chart and a metal thickness amperage guide as starting points, then test on scrap.
Find the Amperage Sweet Spot
Run a short test bead before welding the car. If the rod sticks, the bead sits high, or you cannot keep the arc lit, the amperage may be too low. If the generator bogs, the breaker trips, the arc gets harsh, or the weld overheats thin metal, the amperage may be too high for the setup.
- For thin car metal, use short welds or tacks to control heat.
- For stick welding, try smaller rods before increasing generator size.
- For MIG or flux-core, lower voltage and wire speed together until the arc becomes stable.
- Let the welder and generator cool if you are near the duty-cycle limit.
Watch for Voltage Sag and Generator Bogging
A generator that cannot keep up will tell you. You may hear the engine slow down, see lights dim, feel the arc sputter, or trip the breaker. Stop before you damage equipment.
Elevation and temperature also matter. Many portable generator manuals derate engine power at altitude; one common figure is about 3.5% less power for each 1000 feet above sea level, with additional loss in hot weather. That means a generator that feels strong at sea level may struggle in the mountains. Cummins Onan portable generator manual
What to Do If Your Generator Can’t Keep Up?
If your generator cannot keep up, do not keep forcing the arc. Overloading a generator can overheat cords, trip breakers, damage electronics, and create a fire risk. Start by reducing load before you spend money on a larger unit.
Upgrade Your Generator Size
A 4000 to 5000 running-watt generator is a better light-duty starting point than a 2000-watt generator for small outdoor car repairs, but it is not a universal answer. Many 240V MIG, TIG, and multiprocess machines need much more. Miller, for example, states that its Multimatic 215 can reach full output from a 10,000-watt engine-driven source or higher, while smaller generators provide limited output. Miller Multimatic generator compatibility guidance
If you plan to weld often away from shop power, consider a dedicated engine-driven welder/generator. It is built for welding output first and auxiliary power second, which makes it more reliable for field repairs than a small portable generator pushed to its limit.
Optimize Welding Settings
Before upgrading, reduce the demand on the generator:
- Use smaller electrodes or wire.
- Lower amperage, voltage, or wire speed as the process allows.
- Clean the metal better so you do not need extra heat to fight contamination.
- Use shorter welds and let the generator recover between passes.
- Turn off other loads plugged into the generator.
- For MIG problems, check contact tip condition, ground clamp contact, and wire feed. Poor feed can make generator issues look worse, so use a MIG troubleshooting guide before blaming the generator alone.
Use Power Management Techniques
Power management is simple: run only what you need, keep the weld settings within the generator’s comfort zone, and avoid long continuous pulls at maximum output.
- Do not run grinders, lights, chargers, and the welder at the same time on a small generator.
- Keep the generator air intake clear of dust, leaves, and grinding debris.
- Allow the generator to cool before refueling.
- Use fresh fuel and maintain the air filter and spark plug.
- Watch for repeated breaker trips. That is a setup problem, not a challenge to push through.
Watch Out for Environmental Factors That Impact Power
Outdoor welding adds problems you do not face in a shop. Wind can blow away shielding gas. Dust can clog the generator. Heat and altitude reduce power. Damp ground raises shock risk. Plan for those before you begin.
| Factor | Impact | What to Do |
|---|---|---|
| Elevation | Reduces engine power and generator output | Use a larger generator or lower weld output |
| Heat | Raises engine and welder temperature | Improve airflow and reduce duty cycle |
| Wind | Disrupts shielding gas and can push exhaust | Use wind screens without blocking generator ventilation |
| Moisture | Increases shock risk and can damage equipment | Do not weld in rain, puddles, or wet ground conditions |
| Dust and Grinding Debris | Clogs filters and contaminates weld prep | Clean the area and keep the generator intake clear |
If you grind before welding, use the right wheel for the grinder and material. RPM mismatches can be dangerous, so check your grinder and disc markings before prep work. This is where an angle grinder RPM guide can help.
Fire Safety When Welding on a Car Outdoors
Car welding creates sparks, molten metal, hot slag, and hidden heat. The risk is higher outdoors because leaves, grass, cardboard, rags, fuel vapors, and undercoating can catch fast.
OSHA welding rules require combustibles to be moved at least 35 feet away where practical, or shielded when they cannot be moved. OSHA also requires a fire watch for at least 30 minutes after welding or cutting to catch smoldering fires. OSHA welding, cutting, and brazing fire prevention requirements
- Clear dry leaves, paper, cardboard, oily rags, and plastic containers from the work area.
- Cover glass, paint, carpet, wiring, hoses, and interior trim with welding blankets or metal shields.
- Keep a properly rated fire extinguisher within reach.
- Do not refuel the generator while it is running or hot.
- Check the opposite side of the panel for carpet, foam, wiring, and fuel lines before welding.
- Stay in the area for at least 30 minutes after welding and check for smoke, smell, or heat.
Plan Future Welding Projects and Upgrades
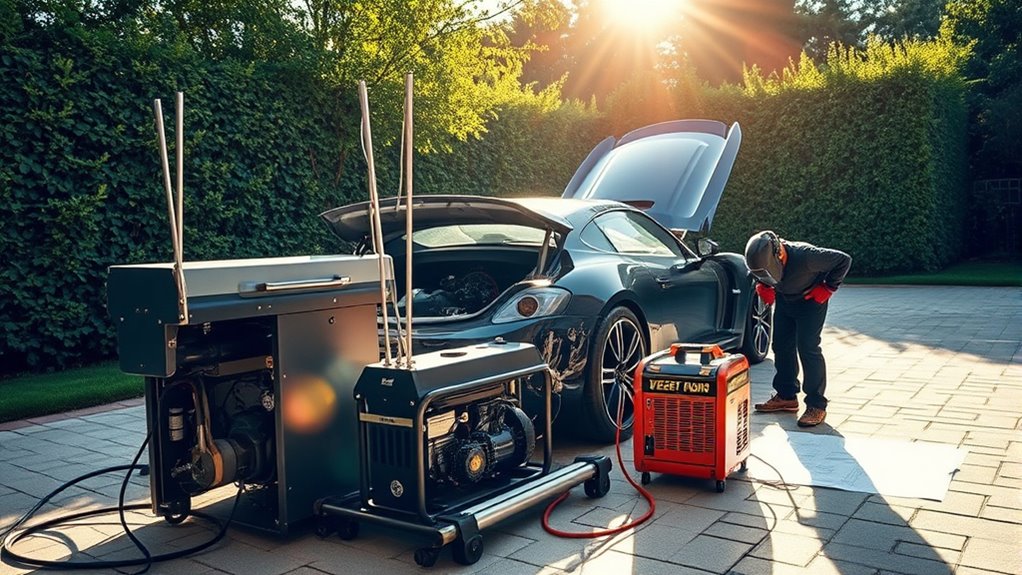
If you expect to weld outdoors often, plan your generator around your future welder, not only today’s repair. A small generator may handle a few low-amp tacks, but it can become frustrating when you move to thicker brackets, longer welds, MIG work, or 240V machines.
Use this upgrade checklist:
- Choose a generator based on the largest welder input amps you plan to run.
- Prefer 240V output if your next welder needs it.
- Look for enough running watts, not just high surge watts.
- Check whether the welder manual allows generator power and whether it requires clean inverter-style power.
- Consider an engine-driven welder/generator if field welding will be common.
- If you also use a plasma cutter, check whether 110V or 220V makes more sense for that machine. A 110V vs 220V plasma cutter guide can help you plan a shared power setup.
Frequently Asked Questions
Can I use my generator as a welder?
A regular generator is not a welder by itself. It only supplies electrical power to a separate welder. An engine-driven welder/generator is different because it is built to produce welding output and also provide auxiliary power.
How big of a generator do you need for welding on a car?
For light 120V inverter welding, 4000 to 5000 running watts is a practical starting range. For many 240V MIG, TIG, and multiprocess welders, 8000 to 10,000+ running watts may be needed. Always size from the welder’s input voltage and input amps.
Will a 2000-watt generator run a welder?
Usually, a 2000-watt generator is too small for reliable car welding. It may run a very small inverter welder at low output if the welder’s input label allows it, but expect limited amperage, short welds, and possible breaker trips.
Can you run a welder off a 5000-watt generator?
Yes, a 5000-watt generator can run some small 120V welders and low-amp inverter stick or flux-core setups. It is not enough for every welder, and it may not provide full output on larger 240V machines.
Should I disconnect the car battery before welding?
Yes, for most vehicle welding jobs you should disconnect and isolate both battery cables, with the negative cable removed first. Modern vehicles also need extra care around modules, sensors, airbag circuits, and hybrid or EV high-voltage systems.
Can I weld from a generator in the rain?
No. Do not weld in rain, puddles, or wet ground conditions. Water increases shock risk and can damage the generator, welder, cords, and work area. Wait for dry conditions or move the job to a safe covered location with proper ventilation.
Conclusion
Using a generator for welding outdoors