
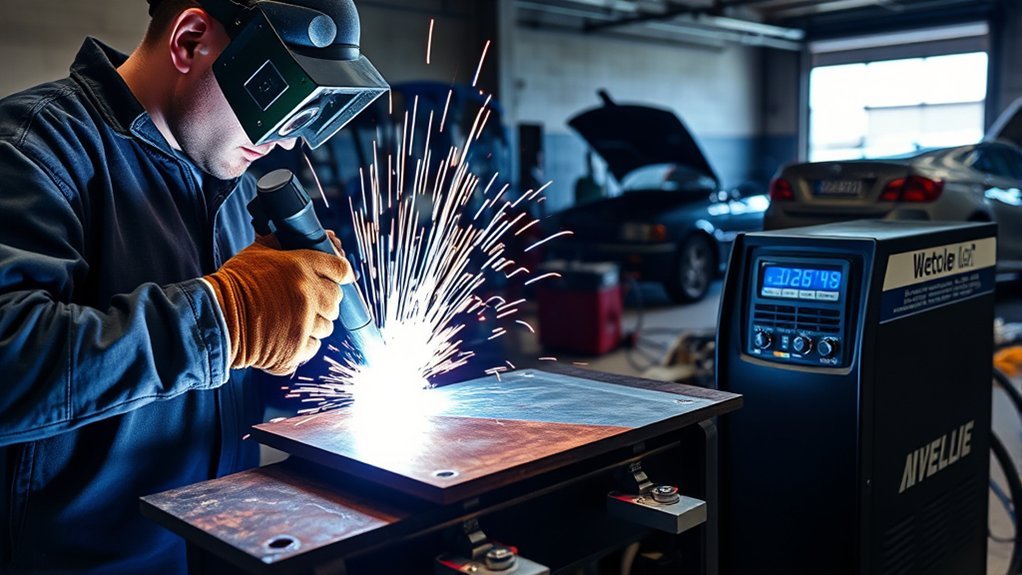
Welding dissimilar metals in automotive repair means joining two metals that do not behave the same under heat, load, corrosion, or cooling. It can work well for some repair jobs, such as stainless exhaust parts to mild steel brackets, but it can fail fast when the wrong filler, heat input, or joining method is used. Before you strike an arc, identify both metals, check the OEM repair procedure, and decide whether welding is actually the approved repair method.
Quick Answer
To weld dissimilar metals in automotive repair, first identify both metals, then follow the OEM repair procedure or a qualified welding procedure. Use 309/309L stainless filler for many stainless-to-carbon steel joints, control heat carefully, and avoid direct garage-style welding for aluminum-to-steel unless the repair method specifically allows it.
Key Takeaways
- The correct repair method depends on the metal pair, part location, coating, thickness, and whether the area is structural.
- Type 309 or 309L stainless filler is useful for many stainless-to-carbon steel joints, not as a general aluminum-to-steel filler.
- Aluminum-to-steel auto body repairs usually rely on OEM-approved rivets, adhesives, weld-bonding, brazing, or specialized industrial joining methods.
- Heat control, surface cleaning, corrosion protection, and inspection matter as much as the welding process itself.
At a Glance
| Time Required | 30 minutes to several hours, depending on prep, test coupons, welding, cooling, inspection, and refinishing |
| Difficulty | Intermediate to advanced; structural repairs require approved procedures and qualified skill |
| Tools Needed | MIG or TIG welder, correct filler, grinder, stainless brush, solvent, clamps, temperature sticks or infrared thermometer, PPE, fume control, and inspection tools |
| Cost | Low for small brackets or exhaust tabs; higher for body structures, aluminum parts, inspection, adhesives, rivets, or professional welding |
Warning: Do not weld on crash structures, boron steel, airbag areas, fuel systems, EV battery zones, or suspension mounting points unless the vehicle maker’s repair manual allows that exact repair. Welding can weaken heat-treated steels, damage electronics, ignite coatings, and create hazardous fumes.
Understanding Dissimilar Metal Welding in Automotive Repair
Dissimilar metal welding joins two metals with different chemistry, strength, melting temperature, thermal expansion, or corrosion behavior. In auto repair, this may involve mild steel to stainless steel, high-strength steel to lower-strength steel, aluminum to steel, or stainless exhaust tubing to carbon steel brackets.
The challenge is that each metal reacts differently when heated and cooled. One side may melt sooner, expand more, harden faster, or corrode faster after the repair. That is why you should compare the metals, their coatings, and their melting points before choosing a welding process.
For many stainless-to-carbon steel joints, Type 309 or 309L stainless filler is a common choice because it helps bridge the chemistry difference between the two steels. For aluminum-to-steel, however, ordinary MIG or TIG welding is usually not the right garage repair method. That pair often needs OEM-approved rivets, adhesive bonding, weld-bonding, brazing, or specialized industrial joining methods.
Identify the Metals Before Welding
Good dissimilar metal welding starts before setup. You need to know what both parts are made from, how thick they are, and whether either part has a coating or heat treatment.
- Check the repair manual: OEM service information tells you whether the part can be welded, sectioned, riveted, bonded, or replaced only.
- Look for markings: Exhaust parts, brackets, body panels, and replacement panels may have grade labels, supplier markings, or material notes.
- Use simple ID clues: A magnet can help separate some stainless and aluminum parts from carbon steel, but it cannot identify every alloy.
- Inspect coatings: Galvanized steel, aluminized exhaust tubing, paint, seam sealer, undercoating, and adhesives must be handled safely before welding.
- Check the part location: A small non-structural tab is very different from a rocker panel, frame rail, suspension bracket, or battery enclosure.
Note: If you cannot identify the metals or confirm the repair procedure, do not guess. Make a test coupon from matching scrap or send the job to a shop that can follow a qualified welding procedure.
Choose the Right Joining Method for the Metal Pair
The best process is not always the one that makes an arc. Many modern vehicles use mixed materials, and the approved repair may call for adhesive, self-piercing rivets, squeeze-type resistance spot welds, plug welds, or replacement instead of fusion welding.
| Metal Pair | Common Repair Approach | Key Caution |
| Stainless steel to carbon steel | MIG or TIG with 309/309L filler when approved | Control dilution, corrosion, and heat distortion |
| Mild steel to high-strength steel | OEM-approved MIG, spot weld, plug weld, or replace-only procedure | Excess heat can weaken the heat-treated part |
| Aluminum to steel | Rivets, structural adhesive, weld-bonding, brazing, or specialized processes | Direct fusion welding can form brittle intermetallic compounds |
| Galvanized steel to bare steel | MIG after safe coating removal and fume control | Zinc fumes and porosity risk are high |
| Copper or brass to steel | Brazing or specialty TIG procedure | Heat sink effect, cracking, and zinc fumes from brass |
For thin automotive sheet metal, your goal is to keep the heat-affected zone as small as possible while still getting fusion. That often means short welds, skip welding, tight fit-up, and cooling time between passes.
Products Worth Considering

Comprehensive Auto Headliner Repair Kit: The package includes 50 car roof buckles, 50 colorful push pins, one screwdriver, and one tape. This all-in-one set equips you with everything needed for repair, eliminating the need for additional tools and ensuring no damage to the original vehicle structure.

【Abundant Quantity & Comprehensive Sizing】 This 240-piece automotive clips and fasteners kit includes 12 of the most popular sizes of bumper clips and car plastic rivets. Ideal for a wide range of car repair, modification, and maintenance tasks, this set ensures you have the right bumper clips and car clips for any job—from minor fixes to major overhauls.
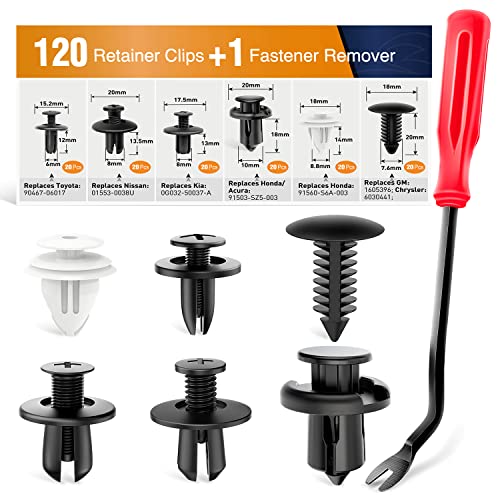
5 Hole sizes from 6mm(6/25"), 7.6mm(5/16") 8mm(31/100" ), 9mm(23/64" ), 10mm(25/64" )
Proper Filler Material Selection
Filler metal selection is one of the biggest decisions in dissimilar metal welding. The filler must be compatible with both base metals and must meet the strength, corrosion, and service-temperature needs of the repair.
- Stainless to carbon steel: Use 309 or 309L stainless filler only when the procedure or filler manufacturer supports that choice. 309L is often preferred when lower carbon helps reduce carbide precipitation risk.
- Mild steel to mild or low-alloy steel: Match the filler to the weaker base metal and the required strength. For many non-structural mild steel repairs, an ER70-series MIG wire is common, but structural work needs the exact procedure.
- High-strength steel: Do not assume stronger filler is better. Some repairs require specific wire, heat input, squeeze-type spot welding, or replacement only.
- Aluminum to steel: Do not treat 309 as the answer. Use the OEM joining method or a tested specialty procedure.
- Cast iron, copper, brass, titanium, or magnesium combinations: These are specialty repairs. Ordinary MIG wire and guesswork can create brittle or unsafe joints.
Pro Tip: Make a test weld on scrap of the same metals before touching the vehicle. Cut, bend, or break the coupon so you can see whether the weld is fused, porous, brittle, or cracked.
How to Preheat for Effective Welding and Minimized Distortion
Preheating can reduce cracking risk in some steels by slowing the cooling rate and lowering thermal shock. It is not a universal fix, and it can damage certain heat-treated automotive steels or aluminum parts if used incorrectly. Always follow the OEM repair manual or welding procedure specification when working on structural parts.
Preheat Temperature Guidelines
- Use the procedure first: Do not rely on a single generic preheat temperature for all metals.
- Use the higher requirement: When joining two steels with different preheat needs, the higher required preheat usually controls.
- Monitor interpass temperature: Keep heat between passes within the approved range so the part does not overheat.
- Measure, do not guess: Use temperature sticks, an infrared thermometer, or a contact thermometer.
- Watch coatings and sealers: Remove flammable or toxic coatings from the weld zone and nearby heat zone before welding.
Material-Specific Preheat Needs
Low-carbon steel often needs little or no preheat in thin non-structural work, while higher-carbon, high-strength, or heavily restrained steel may need controlled preheat. Aluminum is different because too much heat can soften heat-treated alloys. Stainless steel can distort quickly, so low heat input and short welds are often more important than preheat.
When joint size matters, confirm the weld size instead of simply adding heat. Oversized welds can increase distortion and stress, while undersized welds can fail. For deeper joint design basics, review proper fillet weld sizing.
Techniques to Minimize Distortion
- Fit the parts tightly: Gaps force you to add more filler and heat.
- Tack evenly: Place tacks at balanced points to hold the joint in alignment.
- Skip weld: Move around the joint instead of running one long bead.
- Use short beads: Let the part cool between welds.
- Clamp with backing when possible: Copper backing can help support thin steel and reduce burn-through.
- Check polarity and settings: Incorrect polarity, wire speed, or shielding gas can make a marginal dissimilar-metal weld much worse.
Best Practices for Joint Preparation and Execution Techniques
Surface preparation decides whether the weld starts clean or contaminated. Paint, zinc, rust, oil, adhesive, seam sealer, aluminum oxide, and stainless heat tint can all weaken the joint or cause porosity.
Surface Cleaning Techniques
- Expose clean metal: Remove paint, undercoating, rust, plating, and sealers from the weld zone and nearby heat zone.
- Degrease the joint: Use a suitable solvent and let it dry before welding.
- Use dedicated brushes: Use a stainless brush for aluminum and stainless so you do not grind carbon steel contamination into the surface.
- Remove aluminum oxide: Clean aluminum immediately before welding or bonding because oxide reforms quickly.
- Protect the back side: After welding, coat the hidden side with weld-through primer, epoxy primer, cavity wax, seam sealer, or the coating specified by the repair manual.
Step-by-Step Welding Workflow
- Confirm the repair method: Check the OEM procedure, part location, and whether welding is allowed.
- Identify both metals: Confirm alloy family, coating, thickness, and strength level as closely as possible.
- Choose the process: Select MIG, TIG, resistance spot welding, plug welding, brazing, rivets, adhesive, or replacement based on the repair procedure.
- Choose filler or fasteners: Match the filler or rivet/adhesive system to the approved repair.
- Prepare the joint: Clean, fit, clamp, and test alignment before welding.
- Set heat input: Use the lowest heat that gives proper fusion and bead shape.
- Run a test coupon: Weld scrap first, then inspect and break-test it if possible.
- Weld in short sections: Use tacks, skip welds, and cooling time to limit distortion.
- Inspect the weld: Look for cracks, undercut, porosity, lack of fusion, and excessive hardness.
- Restore corrosion protection: Seal, prime, paint, and protect cavities after the repair cools.
Specific Welding Processes for Dissimilar Metals in Automotive Applications
MIG welding is common for mild steel auto body work and some stainless-to-carbon steel repairs. It is fast and practical, but it can add too much heat if the operator tries to bridge gaps or weld long beads.
TIG welding gives better puddle control and cleaner welds on stainless, aluminum, and small fabricated parts. It is slower, but that extra control can help when you need a precise bead on thin parts.
Resistance spot welding is common in body repair when the vehicle maker allows it and the shop has the correct equipment. This process can be better than plug welding on some panels because it creates controlled localized heat.
Structural adhesive and weld-bonding can be the correct choice when the goal is to join dissimilar metals while reducing heat distortion and galvanic corrosion risk. Adhesive does not make every repair structural by itself; it must be the exact material and method approved for that repair.
Self-piercing rivets and mechanical fasteners are often used on mixed-material vehicles. They can join aluminum, steel, and composites without melting the metals, but they require the right rivet, die, stack order, and corrosion isolation.
Products Worth Considering

5 IN 1 MULTIFUNCTIONAL: Enjoy the convenience of a 5-in-1 welding machine that masterfully handles Gasless Flux Core MIG/Gas MIG/Spool Gun MIG/Stick/Lift TIG (additional lift TIG torch/spool gun required: B07YP9TQV1/B0B12JLSS9). This unit suits a wide range of welding applications and meets your various welding needs.
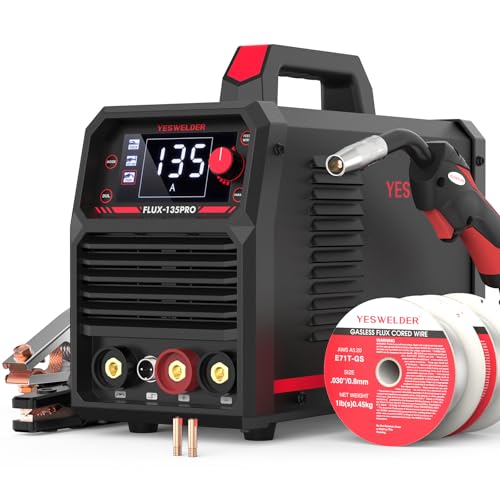
READY OUT OF THE BOX: Start welding immediately! It masterfully handles Gasless Flux Core MIG, Stick, and Lift TIG (Extra Lift TIG torch required). This budget-friendly 3-in-1 machine includes extra E71T-GS .030''&.035'' flux core wires, known for its smooth arc and high feedability. Say goodbye to heavy shielding gas cylinders—perfect for outdoor, windy, or all-position welding.

How to Inspect Your Welds for Quality Assurance
Inspection is essential because a dissimilar-metal weld can look acceptable on the surface while hiding lack of fusion, cracking, brittle structure, or corrosion risk.
- Visual inspection: Check for cracks, porosity, undercut, burn-through, overlap, poor tie-in, and uneven bead shape.
- Back-side inspection: Look behind the weld when possible. Lack of penetration and burned coatings often show up there first.
- Dye penetrant testing: Use it on suitable non-porous metals to reveal surface cracks.
- Hardness check: Consider hardness testing on high-strength steels when the repair procedure requires it.
- Test coupons: Bend, peel, or break a practice weld before doing the vehicle repair.
- Professional NDT: Use ultrasonic testing, radiography, or qualified inspection for critical parts when required.
Warning: Wear proper PPE and use local exhaust ventilation or approved respiratory protection when welding or grinding stainless, galvanized, painted, or coated parts. Stainless hot work can create hexavalent chromium exposure, and zinc coatings can create dangerous fumes.
Troubleshooting Common Dissimilar Metal Welding Issues
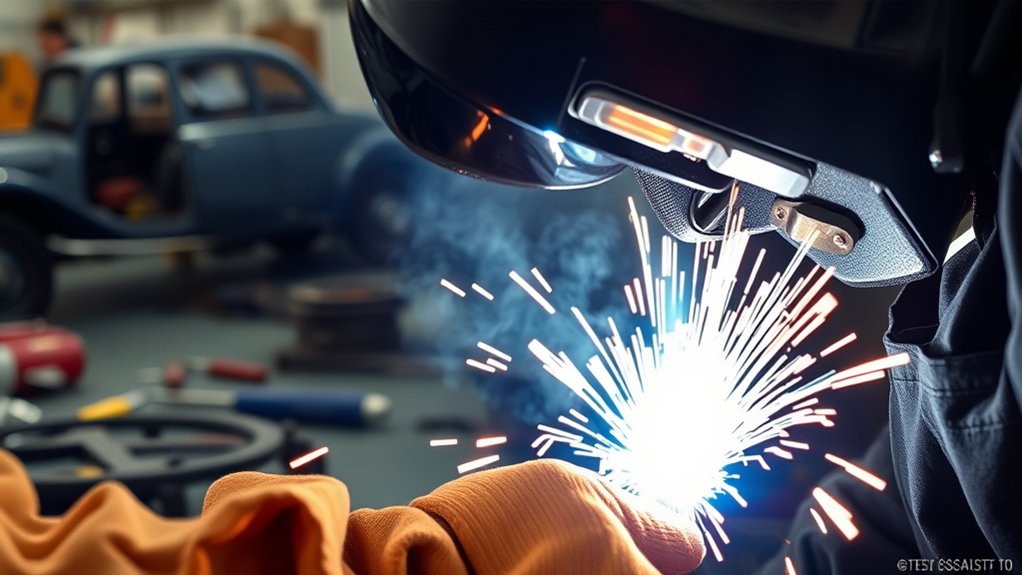
Dissimilar metals can fail from heat, chemistry, contamination, or poor joint design. Use the symptoms below to narrow the cause before you weld again.
| Problem | Likely Cause | Fix |
| Cracking beside the weld | Wrong filler, too much restraint, fast cooling, or high-strength steel sensitivity | Use the approved filler, preheat only when specified, reduce restraint, and control cooling |
| Porosity | Oil, zinc, paint, aluminum oxide, poor shielding gas, or wind | Clean again, protect the weld zone, and check gas flow rate |
| Burn-through | Thin sheet, too much amperage, large gap, or long bead | Tighten fit-up, lower heat, use shorter welds, and add copper backing when practical |
| Brittle weld | Wrong metal pair, excessive dilution, or brittle intermetallic formation | Stop and choose an approved mechanical, adhesive, brazed, or specialty joining method |
| Rust or galvanic corrosion after repair | Bare dissimilar metals, trapped moisture, or missing seam sealer | Use isolation, primer, seam sealer, paint, and cavity protection |
If a test coupon snaps cleanly through the weld or cracks beside the bead, do not continue on the vehicle. That failure pattern can lead to catastrophic failures in service when the joint is loaded, vibrated, or exposed to road salt.
Frequently Asked Questions
Can you weld dissimilar metals together?
Yes, you can weld some dissimilar metals together, but only when the metal pair, filler, heat input, and joint design are compatible. Stainless-to-carbon steel is common with the right filler. Aluminum-to-steel is much harder and usually needs an OEM-approved specialty joining method.
What filler metal is used for dissimilar welding?
For many stainless-to-carbon steel joints, 309 or 309L stainless filler is commonly used. For mild steel to low-alloy steel, the filler must match the required strength and procedure. For aluminum-to-steel, do not choose filler by guesswork; use the vehicle maker’s approved method.
What welding rod should you use for stainless steel to mild steel?
A 309 or 309L stainless rod or wire is a common choice for stainless-to-mild steel joints because it handles dilution between the two steels better than a standard mild steel filler. Use the exact filler listed by the welding procedure or filler manufacturer.
Can you weld aluminum directly to steel on a car?
Do not treat aluminum-to-steel as a normal MIG or TIG repair. Direct fusion can form brittle intermetallic compounds. In automotive repair, aluminum-to-steel joints usually need rivets, adhesive, weld-bonding, brazing, or a specialized process approved by the vehicle maker.
What two metals cannot be welded together?
It is better to say some metal pairs are not practical or safe with ordinary shop welding. Aluminum-to-steel, copper-to-aluminum, titanium-to-steel, and magnesium combinations can be difficult because of brittle phases, oxidation, corrosion, or fire risk. Some can be joined by specialty methods, but not by guessing with standard filler.
How do you prevent corrosion after welding dissimilar metals?
Clean the weld, remove heat tint or slag, prime bare metal, seal seams, restore paint, and protect hidden cavities. When two different metals touch in a wet area, use the OEM isolation method so galvanic corrosion does not attack the weaker metal.
Conclusion
Welding dissimilar metals in automotive repair is possible, but it is not a one-size-fits-all skill. Start by identifying the metals and checking the OEM repair procedure. Use 309/309L filler for suitable stainless-to-carbon steel joints, control heat on high-strength steels, and avoid direct aluminum-to-steel fusion welding unless a qualified procedure allows it. With clean prep, the right joining method, careful inspection, and restored corrosion protection, you can make stronger and safer dissimilar-metal repairs.
Sources
- Sapanathan et al., aluminum-to-steel dissimilar weld interface study — supports the need to control intermetallic layers and defects in aluminum-to-steel joining.
- da Silva Lima et al., dissimilar metal weld microstructure study — supports the discussion of chemistry, hardness, and microstructure changes across dissimilar welds.
- OSHA Welding, Cutting, and Brazing — supports hot-work safety, ventilation, and hazard-control guidance.
- CDC/NIOSH Hexavalent Chromium — supports the stainless welding and grinding fume warning.




