Choosing between inside and outside corner welds in auto body fabrication is not as simple as saying one is always stronger. The better choice depends on the load path, panel thickness, access, fit-up, corrosion exposure, appearance goals, and the repair procedure you are following. Inside corner welds often give better protection and a cleaner load path when you can reach the joint. Outside corner welds are easier to access and finish, but they need good fit-up, heat control, and reinforcement when the joint sees bending, peel, or vibration.
Quick Answer
Use an inside corner weld when the joint needs better load support, less exposure, and cleaner corrosion protection. Use an outside corner weld when access, appearance, or panel layout makes the outer edge easier to weld. Neither is automatically stronger. Weld size, penetration, fit-up, heat control, and repair procedure decide the final strength.
Key Takeaways
- Inside corner welds often work better for protected structural joints because the bead can sit in the joint angle and share load more evenly.
- Outside corner welds are easier to reach and dress, but they can be more exposed to grinding damage, moisture, and peel forces.
- A well-prepped outside corner weld can outperform a poorly fitted inside weld, so do not choose by location alone.
- For collision work, follow the vehicle maker’s repair procedure before choosing weld location, weld type, or weld spacing.
At a Glance
| Best Inside Corner Use | Brackets, boxed sections, reinforced seams, hidden joints, and joints where the load pushes into the corner. |
| Best Outside Corner Use | Accessible outer edges, cosmetic panel corners, low-stress seams, and areas where backside access is limited. |
| Tools Needed | MIG or TIG welder, clamps, grinder, flap disc, wire brush, measuring tools, PPE, fire blanket, and extinguisher. |
| Difficulty | Moderate. Thin auto body steel needs careful fit-up, short welds, and cooling time to avoid burn-through and warping. |
Warning: Welding on a vehicle can ignite seam sealer, undercoating, insulation, carpet, fuel vapors, wiring, or trim. Before welding, remove nearby combustibles, shield anything that cannot be moved, keep a suitable extinguisher ready, and use a fire watch when needed. OSHA’s welding and cutting rules cover fire prevention, eye protection, ventilation, and hazardous coatings such as zinc, lead, and cadmium. Review OSHA 1910.252 and follow shop safety procedures.
What Inside and Outside Corner Welds Mean
An inside corner weld is placed on the internal angle where two pieces meet. In many auto body and fabrication jobs, this is a fillet weld sitting in the corner. It can be strong because the weld bead is supported by both sides of the joint, but only when the root, throat, and leg size are correct.
An outside corner weld is placed along the outer edge where two pieces meet. It is often easier to see, clamp, tack, and grind. The tradeoff is that the bead is more exposed, and the joint may see more peel or bending stress if the parts are loaded away from each other.
The main point is simple: weld location does not decide strength by itself. Strength comes from joint design, clean metal, tight fit-up, correct amperage and wire speed, proper travel angle, enough penetration, and the amount of weld left after grinding.
Understanding Inside Corner Welds: Strengths and Applications
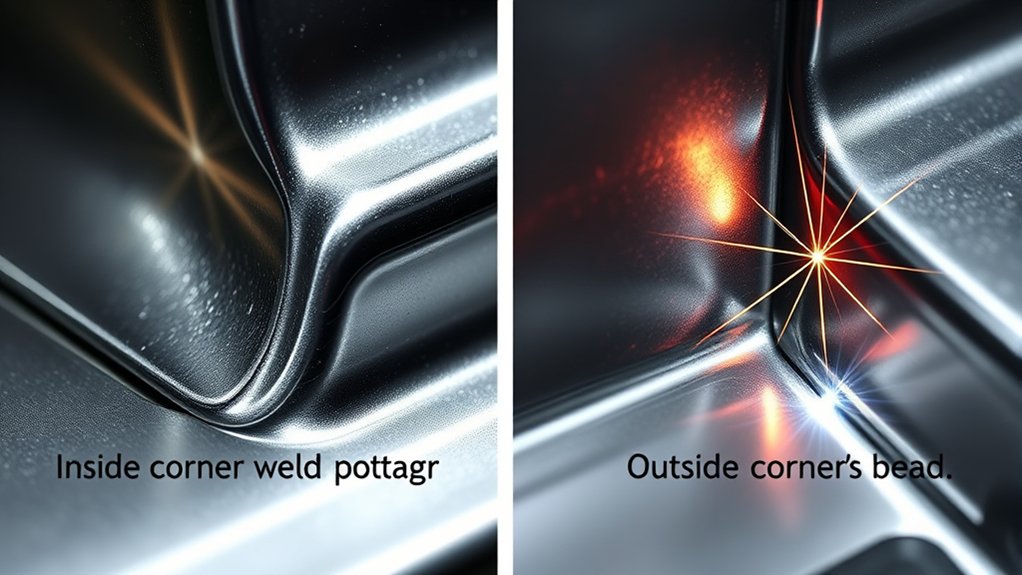
Inside corner welds are often preferred when the joint is part of a bracket, boxed section, reinforcement, or hidden structure. Because the weld sits inside the angle, the bead can be better protected from direct impact, grinding damage, and moisture exposure after it is sealed. This can help preserve joint integrity in areas that carry load or vibration.
These welds also help when the load pushes into the corner instead of peeling the two pieces apart. The joint geometry can spread stress more smoothly when the weld has enough effective throat and full fusion at the root. That said, an inside corner weld is not automatically strong. A tight-looking bead can still fail if it bridges over a gap, lacks root fusion, or is contaminated by paint, primer, zinc coating, or seam sealer.
Inside corner welds are useful in auto body work for reinforced tabs, gussets, frame-adjacent brackets, floor supports, and hidden seams where access is available. When you work around thicker steel or stainless repairs, understanding the heat behavior of the metal also helps you choose a safer sequence.
Note: In collision repair, the vehicle maker’s repair manual comes first. Some parts require squeeze-type resistance spot welds, plug welds, specific MIG brazing, adhesive bonding, rivets, or replacement instead of a custom corner weld.
What Are the Pros and Cons of Outside Corner Welds?
Outside corner welds are common because they are easy to reach. You can see the puddle, clamp the panels, tack the edge, and dress the bead after welding. This makes them useful for cosmetic corners and lower-stress fabrication work.
The weakness is not the word “outside” itself. The weakness comes from poor fit-up, too much grinding, undercut, lack of penetration, or a load that tries to peel the joint open. If the outside bead is the only support on a high-stress corner, it may need a backing strip, inside bead, plug welds, gusset, or a different joint design.
| Pros | Easy access, easy puddle visibility, faster tacking, simple grinding, good for visible corners and light fabrication. |
| Cons | More exposed to grinding, impact, moisture, and peel loads if the joint is not backed up or sealed well. |
| Best Use | Outer panel corners, accessible seams, light brackets, non-critical trim supports, and joints with proper reinforcement. |
Comparing Inside and Outside Corner Welds: Key Differences
Inside and outside corner welds differ most in access, load path, corrosion exposure, and finish work. Inside welds can protect the bead and reduce exposure when sealed correctly. Outside welds make the welding process easier but may require more care during grinding so you do not remove too much weld.
For the best result, compare the joint by function instead of appearance alone. Ask how the part will be loaded, whether the backside can be reached, how the joint will be sealed, and whether the weld will be ground flush. A small, clean weld left intact can be stronger than a larger weld that gets overheated, undercut, or ground too thin.
| Factor | Inside Corner Weld | Outside Corner Weld |
|---|---|---|
| Access | Harder if the panel is boxed or closed. | Usually easier to see and weld. |
| Load Support | Often better when the load pushes into the joint. | Needs caution under peel or bending loads. |
| Finish | Often hidden, with less cosmetic grinding. | Easier to grind and shape, but do not thin the bead too much. |
| Corrosion Control | Good when sealed, painted, and protected from trapped moisture. | Needs careful sealing at the outer edge and backside if accessible. |
Products Worth Considering
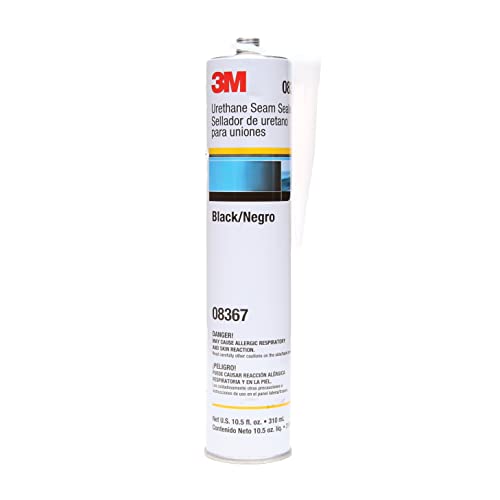
SINGLE COMPONENT FORMULA: Adheres well to bare metal, primed metal and painted surfaces

J-B Weld SeamWeld provides high impact & vibration resistant bonding and sealing to automotive body panels
![[Black] 2 Pack Professional Automotive Seam Sealer, Paintable Quick-Set Polyurethane Auto Body Seam Sealer for Metal Surfaces of Cars, Trucks, Etc, Includes Gloves & Tip - Black RV Roof Sealant](https://m.media-amazon.com/images/I/51rYdoPRb-L._SL500_.jpg)
Bonds to All Surfaces: Our seam sealer automotive formula bonds strongly with primed, painted, or bare metal surfaces, offering a fast curing solution. Ready for paint in just 30 minutes, it serves as an effective RV roof sealant and polyurethane auto body filler without the need for sanding.
When Should You Choose Inside vs. Outside Corner Welds?
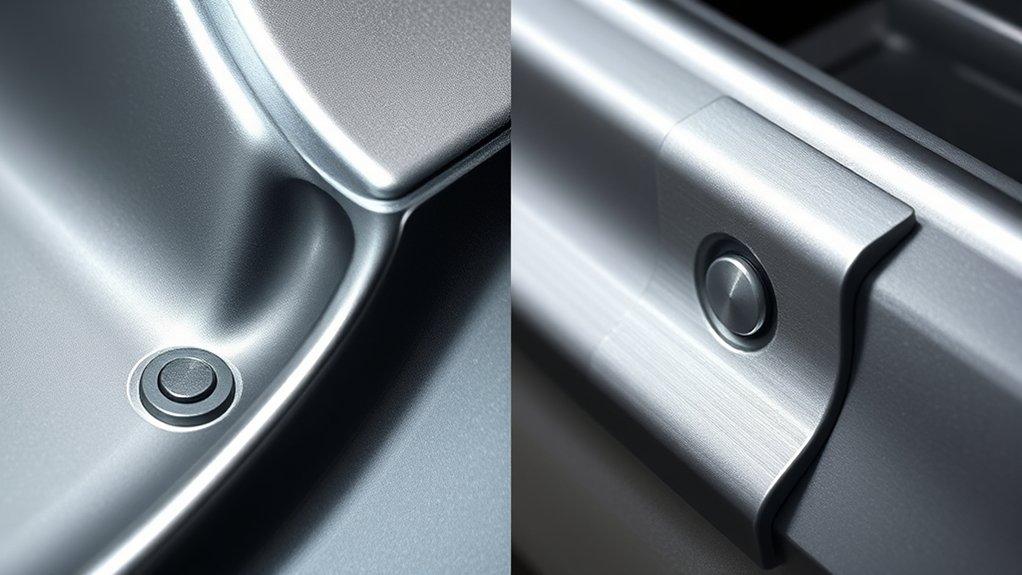
Choose the weld location based on what the joint has to do after the vehicle is back on the road. A cosmetic patch, a small bracket, and a reinforced structural corner do not need the same weld layout.
- Choose an inside corner weld when the joint is structural, hidden, easier to seal from the backside, or loaded in compression or shear.
- Choose an outside corner weld when the outside edge is the only practical access point, the joint is lower stress, or the bead must be shaped for appearance.
- Use both sides when the design calls for it and the heat input will not warp the panels. Do not add extra welds to structural vehicle parts unless the repair procedure allows it.
- Add reinforcement when the outside weld is likely to see peel, vibration, or repeated flexing.
- Prioritize corrosion control by sealing gaps, coating bare metal, and using seam sealer after welding and cleanup.
Pro Tip: Before welding the vehicle, make the same corner joint from scrap of the same thickness. Test the tack sequence, heat setting, penetration, and grinding plan on scrap first.
Products Worth Considering

VERSATILITY AND QUALITY IN ONE - Sometimes simply called Sika 221 black, this one-component urethane caulk bonds to a range of substrates, including metals, plastics, and metal primers and coatings
![[Black] Professional Automotive Seam Sealer, Paintable Quick-Set Polyurethane Auto Body Seam Sealer for Metal Surfaces of Cars, Trucks, Etc, Includes Gloves & Tip - Black RV Roof Sealant](https://m.media-amazon.com/images/I/41CSSWLKzxL._SL500_.jpg)
Bonds to All Surfaces: Our seam sealer automotive formula bonds strongly with primed, painted, or bare metal surfaces, offering a fast curing solution. Ready for paint in just 30 minutes, it serves as an effective RV roof sealant and polyurethane auto body filler without the need for sanding.

PROFESSIONAL AUTOMOTIVE SEAM SEALER — WON'T SHRINK OR CRACK — Polyurethane formula seals body panel seams, weld joints, and gaps with a durable, flexible compound that stays put. Unlike generic fillers, this seam sealer maintains flexibility through temperature extremes and road vibration without cracking or pulling away.
How to Avoid Common Mistakes in Corner Welding
Choosing the right welding technique is only the first step. Most corner weld failures in thin auto body work come from poor preparation, too much heat, contamination, gaps, or over-grinding after the bead is made.
| Mistake | Impact on Weld Quality | Fix |
|---|---|---|
| Poor edge preparation | Gaps, lack of fusion, weak root, and uneven bead shape. | Trim, grind, bevel only where needed, and clamp the joint tight. |
| Contaminated metal | Porosity, spatter, smoke, poor fusion, and weak welds. | Remove paint, rust, seam sealer, oil, zinc coating, and adhesive from the weld zone. |
| Too much heat | Warping, burn-through, wide heat-affected zone, and panel distortion. | Use short tacks, skip around, let the panel cool, and avoid long continuous beads on thin sheet metal. |
| Wrong joint choice | Higher cracking risk under peel, vibration, or repeated flexing. | Use the weld location, plug welds, backing, or gussets specified by the design or repair procedure. |
| Over-grinding | Removes throat thickness and weakens the finished joint. | Dress only what is needed for fit and appearance. Do not flatten a structural bead unless allowed. |
Good clean metal is one of the simplest ways to prevent defects that weaken a corner weld.
Preparation Steps for Auto Body Corner Welds
Use a steady preparation routine before deciding where the bead should go. This keeps the weld choice tied to the actual joint, not just habit.
- Check the repair information. For structural or collision work, follow the OEM procedure, weld type, spacing, and corrosion-protection requirements. AWS standards and publications are also useful for understanding welding practice and terminology.
- Expose clean metal. Remove paint, primer, rust, undercoating, seam sealer, adhesive, and zinc coating from the weld zone.
- Test fit the joint. Keep the gap as small and even as possible. Gaps force you to add heat and filler, which increases distortion.
- Clamp and tack first. Use clamps, magnets, or fixtures to hold the corner in position before any full weld is attempted.
- Make test welds. Match the scrap thickness, wire, shielding gas, and settings before welding the vehicle panel.
- Plan the finish. Decide whether the bead will be left proud, lightly dressed, or ground flush before you weld.
Tips for Quality Corner Welds in Auto Body Fabrication
To achieve quality corner welds, focus on proper joint preparation, controlled heat, and a weld method that fits the panel thickness. Thin sheet metal usually needs short welds and cooling time. Thicker brackets may need more penetration, a larger fillet, or a bevel. The right fillet weld size matters because an oversized weld can add heat and distortion, while an undersized weld may not carry the load.
Proper Joint Preparation Techniques
Quality corner welds start with clean, tight, repeatable joints. Paint, rust, oil, mill scale, adhesive, seam sealer, and zinc coating can all contaminate the puddle. If the joint is dirty, you may get porosity, poor fusion, or a bead that looks acceptable but lacks strength.
- Clean both sides of the joint whenever you can reach them.
- Use a small bevel only when the material thickness and joint design need it.
- Keep outside corner gaps tight so the weld does not bridge across empty space.
- Choose filler metal that matches the base metal and repair procedure. ER70S-6 is common for many mild-steel MIG jobs, but it is not universal.
- Use consistent clamps or fixtures so the panels do not move as they heat and cool.
Effective Welding Methods
MIG welding is common for auto body steel because it is fast and accessible. TIG gives more puddle control but is slower and needs cleaner fit-up. For thin exterior panels, short tack welds or stitch sequences help control heat. For brackets and heavier sections, a more continuous fillet may be needed if the design allows it.
For outdoor brackets or heavier non-cosmetic repairs, self-shielded wire like flux core MIG wire can help where shielding gas is not practical. For thin auto body exterior panels, gas-shielded solid wire usually gives a cleaner bead with less slag cleanup.
| Welding Method | Best Use | Watch Out For |
|---|---|---|
| MIG with solid wire | Most mild-steel auto body panels and brackets. | Too much heat, burn-through, and poor gas coverage. |
| TIG | Precise corners, thin tabs, aluminum, and clean custom work. | Slow travel can add heat and warp thin panels. |
| Short tack or stitch sequence | Thin sheet metal and visible panels. | Skipping cooling time can still warp the panel. |
| Flux core | Outdoor or heavier non-cosmetic work when gas shielding is difficult. | More spatter, slag, smoke, and cleanup on thin panels. |
How Does Weld Type Impact Structural Integrity and Costs?
Weld type affects both structural integrity and cost because it changes access, preparation time, welding speed, cleanup, and inspection. Inside corner welds may take longer if access is tight or the part must be positioned carefully. Outside corner welds may be faster to apply, but extra grinding, finishing, or reinforcement can raise the final labor cost.
The most expensive weld is often the one that has to be redone. Poor fit-up, the wrong welding settings, or skipped corrosion protection can lead to cracking, rust, or panel movement later.
- Inside corner welds can reduce finish work when the bead is hidden.
- Outside corner welds can save welding time but may need more cosmetic dressing.
- Reinforced outside welds cost more but may be needed for vibration or peel loads.
- Better preparation costs time upfront but reduces rework and distortion.
- Inspection and sealing are part of the job, not optional extras.
Inspection, Sealing, and Finish Work After Corner Welding
After welding, inspect the joint before you grind, seal, or paint it. Grinding too early can hide defects and remove strength. Weld bead shape matters in quality assessment, and research on GMAW fillet joints shows that bead shape parameters are important when evaluating welded joints. Weld bead shape and process settings should not be treated as cosmetic details only.
- Check for visible cracks, undercut, porosity, burn-through, and missed tacks.
- Look at the backside if you can reach it. Poor penetration is easier to catch before finish work.
- Lightly dress cosmetic welds, but avoid grinding away the throat of a structural fillet.
- Clean the weld area after grinding so dust and slag do not stay under primer.
- Use epoxy primer, cavity wax, seam sealer, or the specified coating system after welding and cooling.
- Recheck nearby trim, wiring, undercoating, and insulation for heat damage before returning the vehicle to service.
A clean outside weld with correct penetration can be stronger than a hidden inside weld that bridges a gap. Joint quality beats joint location.
Frequently Asked Questions
What is an outside corner weld?
An outside corner weld is placed along the outer edge where two metal pieces meet at an angle. In auto body work, it is often used where the outside edge is easier to reach, clamp, weld, and finish.
Is welding outside better than inside?
Welding outside is not automatically better. It is often easier to access and finish, but inside welds may be better for hidden structural corners or protected joints. The better choice depends on access, load direction, weld size, panel thickness, and the repair procedure.
What is the golden rule in welding?
The golden rule is to prepare the joint correctly before welding. Clean metal, tight fit-up, correct settings, proper PPE, and controlled heat matter more than trying to fix a poor joint with a larger bead.
What are the different types of corner joint welds?
Common corner joint welds include inside fillet welds, outside corner welds, groove welds, plug welds used with overlapping panels, and intermittent or stitch-style weld sequences. The correct type depends on material thickness, access, strength needs, and repair specifications.
Can you weld both the inside and outside of a corner?
Yes, but only when the design or repair procedure allows it and the extra heat will not distort the part. Welding both sides can add strength, but it can also increase warping, burn-through, and coating damage on thin auto body panels.
Should you grind a corner weld flush?
Grind a corner weld flush only when appearance, fitment, or the repair procedure requires it. On structural corners, heavy grinding can remove weld throat thickness and weaken the joint. Light dressing is safer than flattening the bead completely.
Conclusion
In auto body fabrication, the choice between inside and outside corner welds should come from the joint’s job, not a one-size-fits-all rule. Inside corner welds often work well for protected, load-bearing, and hidden joints. Outside corner welds are useful when access and finish matter, but they need careful fit-up, heat control, and sealing. For the strongest repair, start with the correct repair procedure, clean the metal, control heat, inspect the weld, and protect the finished joint from corrosion.
Sources
- OSHA 1910.252, General Requirements for Welding, Cutting, and Brazing — fire prevention, eye protection, ventilation, and hazardous coating guidance.
- OSHA Welding, Cutting, and Brazing Overview — welding hazards, standards, and safety resources.
- American Welding Society Standards & Publications — welding standards and procedure context.
- Machine Learning Models for Weld Bead Shape Parameters in GMAW Fillet Joints — bead shape and welding parameters in fillet-joint assessment.
- A Computational Framework to Predict Weld Integrity and Microstructural Heterogeneity — how welding conditions can affect weld-region properties.