
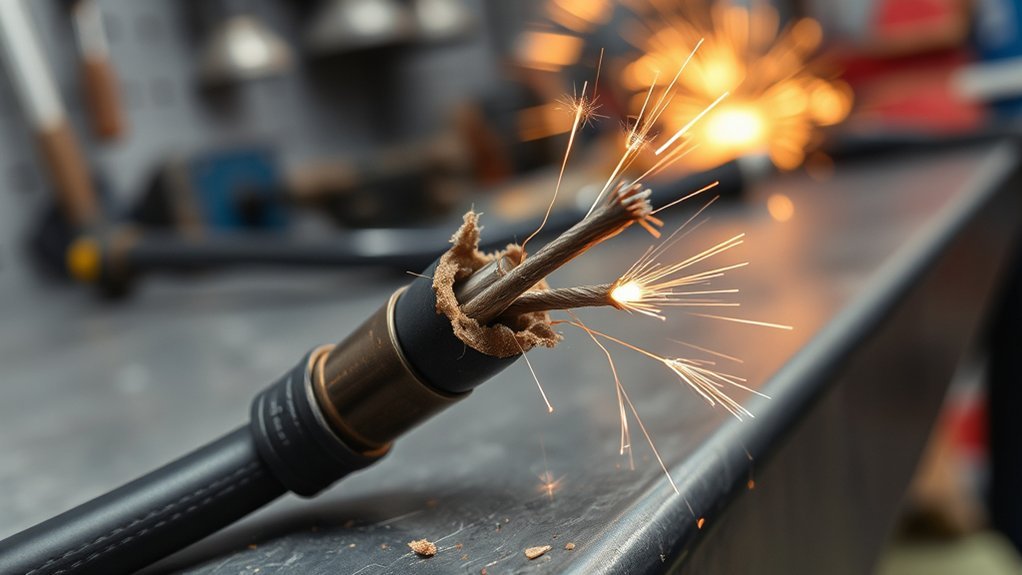
Erratic arcs, uneven wire feeding, and a MIG gun that runs hotter than normal can point to cable trouble, but the cable is only one part of the system. A worn contact tip, dirty or incorrectly trimmed liner, misadjusted drive rolls, loose gun connection, or poor work-clamp contact can create nearly identical symptoms. The fastest fix is to troubleshoot in a safe order, starting with the easy external checks before replacing expensive parts.
Quick Answer
A bad MIG gun cable can cause an erratic arc, hot spots, voltage loss, intermittent wire feeding, or visible jacket damage. First power down the welder, straighten and inspect the cable, clean and tighten the gun and work-lead connections, then check the contact tip, drive rolls, and liner. Replace unsafe damage instead of taping it.
Key Takeaways
- Do not assume every sputtering arc is a damaged cable. Contact tips, liners, drive rolls, settings, and the work connection can produce the same symptom.
- Cuts, exposed copper, crushed sections, persistent hot spots, or intermittent output that changes with cable position are strong reasons to stop using the gun.
- A liner that is dirty, kinked, incorrectly sized, or trimmed to the wrong length commonly causes wire chatter, burnback, birdnesting, and erratic feeding.
- Cable repair is model-specific. Use the manufacturer’s procedure and correct crimping parts, or replace the cable or complete gun.
At a Glance
| Time Required | 10–30 minutes for basic inspection and feed-path checks |
| Difficulty | Beginner for inspection; intermediate or professional for electrical diagnosis and cable repair |
| Tools Needed | Welder manual, flashlight, clean cloth, soft brush, dry compressed air if approved, and correctly sized spare tip or liner |
| Cost | Inspection may cost nothing; consumable, cable, and gun replacement costs vary by model |
Before You Troubleshoot the MIG Gun Cable
Turn off the welder, disconnect input power as directed by the owner’s manual, close the shielding-gas cylinder valve when removing the gun, and wait for hot components to cool. Never point the gun toward yourself or another person while inching wire. The contact tip, drive system, and gun connection may be electrically energized whenever the machine is on.
Warning: Stop using a cable with damaged insulation or exposed conductor. OSHA requires damaged arc-welding cables to be replaced, and repairs should be completed only by qualified personnel using parts and methods intended for the equipment. Do not cover exposed copper with ordinary tape and return the gun to service.
The clamp attached to the workpiece is technically the work clamp, although many welders call it a ground clamp. It completes the welding circuit. It is not the same as the protective equipment-grounding conductor for the welder’s frame.
Common Symptoms of MIG Cable Issues
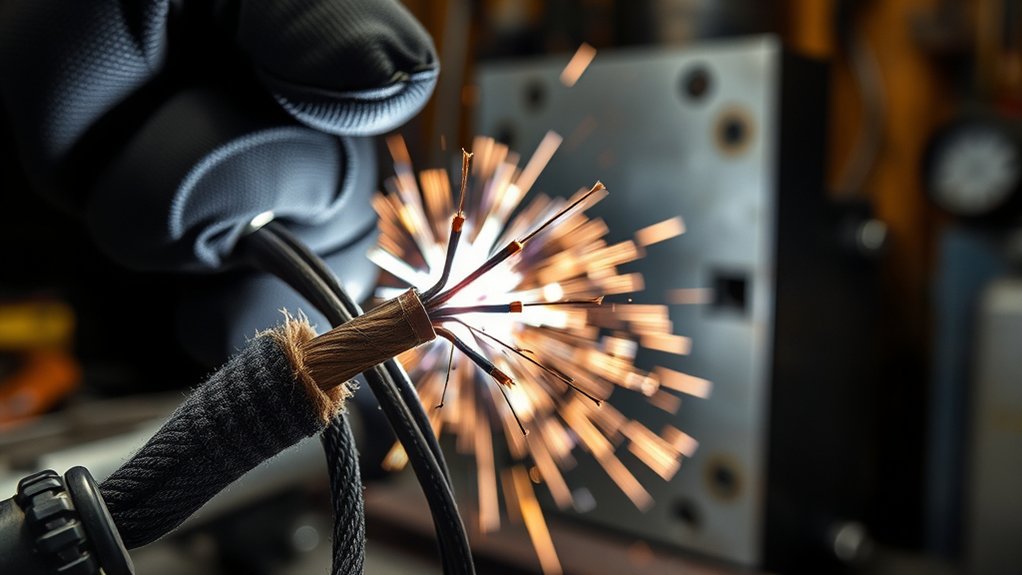
A damaged MIG gun cable can interrupt current flow, wire travel, shielding gas, or trigger-control signals. Common signs include an arc that cuts in and out, a cable section that becomes unusually hot, visible jacket damage, wire feeding that improves when the cable is laid straighter, or a trigger that works only in certain gun positions.
| Symptom | Likely Causes | Check First |
|---|---|---|
| Erratic or sputtering arc | Worn tip, dirty liner, loose connection, poor work clamp, damaged cable, or incorrect settings | Tip, work connection, gun connection, and cable routing |
| Wire hesitates or surges | Drive-roll tension, spool brake, blocked tip, wrong liner, kinked liner, or tight cable bends | Whether the drive rolls turn and whether the wire path is straight |
| Frequent burnback | Interrupted feeding, wrong tip size, incorrect stickout, liner gap, or poor work connection | Contact tip, liner installation, and feed consistency |
| Gun or cable runs hot | Exceeded duty cycle, loose conductive connection, degraded cable, or restricted cooling | Gun rating, connection tightness, and location of the hot spot |
Do not treat a need for more voltage as proof that the cable is failing. Voltage and wire-feed settings can drift for several reasons, and changing them may only hide the real fault. Return to the recommended setup for the wire, gas, and material, then troubleshoot the feed path and electrical connections. For broader arc symptoms, compare the cable checks here with these MIG welding problems and solutions.
What Causes MIG Cable Damage?
MIG gun cables contain copper power conductors, a wire liner, a gas path, and often trigger-control leads. Repeated abuse can damage one or more of these parts even when the outer jacket still looks acceptable.
- Repeated bending and twisting: Tight loops and repeated flexing can fatigue or fray internal copper strands. The remaining strands carry more current, which raises resistance and heat.
- Pulling or lifting by the cable: Dragging the welder by the gun cable can stretch the cable, liner, strain relief, gas conduit, or control leads.
- Crushing and abrasion: Wheels, sharp edges, hot workpieces, and floor traffic can cut, flatten, or weaken the jacket and internal components.
- Excess heat: Operating beyond the gun’s amperage or duty-cycle rating, using loose conductive connections, or draping a hot cable over a sharp support can shorten cable life.
- Incorrect liner installation: A liner that is the wrong size, kinked, dirty, or trimmed too short or too long increases drag and can create chatter, birdnesting, or burnback.
Cable damage can also exist alongside a feeder or power-source problem. If the drive rolls turn and the wire still will not travel, focus on mechanical resistance. If the rolls do not turn, investigate the trigger, control leads, connector pins, feeder relay, and machine controls. This guide on a MIG welder that feeds wire but produces no arc covers a different symptom path.
Initial Checks for Connections
Start with connections because they are visible, quick to inspect, and a common source of heat and unstable current. Follow the gun and welder manuals for connector torque and installation. A connection can feel tight while still being dirty, worn, cross-threaded, or only partly seated.
Confirm that the gun is fully inserted into the feeder, the retaining fastener is secure, the power pin is clean, and the work clamp grips bright conductive metal. Also verify that the liner, guide tubes, and drive rolls align with the wire path. Proper alignment is covered further in this guide to why a welder is not feeding wire.
Proper Connection Inspection
- Power-pin connection: Look for looseness, corrosion, arcing marks, damaged threads, flattened O-rings, or a connector that does not seat fully.
- Gun neck and front-end connections: Check that the neck, diffuser, contact tip, and nozzle are correctly installed and free from heavy spatter.
- Work lead and clamp: Inspect the cable, connector, clamp spring, jaws, and contact surfaces. Attach the clamp close to the weld on clean metal when practical.
- Trigger and control connection: Check the plug, pins, switch, and control leads for damage if the drive rolls stop or start when the cable moves.
Tightness and Cleanliness Check
Use this table as a quick inspection guide. Do not tighten parts beyond the manufacturer’s specification, and do not file or modify a connector to force it to fit.
| Connection Type | Warning Sign | Action |
|---|---|---|
| Power pin | Discoloration, looseness, arcing marks, damaged O-ring | Clean, reseat, and replace worn parts as the manual directs |
| Gun connection | Physical damage or incomplete seating | Correct the installation or replace the damaged connector |
| Work clamp | Weak spring, burned jaws, paint, rust, or loose fit | Clean the contact area or replace the worn clamp |
| Cable or strain relief | Frayed insulation, split jacket, crushing, or exposed conductor | Stop using it and arrange approved repair or replacement |
Ground Clamp Verification
Attach the work clamp directly to the workpiece or to a clean metal fixture that provides a reliable return path. Remove paint, rust, oil, heavy mill scale, and spatter from the contact area. A poor work connection can cause an erratic arc, extra heat, and misleading symptoms that resemble a damaged gun cable.
Note: Use welding PPE during functional tests, and keep hands away from the drive rolls and wire exit. Other shop tools require their own guarding and PPE rules; for example, this guide discusses angle-grinder accessory safety.
How to Spot Cable Deterioration
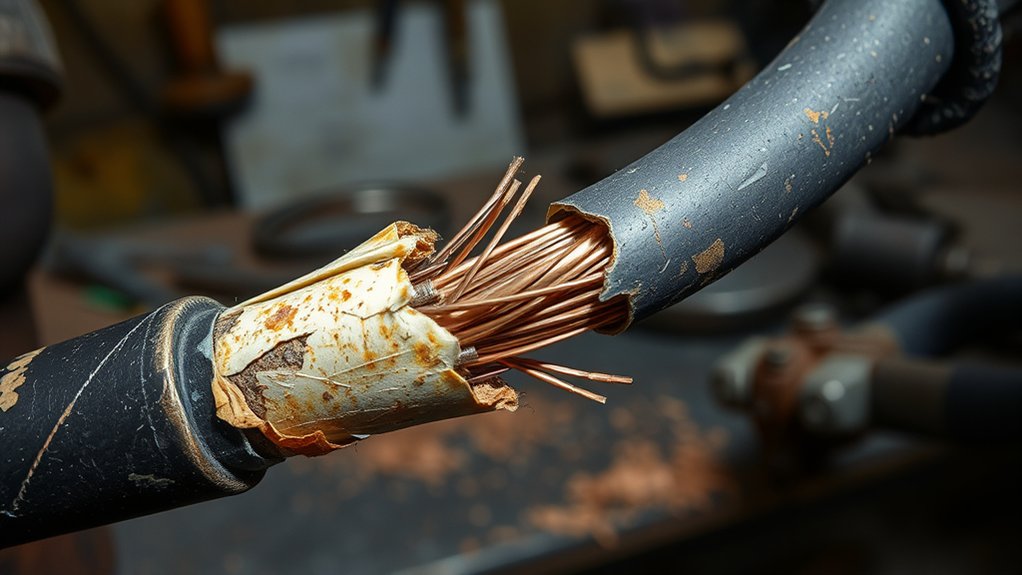
Inspect the full cable length in good light with the machine powered down. Bend it only enough to view the jacket; do not repeatedly flex a suspect area. Look for cuts, abrasion, crushed or flattened sections, melted spots, hard or brittle areas, separated strain reliefs, and exposed copper. Damage near the gun handle and feeder connection is especially common because those areas flex repeatedly.
After a short test weld within the gun’s rating, stop and power down before checking for abnormal warmth. A localized hot spot is more concerning than even warmth along the cable. It can point to a loose connection or damaged internal strands. Do not judge by touch while welding or immediately after high-amperage work because normal operating heat can cause burns.
A discolored liner is a specialized clue, not a normal external inspection item. The liner is hidden inside the cable. If it is removed and shows heat discoloration together with excessive cable heat or lost output, current may have been diverted through the liner because the intended power path was degraded. In that case, the cable needs approved repair or replacement.
The cable is suspect when the fault follows cable position, a section heats abnormally, or visible damage is present, but the liner, tip, feeder, and work connection should be ruled out first.
Step-by-Step MIG Gun Cable Diagnosis
- Record the symptom. Note whether the problem affects the arc, wire feed, trigger, gas flow, or all four. Also note whether it starts only after the gun heats up.
- Power down and inspect. Check the cable jacket, strain reliefs, handle, trigger, power pin, connector pins, work lead, and clamp.
- Lay the cable in a broad, straight path. Avoid tight loops. Reconnect the gun correctly and perform a brief test using the manufacturer’s recommended settings.
- Watch the drive rolls. If they do not turn, check the trigger circuit, control plug, and feeder. If they turn but wire does not move smoothly, check roll tension, spool brake, guide alignment, contact tip, and liner.
- Remove the contact tip. With the machine safely prepared as the manual directs, see whether the wire feeds more smoothly without the tip. Replace a worn, clogged, or incorrectly sized tip.
- Inspect the liner. Confirm the correct liner size and trim length. Clear loose debris with dry compressed air only when the manufacturer permits it, with the wire removed and suitable eye protection.
- Check the electrical path. Clean and secure the gun connection and work clamp. Do not perform live voltage-drop or resistance testing unless you are trained and the service manual provides the procedure.
- Compare with a known-good gun. If the machine works normally with a compatible gun, the original gun, cable, trigger leads, or consumables are likely at fault. Otherwise, the feeder or power source may need service.
Pro Tip: Change only one variable at a time. Replacing the tip, changing tension, increasing voltage, and bending the cable all at once can make the symptom disappear without revealing the actual cause.
Solutions for MIG Cable Feeding Issues
Wire-feed problems are often blamed on the cable, but the full path runs from the spool through the brake, drive rolls, guide tubes, liner, and contact tip. Use a systematic check before buying a new gun. If the machine has broader electrical or gas problems, this MIG welder troubleshooting guide can help separate them from cable faults.
Products Worth Considering

20Pcs Contact Tip .023'' Ø0.6mm

Premium quality Lincoln/Tweco style standard 11-35 (0.035") contact tips for 100L and Mini MIG guns

Great Set - Set of 49 pieces of necessary gas mig welder consumables parts, enough for using a long time.
Common Causes Identified
- Cable routing: Tight bends increase friction between the wire and liner. Straighten the path and use broad loops.
- Wrong or damaged contact tip: Match the tip to the wire diameter and replace it if the bore is worn, blocked, or keyholed.
- Incorrect drive rolls: Use the roll type and groove size specified for the wire. Excess pressure can deform wire and create shavings; too little pressure allows slipping.
- Spool brake tension: Too much brake force overloads the feeder. Too little allows spool overrun and tangles.
- Dirty, kinked, or incorrectly trimmed liner: Replace a worn liner and follow the gun-specific trimming method.
- Soft aluminum wire: Minimize cable bends and use the liner, drive system, tip, and spool-gun or push-pull setup recommended for the application.
Effective Maintenance Practices
- Route the gun cable as straight as the work allows and never pull the machine by the cable.
- Keep the cable away from sharp edges, hot metal, vehicle traffic, and pinch points.
- Match the drive rolls, liner, and contact tip to the wire type and diameter.
- Set roll and spool tension by the welder manufacturer’s procedure instead of tightening until the wire cannot slip.
- Remove spatter from the nozzle and diffuser without damaging the gas holes or insulation.
- Blow loose debris from a compatible liner during wire changes, using clean, dry air and the manufacturer’s safety instructions.
- Lay a hot gun and cable flat in a safe location to cool instead of hanging it over a sharp edge.
Replacement and Repair Options
Some industrial MIG guns have manufacturer-approved cable repair procedures, replacement power cables, or field-replaceable control leads. Others require replacement of the complete gun. A repair may be possible when damage is close to a terminal and the manufacturer provides the correct connector, crimp clamps, torque values, and assembly steps.
Do not reverse cable ends, cut back a damaged section, splice conductors, or reuse generic clamps unless the exact gun manufacturer authorizes that method. Damage near the middle of the cable, exposed copper, melted insulation, repeated hot spots, crushed gas conduit, or multiple internal faults usually makes replacement the safer choice.
Maintaining Your MIG Gun Cable for Longevity
Maintenance frequency should reflect how hard the gun is used. A production gun may need checks every shift, while a hobby gun should be inspected before each session and after storage. Fixed weekly or monthly schedules are less useful than checking at predictable wear points.
| Maintenance Task | When to Do It |
|---|---|
| Inspect cable jacket, strain reliefs, handle, and trigger | Before each shift or welding session |
| Check gun and work-lead connections | Before use and whenever heat or arc instability appears |
| Inspect tip, nozzle, diffuser, and wire path | At consumable changes and after burnback or birdnesting |
| Clear or replace liner | During wire changes if needed, or when feed drag and debris appear |
| Check temperature and cable routing | During normal use without touching energized or dangerously hot parts |
Store the gun in broad loops or on a hanger designed for welding cables. Do not cinch the cable into a tight coil. Protective sleeves can reduce abrasion and spatter damage when they are compatible with the gun and do not trap excessive heat. Cable condition affects equipment reliability, while weld dimensions remain a separate design issue; use appropriate engineering guidance for topics such as maximum fillet weld size for plate thickness.
Signs Your MIG Gun Cable Needs Replacement or Repair
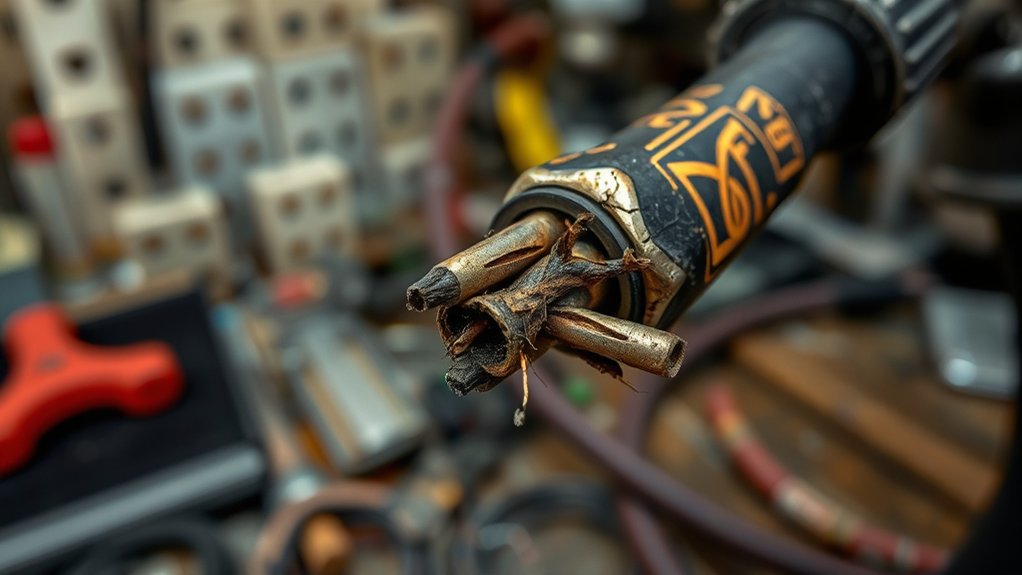
Stop using the gun and arrange repair or replacement when you find any of these conditions:
- Exposed copper, split insulation, burned insulation, or damage that leaves internal parts accessible.
- A crushed, flattened, or sharply kinked section that does not return to its normal shape.
- A localized hot spot that returns after connections are cleaned and the gun is used within its rating.
- Arc output, trigger operation, or wire feeding that repeatedly cuts in and out as the cable position changes.
- A discolored liner together with loss of output or excessive cable heat, indicating a degraded current path.
- Damaged control leads, connector pins, gas conduit, or strain reliefs that cannot be replaced with approved parts.
- Repeated burnback or feed trouble after installing the correct tip and liner and correcting the feeder setup.
Routine equipment inspections and PPE checks are also useful across welding and cutting processes, but always follow the specific manual and safety standard for the machine in front of you.
Products Worth Considering

Replacement & Compatible Welders: Replacement for the M-15 / M-150 (249041) gun. Compatible with Miller Millermatic series welders: 135, 140, 140 Auto-Set, 141, 150, 175, 180, 180 Auto-Set, 185, 190, 200, 210, 211 (non-MDX Quick-Connect version), 212, 250, 250X, 251, 252, Vintage, DVI, Pulser
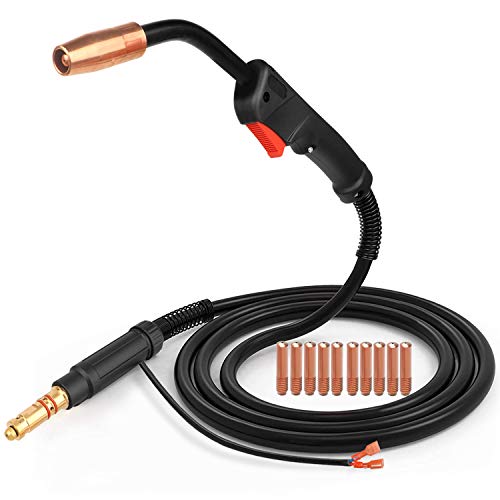
Lincoln Magnum 100L K530-5 Replacement MIG Welding Gun Torch 100Amp 10ft(3m)k530-5

Further Troubleshooting Resources for MIG Cable Issues
Start with the owner’s and service manuals for your exact welder and gun. Connector style, liner trimming, drive-roll adjustment, cable repair, and torque requirements vary by model. Manufacturer troubleshooting guides from Bernard and Tregaskiss, Miller, Lincoln Electric, and ESAB provide reliable symptom-based checks for gun cables, liners, tips, and feeders.
If the gun works with a known-good compatible cable assembly but fails with the original one, have the original gun inspected by a qualified technician. If both guns show the same fault, investigate the feeder, work lead, power source, input power, and setup. Clean base metal still matters because contamination can cause poor arc behavior and defects that equipment repairs will not solve; see these metal-preparation and flux-core welding tips for related basics.
Frequently Asked Questions
Why is my MIG wire not feeding through the gun?
First check whether the drive rolls turn when you pull the trigger. If they do not, inspect the trigger, control plug, connector pins, feeder relay, and control leads. If they turn, check spool brake tension, drive-roll pressure and groove size, guide alignment, the contact tip, cable bends, and the liner for blockage or incorrect sizing.
What happens if wire-feed speed is too high?
The wire may stub into the work, push the gun back, create a harsh arc, increase spatter, or pile into the puddle when voltage is too low for that feed rate. Use the welder’s starting chart or procedure, then balance wire-feed speed and voltage in small steps.
What causes MIG wire to feed erratically?
Common causes include wrong drive rolls, too much or too little roll pressure, excess spool-brake tension, a worn tip, a dirty or kinked liner, incorrect liner length, tight cable bends, rusty wire, and damaged control or power components in the gun.
What is the most common defect in MIG welds?
There is no universal defect that is most common in every shop or process. Porosity, lack of fusion, undercut, excessive spatter, and poor bead shape are all common. A cable or feed-path problem is more likely to show up first as an erratic arc, unstable wire delivery, burnback, or intermittent output.
Can I tape a damaged MIG gun cable?
Do not use ordinary tape as a permanent repair for damaged insulation or exposed conductors. Remove the gun from service and follow the manufacturer’s approved repair or replacement procedure. Hidden conductor, gas-hose, or control-lead damage may remain even when the jacket is covered.
Why does my MIG gun cable get hot?
Heat can come from normal high-amperage use, exceeding the gun’s duty cycle, loose conductive connections, damaged copper strands, a poor work connection, or a cable that is tightly coiled. Stop if heat is excessive, localized, or accompanied by discoloration, odor, output loss, or insulation damage.
How often should I replace a MIG gun liner?
There is no single interval. Replace the liner when it is worn, kinked, heavily contaminated, incorrectly sized, damaged during installation, or still causes drag after approved cleaning. High-use production guns and wires that create more debris may need liner service more often.
Conclusion
A MIG gun cable should deliver welding current, wire, shielding gas, and trigger signals without interruption. When the arc becomes unstable, inspect the complete system instead of blaming the cable immediately. Power down first, check the work and gun connections, straighten the cable, inspect the tip and liner, and verify the feeder setup. Replace exposed or severely damaged cable components, and use manufacturer-approved repairs for serviceable guns.
Sources
- OSHA 29 CFR 1910.254, Arc Welding and Cutting — connection checks, cable handling, damaged insulation, and qualified repairs
- Bernard and Tregaskiss: Is Poor Conductivity Impeding Your Welding Performance? — loose connections, broken copper strands, resistance, heat, repair, and replacement
- Bernard and Tregaskiss: GMAW Gun and Consumable Troubleshooting — wire-feed, burnback, erratic-arc, liner, tip, and cable diagnosis
- Bernard and Tregaskiss: Understanding MIG Gun Liners — liner size, trimming, cleaning, discoloration, and feed problems
- Miller: How to Choose MIG Welding Consumables — liner wear, kinks, cleaning, sizing, burnback, and erratic arc
- ESAB: 10 Tips for Using Compact MIG Welders — drive-roll selection and tension, tip sizing, and parameter balance




