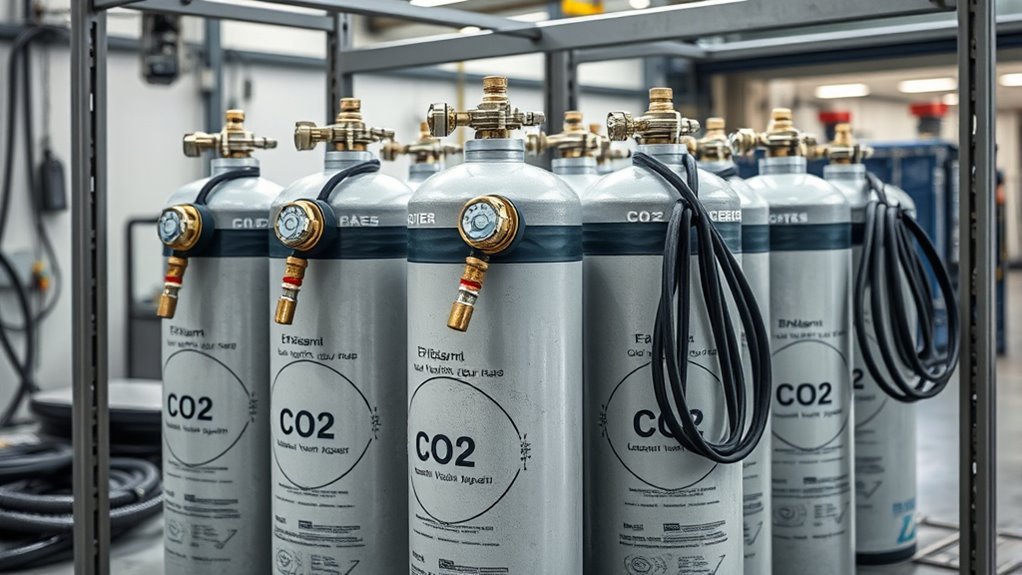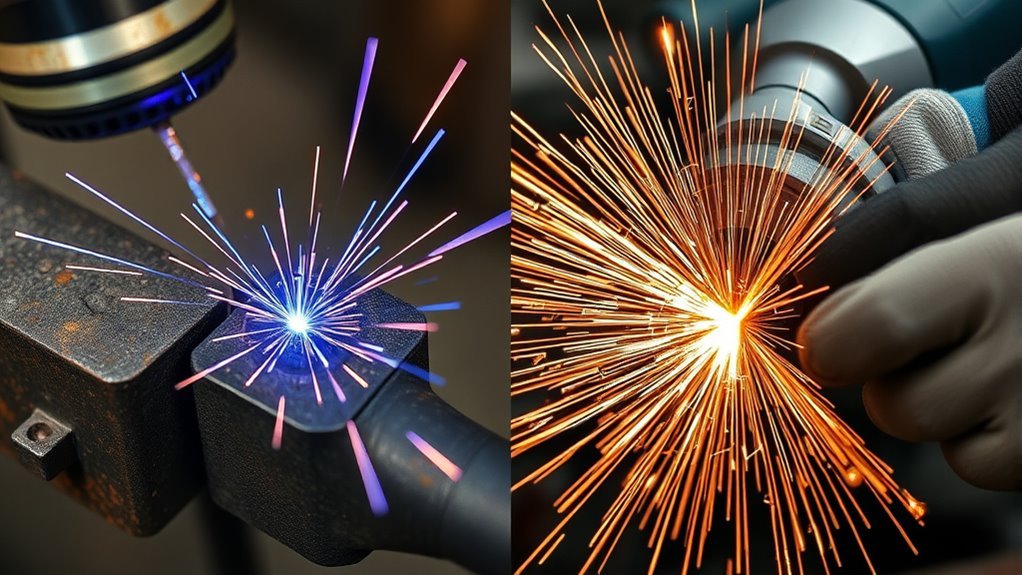
If you need to remove old welds, plasma cutting is usually faster on thick, stubborn beads, while grinding gives you better mechanical control on thin metal, delicate panels, and final cleanup. The best choice depends on weld size, base-metal thickness, access, finish quality, coatings, and how much heat the part can tolerate.
Quick Answer
Use plasma cutting when you need to remove heavy welds quickly from thick conductive metal. Use grinding when the metal is thin, access is tight, or the surrounding surface must stay untouched. In many repairs, plasma removes the bulk of the weld, then a die grinder or flap disc finishes the surface.
Key Takeaways
- Plasma cutting is usually faster for thick weld beads, brackets, frames, and heavy fabrication cleanup.
- Grinding is usually better for thin sheet metal, delicate edges, tight corners, and final surface blending.
- Plasma creates heat, light radiation, fumes, sparks, and molten slag, so ventilation and correct eye protection matter.
- Grinding creates abrasive dust, wheel-fragment risk, sparks, and vibration, so guards, RPM checks, and steady pressure matter.
- The cleanest workflow often uses both: plasma for fast bulk removal and grinding for controlled finishing.
At a Glance
| Time Required | 10-60 minutes, depending on weld size, access, metal thickness, and cleanup needs |
| Difficulty | Intermediate; advanced if working near fuel systems, structural parts, stainless steel, coatings, or confined spaces |
| Tools Needed | Plasma cutter or angle grinder, die grinder, carbide burrs, cutoff wheels, flap discs, clamps, shields, PPE, ventilation, extinguisher, and inspection light |
| Cost | Grinding is cheaper to start; plasma costs more upfront but can save labor on heavy weld removal |
Warning: Weld removal is hot work. Clear flammables, protect nearby parts, use ventilation, wear proper PPE, and keep fire extinguishing equipment ready. If the part is near a fuel tank, fuel line, battery, airbag component, sealed container, or unknown coating, stop and follow the correct service procedure before cutting or grinding.
Plasma Cutting vs Grinding for Weld Removal
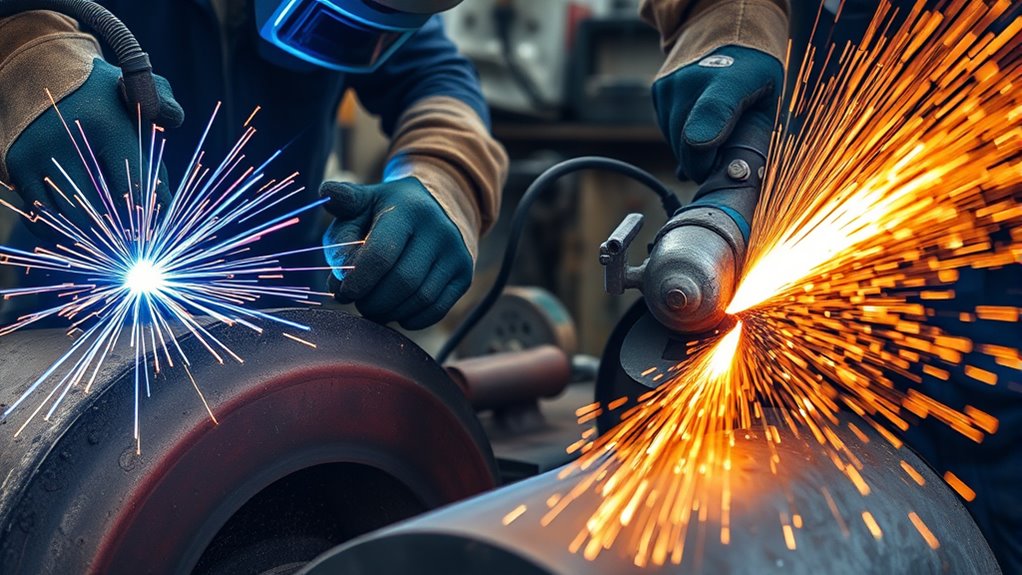
When you remove old welds, plasma cutting and grinding solve different parts of the job. Plasma uses an electric arc and compressed gas to melt and blow away metal. Grinding removes metal mechanically with an abrasive wheel, burr, or disc.
Plasma is usually the faster choice when the weld is thick, raised, or hard to reach with a wheel. It works without pressing a disc into the work, so you avoid wheel drag, chatter, and some of the fatigue that comes from grinding heavy beads.
Grinding is usually the better choice when you need a controlled finish. You can sneak up on the final shape, stop before you thin the parent metal, and blend the surface for paint, fit-up, or rewelding.
The safest answer is not “plasma is always better” or “grinding is always cleaner.” Plasma can reduce abrasive dust and wheel debris, but it creates smoke, fumes, intense light, sparks, and hot slag. Grinding creates metal dust, abrasive dust, sparks, noise, vibration, and wheel-fragment risk. Match the method to the material and control the hazards for that method.
| Job Condition | Better First Choice | Why |
|---|---|---|
| Thick weld bead on plate, frame, bracket, or heavy tab | Plasma cutting | Removes bulk metal faster with less physical force |
| Thin sheet metal or auto body panel | Grinding | Gives finer control and lowers the risk of blowing through the panel |
| Final smoothing after the weld is mostly gone | Grinding or die grinding | Lets you blend the surface without removing too much parent metal |
| Coated, galvanized, painted, or unknown metal | Prep first, then choose | Coatings can release harmful fumes when heated or ground |
| Hidden wiring, fuel lines, plastic clips, seals, or trim nearby | Grinding or remove nearby parts first | Plasma heat and sparks can damage parts behind the weld |
Products Worth Considering

STRIP DISC / CLEAN & STRIP DISC / SURFACE CONDITIONING DISC – 5-pack of 4.5" x 7/8" arbor strip discs, compatible with 4.5-inch angle grinders for surface preparation and cleaning tasks.

COLORFUL PRECISION: Elevate your work with our WelderElite Grinding Disc Set featuring 4 black, 4 purple, 2 green, and 2 blue discs. Diversify your surface treatments with ease.
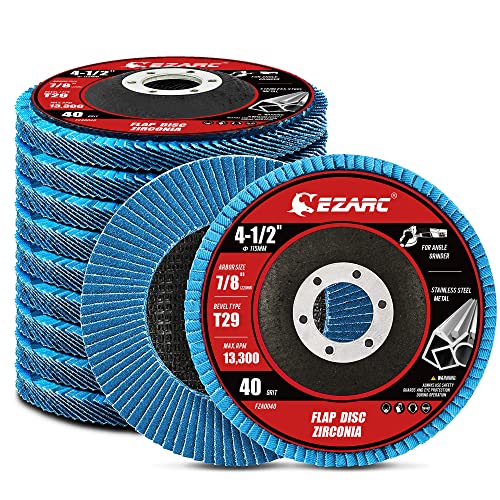
【Great Performance】EZARC flap sanding discs are made of hard zirconia material which lasts longer than standard aluminum oxide abrasive material, built for a more robust and economical grinding wheel
Prepare Before Removing Old Welds
Start by identifying what the weld is holding. Do not cut blindly through a bracket, tab, seam, frame section, or panel seam until you know what is behind it. Look for wiring, brake lines, fuel lines, insulation, seam sealer, trim clips, and overlapping metal layers.
Clean the weld area before you cut or grind. Remove grease, oil, seam sealer, paint, undercoating, and loose rust far enough from the work zone that heat and sparks will not ignite them. If the part is galvanized, remove the zinc coating from the work area and use ventilation. Heating zinc-coated metal can create hazardous fumes, so follow safe coating-removal practices before hot work. You can also review safe preparation steps in this guide on removing zinc coating from galvanized steel.
Clamp loose parts before cutting. Welds can release suddenly when the last section lets go. If the part is under load, supported poorly, or attached to a structural component, brace it first so it cannot spring, drop, or twist.
Note: If you are working on a vehicle, disconnect the battery when the service manual calls for it, protect electronics from sparks, and never cut near fuel vapors, sealed containers, or pressurized lines.
When Plasma Cutting Is Faster
Plasma cutting is faster when you need to remove a lot of weld metal from thick steel. Instead of wearing the weld down grain by grain, the arc melts the metal and the air stream clears the molten material from the cut path.
Use plasma when the weld bead is too large for a small cutoff wheel, when grinding would take several discs, or when the joint only needs rough separation before a second cleanup pass. Plasma can also help when the weld is in an awkward position where pushing a grinder safely is difficult.
Cut quality depends on the cutter, amperage, duty cycle, air supply, consumables, torch angle, travel speed, and base metal. If your cutter can use different gases or has settings for different cut quality goals, follow the manual. Some applications use nitrogen or other gases for specific materials, and you can learn more in this guide on whether a plasma cutter uses nitrogen.
Thick Steel Speed
Thick steel changes the speed equation in plasma cutting’s favor. A 55-amp class plasma cutter can often remove heavy weld buildup much faster than a small abrasive wheel, but capacity varies by model, input power, duty cycle, and material. Check the manufacturer’s rated clean-cut capacity and severance capacity before you plan the job.
On heavy welds, plasma also reduces the amount of physical pressure you need. You guide the torch instead of forcing a wheel through hardened bead material. That helps you keep a steadier hand and reduces fatigue during long removal sessions.
Do not treat speed as the only goal. If the weld sits on a thin flange, near a finished surface, or close to hidden parts, slower grinding may protect the base metal better than a fast plasma pass.
Gouge Welds Quickly
To gouge a weld with plasma, use the correct gouging consumables if your machine supports them. Set the torch at a shallow angle and move steadily along the weld so the arc peels weld metal away instead of cutting deeply into the parent metal.
Keep the arc controlled. If you move too slowly, you can dig into the base metal and create a deep groove. If you move too fast, the arc may skip, leave heavy slag, or fail to separate the weld.
A good gouging pass leaves enough material for final cleanup. After the bulk of the bead is gone, switch to a die grinder, carbide burr, or flap disc to blend the surface and inspect the parent metal.
Less Prep, Less Dross
Plasma can reduce the time you spend removing bulk weld metal, but it does not eliminate cleanup. Dross and slag increase when your travel speed, air pressure, amperage, standoff, or consumables are wrong.
To reduce dross, use dry compressed air, inspect the nozzle and electrode, keep a steady torch angle, and set the machine for the material thickness. If the arc sounds unstable or the cut line gets wide and ragged, stop and correct the setup before you remove more metal.
Plasma works best when you leave a small finishing allowance. Trying to make the final cosmetic surface with the plasma torch alone can remove too much metal and create extra repair work.
Pro Tip: Use plasma for the rough pass and a grinder for the final pass. That workflow gives you speed first and control last.
When Grinding Is the Better Choice
Grinding is often better when you are working on thin material, delicate surfaces, or areas where heat input has to stay low. You remove metal mechanically, so you can stop often, check progress, and avoid thinning the parent metal.
Grinding also works well in confined shapes where the torch cannot sit at the correct angle. A die grinder with a carbide burr can reach small recesses, plug welds, spot welds, and corners that a plasma torch may overcut.
Choose grinding when:
- The base metal is thin or easy to warp.
- The weld is close to an edge you must preserve.
- You need a smooth surface for paint, filler, fit-up, or rewelding.
- There are hidden parts behind the weld that heat could damage.
- You are removing only a small bead, tack, plug weld, or high spot.
- You need spark control near surrounding surfaces and can shield the area. Review these angle grinder spark fire risk prevention tips before starting.
Use measured pressure. Pushing harder does not always cut faster. It can overheat the work, glaze the abrasive, damage the wheel, and make the grinder harder to control.
Plasma Cutting Thick or Tight Welds
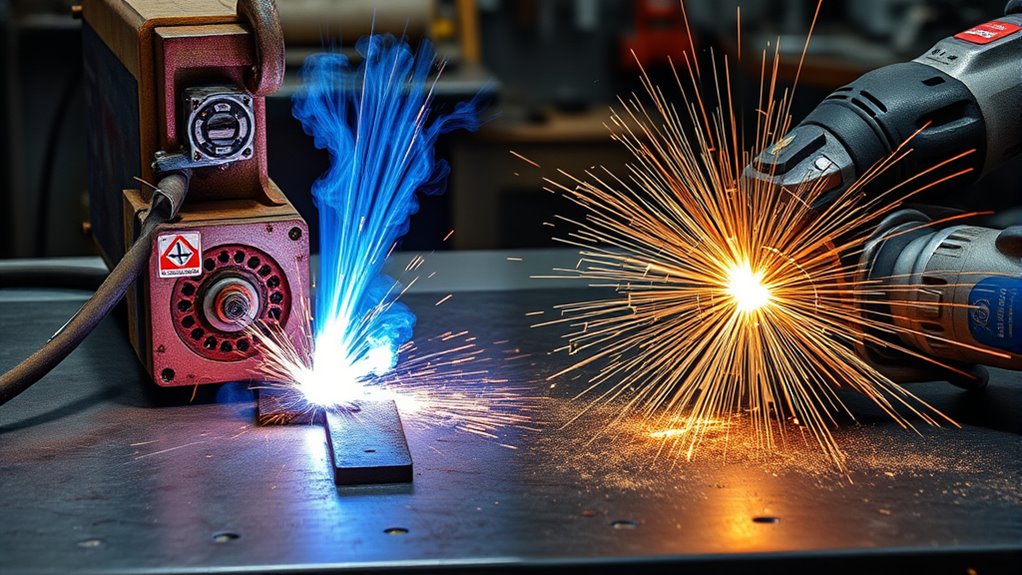
When you gouge thick or tight welds with plasma, control arc length, travel speed, and torch angle. Small changes can decide whether you peel off the weld bead cleanly or gouge too deeply into the base metal.
Before you start, confirm your air pressure, amperage, consumables, ground clamp location, and work lead connection. Low or wet air can make the arc unstable and increase slag. This plasma cutting beginners guide explains the basic setup points in more detail.
Plasma Gouging Control
Plasma gouging works best when you use a wider, softer arc rather than a straight cutting setup. The goal is to wash weld metal away from the top layer while leaving the parent metal as intact as possible.
Hold the torch at a shallow angle, start at the edge of the bead, and move in short, controlled passes. Let the arc do the work. If you chase the weld aggressively, you can undercut the base metal or open holes in thin material.
After each pass, pause and inspect the surface. Stop plasma gouging before you reach final height, then finish with a grinder so you can feel and see the last few thousandths of material coming off.
Tight Space Precautions
In tight weld-removal zones, the biggest risk is damaging something you cannot see. Heat, sparks, slag, and the arc path can reach wiring, hoses, insulation, seals, glass, plastic clips, and painted surfaces.
Use scrap steel or a welding blanket as a shield where it is safe to do so. Route the torch lead and air hose so they do not pull your hand off line. Keep your body balanced and avoid cutting from a stretched position.
Ventilation matters even more in tight spaces. OSHA states that ventilation is a prerequisite to work in confined spaces and that welding and cutting operations in confined spaces must be adequately ventilated to prevent toxic material buildup or oxygen deficiency. See OSHA 1910.252 for the general welding, cutting, and brazing requirements.
Cleanup After Gouging
After gouging, switch to a die grinder, carbide burr, file, or flap disc to remove slag and smooth rough edges. Do not leave sharp burrs, loose slag, or deep notches if the part will be rewelded or loaded again.
Inspect the cut zone with a light. Look for cracks, undercut, gouged base metal, remaining weld root, trapped slag, and heat damage. If you removed a structural weld, follow the correct repair procedure before rewelding or returning the part to service.
Good debris management keeps the shop safer. Collect hot slag and abrasive waste, separate scrap metal where needed, and keep the floor clear so you do not step on sharp fragments or trip while holding a hot tool.
How to Reduce Heat and Slag
Heat and slag problems usually come from poor setup, wrong speed, worn consumables, wet air, wrong abrasive, or trying to remove too much metal in one pass. Fix the cause instead of forcing the tool harder.
| Problem | Likely Cause | Fix |
|---|---|---|
| Heavy plasma dross | Wrong travel speed, worn nozzle, wet air, or wrong amperage | Check consumables, air supply, amperage, standoff, and speed |
| Base metal gouging | Torch angle too steep or travel too slow | Use a shallow angle and stop before final height |
| Panel warping | Too much heat in one area | Use shorter passes, let the part cool, or switch to grinding |
| Grinding burns or blue marks | Too much pressure or dull abrasive | Use a fresh disc, lighter pressure, and more frequent pauses |
For plasma, maintain the correct air pressure and flow for your machine. Too little air can leave slag and overheat consumables, while too much can disturb the arc on some machines. This guide on what PSI a plasma cutter should be set at explains why the right range matters.
For grinding, use the right abrasive for the stage. A cutoff wheel separates material, a grinding wheel removes bulk, a carbide burr gives local control, and a flap disc blends the surface. Do not use a cutoff wheel sideways as a grinding wheel.
Best Grinding Tools for Weld Removal
The best grinding tool depends on weld size and access. For heavy weld beads on open surfaces, an angle grinder with a suitable grinding wheel can remove material quickly. For tight spaces, a die grinder with a carbide rotary burr gives more control.
Carbide rotary burrs are useful when you need to cut hard weld metal without chewing up the surrounding base metal. They work well around plug welds, corners, brackets, and small recesses.
Angle grinders work well for open seams and larger beads. Use the right wheel type, keep the guard installed, and hold the grinder so sparks and possible fragments are directed away from you.
Mini cutoff wheels can reach tight slots, but they are fragile and can bog down on thick welds. Let the wheel cut at its own pace and avoid twisting it in the kerf.
Flap discs are best for final blending, not heavy weld removal. Use them after the bulk of the bead is gone so you do not overheat the surface or waste discs.
Before mounting an abrasive wheel, check that the grinder speed does not exceed the wheel’s marked maximum operating speed. OSHA’s abrasive wheel rules also call for wheel inspection before mounting, and the portable grinder rules require guards to be positioned between the operator and the wheel during use. See OSHA 1910.215 and OSHA 1910.243 for abrasive wheel and portable tool requirements.
If you are unsure what the markings on a grinding wheel mean, review this guide to angle grinder wheel markings before choosing a wheel.
- Use a grinding wheel for bulk bead removal on open surfaces.
- Use a carbide burr for tight, controlled weld removal.
- Use a flap disc for final blending.
- Use a cutoff wheel only for cutting, not side grinding.
- Replace damaged, cracked, glazed, or overloaded abrasives.
Products Worth Considering

【Carbide Burr Set】: These carving bits are made from Tungsten Carbide Steel for long life , sturdy and durable. Shank Diameter: 1/8'' , Total Length:45-50mm, Cutting Diameter: 1/4''. 1/8'' shank fits most small rotary tools with three jaw chuck

The 20pcs double cut tungsten carbide burr bits set compatible with Dremel metal grinding bits compatible with Hardell Milwaukee DeWALT angle or straight air or electric die grinder or drill.

𝗣𝗥𝗘𝗖𝗜𝗦𝗜𝗢𝗡 𝗬𝗢𝗨 𝗖𝗔𝗡 𝗙𝗘𝗘𝗟: This 10-piece carbide burr set 1/4" shank (6.35mm) offers precision, speed, and control for a wide range of tasks. These carbide burr bits are compatible with most die grinder accessories, including DeWALT, Ingersoll Rand, Milwaukee, and Makita. (Not compatible with 6mm collets)
Safety Tips for Weld Removal
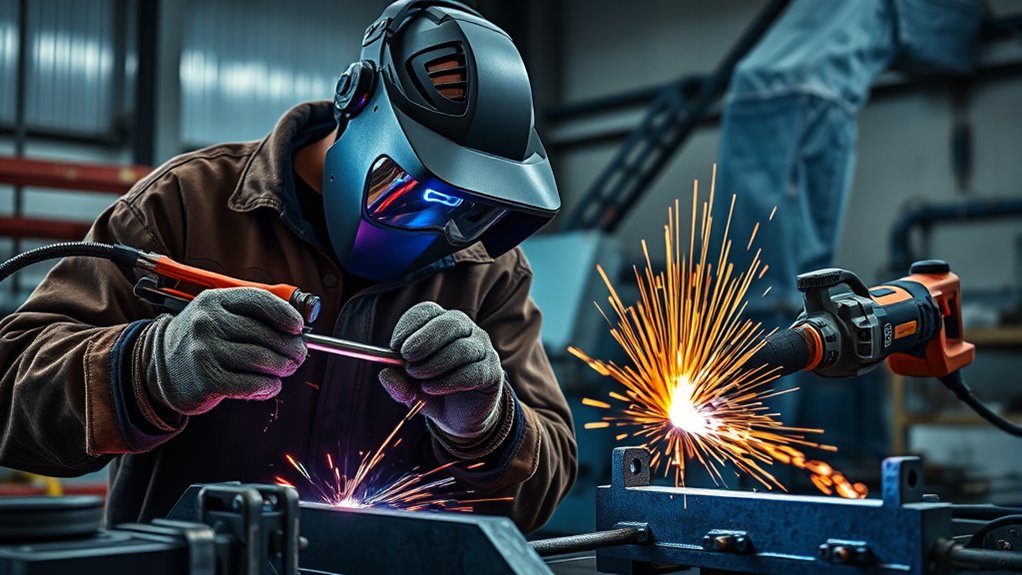
Safety comes first during weld removal because plasma cutting and grinding can throw sparks, hot slag, abrasive fragments, and metal chips. Treat the work area like a hot-work zone, not a quick cleanup task.
Clear movable combustibles from the work area. If they cannot be moved, shield them with fire-resistant barriers. OSHA’s welding and cutting rules require suitable fire extinguishing equipment to be ready, and fire watchers are required in listed fire-risk conditions, including when appreciable combustible material is within 35 feet. A fire watch must be maintained for at least a half hour after completion when required by the rule.
Wear the right eye and face protection. OSHA lists minimum protective filter shades for plasma arc cutting: shade 8 for light plasma arc cutting under 300 amps, shade 9 for 300-400 amps, and shade 10 for 400-800 amps when the arc is clearly seen. Start with a darker shade, then lighten only enough to see the work without going below the minimum. See OSHA 1910.133 for eye and face protection requirements.
Your PPE should include a welding helmet or suitable face protection for plasma work, safety glasses under the face shield, leather gloves, flame-resistant clothing, hearing protection, and closed leather footwear. For grinding, use safety glasses plus a face shield, gloves, hearing protection, and a correctly positioned grinder guard.
Ventilation is not optional when fumes can build up. Use local exhaust or forced airflow that moves fumes away from your breathing zone. In confined spaces, follow confined-space rules and use approved respiratory protection where ventilation cannot control the hazard. Never use oxygen for ventilation.
Plasma cutting also requires specific safety gear for light radiation, fumes, and molten metal. This guide to plasma cutting safety gear explains the basic protective setup.
Warning: Do not plasma cut or grind on a sealed container, fuel tank, drum, unknown vessel, or part that may contain flammable residue. Used containers must be cleaned and prepared correctly before hot work.
How to Choose the Right Method
Choose the method by asking five questions: How thick is the base metal? How large is the weld? How much finish quality do you need? What is behind the weld? What hazards will the tool create?
Choose plasma cutting when the weld is heavy, the base metal is thick enough to tolerate heat, and the goal is fast separation. It is a strong choice for brackets, tabs, frame repairs, heavy fabrication, and demolition cuts where speed matters more than a finished surface.
Choose grinding when you need precision, the metal is thin, or the finish matters. It is also the safer first choice when heat could damage hidden parts or when the weld is close to a delicate edge.
Use both methods when the weld is large but the final surface matters. Plasma cut or gouge most of the bead, then grind the last layer flat. This saves time while protecting the parent metal.
Your cost analysis should include tool price, consumables, labor time, cleanup time, and rework risk. Plasma often costs more upfront, but it can pay off when you remove heavy welds often. Grinding costs less to start, but large jobs can consume wheels, burrs, time, and energy.
Plasma arc temperature is high enough to make heat control critical, but temperature alone does not decide the method. For more background, see this guide on how hot plasma cutters get. In practice, the better decision comes from thickness, access, finish quality, and safety controls.
Frequently Asked Questions
How do you grind off old welds?
Use an angle grinder, die grinder, carbide burr, or flap disc that matches the weld size and access. Remove the bead slowly, keep the guard in place, check wheel RPM, use light pressure, and stop often to inspect the parent metal. Finish with a finer disc or file if the surface needs to be blended.
Is a plasma cutter better than a grinder for weld removal?
A plasma cutter is better for fast bulk removal on thick conductive metal. A grinder is better for thin material, delicate areas, and final smoothing. Many weld-removal jobs use both tools: plasma first, grinder second.
What is a disadvantage of plasma cutting old welds?
Plasma cutting costs more upfront and can damage thin metal if the setup is wrong. It also creates intense light, fumes, sparks, molten slag, and heat, so you need ventilation, correct eye protection, fire control, and good torch control.
Can you use a plasma cutter to cut welds?
Yes, you can use a plasma cutter to cut or gouge welds on conductive metal. Use the correct consumables, set the machine for the material, keep a steady torch angle, protect nearby parts, and leave final cleanup for a grinder when surface quality matters.
Should you use plasma cutting on thin sheet metal?
Usually, grinding is safer for thin sheet metal because it gives better control and reduces the risk of blowing through the panel. Plasma can work on thin metal with the right setup, but it leaves less room for error.
Do you still need to grind after plasma cutting a weld?
In most repair work, yes. Plasma removes the bulk of the weld quickly, but grinding or filing is usually needed to remove slag, smooth high spots, inspect the base metal, and prepare the surface for rewelding, paint, or fit-up.
Conclusion
When you need to strip old welds, choose plasma cutting for speed on thick, heavy welds and grinding for control on thin, delicate, or finish-critical work. Plasma can remove bulk metal fast, but it still needs fume control, eye protection, fire prevention, and cleanup. Grinding is slower on big welds, but it gives you the careful touch needed for final blending. Match the tool to the weld, protect the surrounding part, and inspect the base metal before the next repair step.
Sources
- OSHA 1910.252: Welding, Cutting, and Brazing General Requirements – fire prevention, ventilation, confined-space, and hot-work safety controls.
- OSHA 1910.133: Eye and Face Protection – protective filter shade requirements for plasma arc cutting and other operations.
- OSHA 1910.243: Guarding of Portable Powered Tools – portable grinder guard placement and wheel mounting requirements.
- OSHA 1910.215: Abrasive Wheel Machinery – abrasive wheel guarding, inspection, and speed-check requirements.