A weld bead tells you a lot about your weld before you ever test it. Its shape, width, height, and surface can show whether you used the right heat, speed, and torch control. This guide explains what a weld bead is, how it forms, which bead types fit common jobs, and which defects you should catch before they weaken the joint.
What’s in This Article
- What Is a Weld Bead?
- How a Weld Bead Forms
- What Weld Bead Shape Says About Quality
- Stringer Beads for Thin, Clean Welds
- Weave Beads for Wider Joints
- When to Use Whip Motion and Walking the Cup
- What Makes a Good Weld Bead
- Common Weld Bead Defects to Spot
- How to Improve Weld Bead Consistency
- Frequently Asked Questions
- Conclusion
Quick Answer
A weld bead is the raised seam of fused metal left after a welding pass. You form it when the arc melts filler metal and base metal into a molten pool that cools into a joint. A good bead looks smooth, even, clean, and properly tied into the base metal.
Key Takeaways
- Read bead shape to judge heat control, travel speed, and fusion.
- Use stringer beads for thin metal, root passes, and narrow joints.
- Use weave beads when you need to fill wider joints or thicker sections.
- Watch for undercut, porosity, cracks, and uneven width before the weld carries load.
- Keep the joint clean and your motion steady to build stronger, cleaner welds.
What Is a Weld Bead?
A weld bead is the raised line of filler metal and base metal that melts, flows, and solidifies as you weld. It helps fuse two base materials into one joint. You can judge its quality by its shape, width, height, edge tie-in, and surface condition.
Your welding technique controls the bead. Torch angle, travel speed, arc length, heat input, and filler feed all change the bead profile and strength.
Different weld bead types fit different jobs. Stringer beads suit thin material, narrow joints, and precision work. Weave beads help cover wider joints and thicker sections.
Torch movement, angle, and speed shape bead strength, while stringer and weave beads serve different welding needs.
You should aim for a straight, uniform bead with no undercut, porosity, cracks, or lack of fusion. Proper settings and steady motion help you reach that result. Understanding flux core welding techniques can also help you make more durable welds.
When you understand weld bead types and welding techniques, you gain more than a cleaner joint. You gain the control to make structurally sound work with more confidence and consistency.
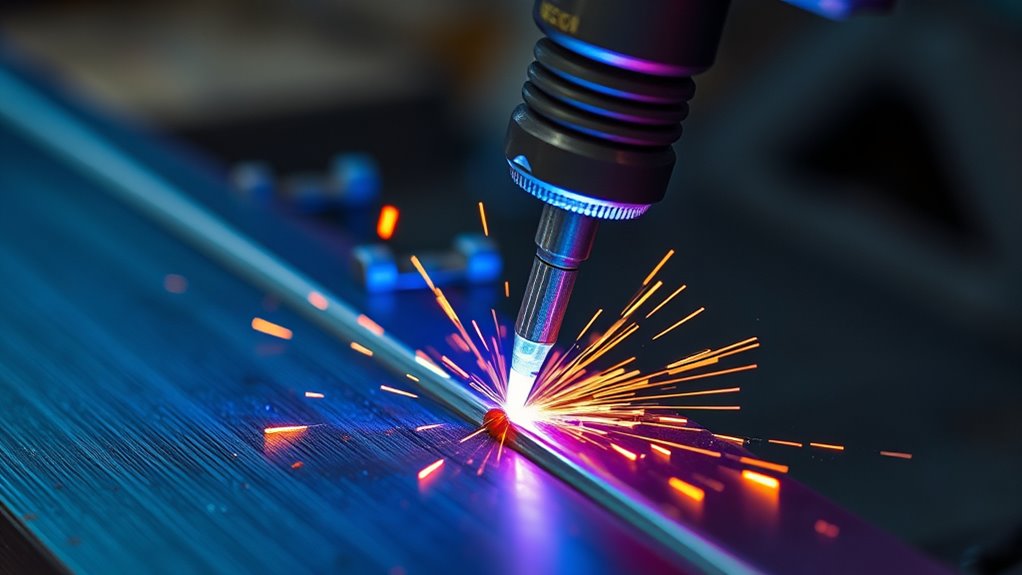
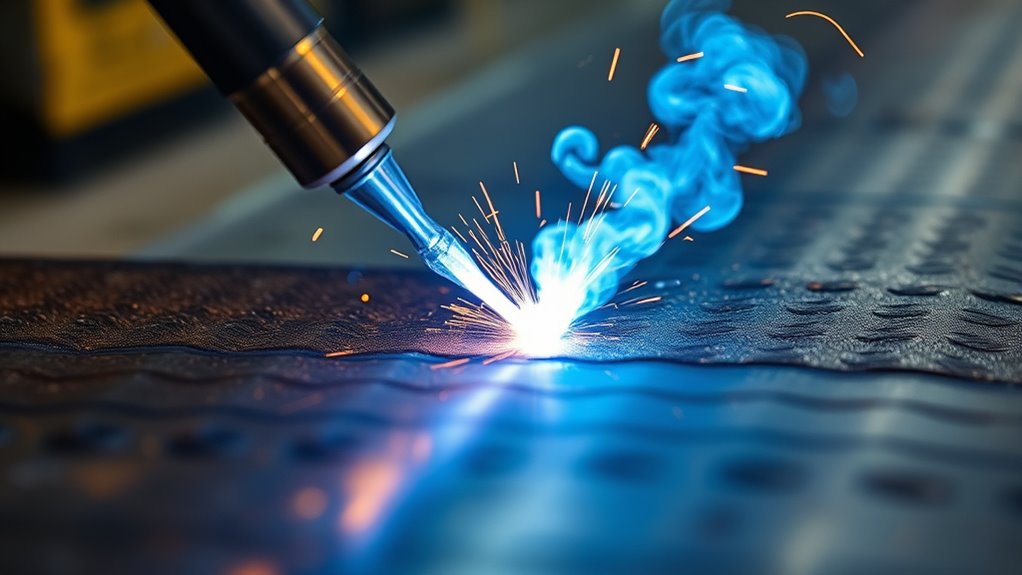
How a Weld Bead Forms
A weld bead forms when you move the torch or electrode along a joint and create an arc. The arc melts the filler metal and base metal together. As the molten pool cools, it solidifies into a continuous bead.
Your torch movement shapes the result. A straight, controlled pass makes a stringer bead. Side-to-side motion creates a weave bead.
You also need precise temperature control. Too much heat can burn through thin metal or leave too much buildup. Too little heat can leave weak penetration or poor fusion.
Keep your travel speed steady so the bead keeps an even width and depth. Clean, aligned joint surfaces matter too. Proper preparation improves fusion and lowers defect risk.
Understanding the importance of proper metal preparation can improve your weld quality. When you control these variables, you build a stronger and more reliable weld.
Pro tip: Watch the puddle edges, not just the arc, because the edges show whether the bead ties into the base metal.
What Weld Bead Shape Says About Quality
You can judge a weld bead’s quality by its shape. A straight, uniform, flat bead often shows proper travel speed, stable torch control, and good fusion.
If you see uneven width, excessive convexity, excessive concavity, or irregular height, check your heat setting, motion, and equipment setup. Defects such as undercut or porosity in the bead profile can weaken joint integrity.
Understanding bead appearance can help you identify the issues that affect weld quality.
Flat Bead Uniformity
When a weld bead stays flat, uniform, and smooth, it often signals proper penetration, steady travel speed, and sound heat control. You can read that surface as a sign that your flat bead technique fits the joint.
- Uniform width shows that you held a consistent torch angle and travel path.
- Even height shows that you balanced heat input and avoided excess buildup.
- Minimal spatter and a clean surface suggest better filler choice and torch settings.
When you keep bead shape consistent across passes, you support structural integrity and spread load more evenly. That precision reduces guesswork and helps you build stronger, cleaner welds.
Shape Defects and Meaning
A weld bead’s shape gives you a direct read on weld quality because each profile points to specific heat and travel conditions. A convex bead often means you added too much filler, moved too slowly, or used settings that built up excess metal.
A concave bead can mean you used too much heat, too little filler, or traveled too fast for the joint. That profile can reduce reinforcement and weaken the weld.
When bead consistency breaks down and width varies, your travel speed likely changed during the pass. Undercut along the edges can point to excess speed, poor angle, or too much heat at the bead toes.
A flat, even bead is the target for many joints. It shows that you controlled heat and motion well enough to produce a strong, reliable weld.
Stringer Beads for Thin, Clean Welds
When you run a stringer bead, you keep the torch on a straight travel path with little side-to-side motion. This method gives you a narrow, controlled weld.
That steady motion helps you manage penetration cleanly. It also lowers the risk of spatter, undercut, and excess heat, especially in tight joints.
You usually use this technique on thin material. Precise heat input and a uniform bead profile matter most when the metal can warp or burn through. Maintaining a proper bead profile helps protect weld strength and appearance.
Products Worth Considering

Gel eliminates erratic operation with a film that will not clog orifices and threads on MIG nozzles and contact tips

A brand new 150Amp 10ft Replacement Mig gun for YESWELDER MIG-205DS Welder.

Package Including 10pcs x 0.035" Contact Tip, 2pcs x Gas Nozzle, 2pcs x Gas Diffuser.
Straight Travel Path
- Hold the torch on line for consistent penetration.
- Move at a uniform travel speed to limit defects.
- Use this method on thin material, tight joints, or root passes.
This approach gives you precise control over heat input. When you master it, you weld with discipline and produce a cleaner bead profile.
Clean Penetration Control
With only a slight drag or push movement, you can focus the arc and limit heat input. That control improves heat management across the puddle.
Set your voltage and wire feed speed to match the material and process. Then hold a steady travel speed and torch angle.
That consistency helps you avoid undercut and lack of fusion. It also helps you produce a cleaner bead with less spatter.
Best Thin Material Use
For thin material, stringer beads give you the control you need to keep the weld narrow and precise. They also help limit heat input and distortion.
When you weld thin materials, move the torch in a straight line with little side-to-side motion. This approach delivers clear stringer bead benefits:
- Reduce burn-through risk.
- Improve bead appearance.
- Protect joint integrity.
You may find this technique useful on automotive panels and thin sheet metal, where clean, controlled welds matter. Because the bead stays tight, you preserve fit-up and reduce warping.
Weave Beads for Wider Joints
When you need to fill a wider joint, a weave bead lets you move the torch side to side instead of laying one narrow stringer bead. You control the travel path to spread filler metal across the gap and cover both sides evenly.
For thicker material, this approach can give you stronger fusion and a more complete profile. You can shape weave patterns in zigzag, crescent, or triangle paths. Each pattern changes bead width and reinforcement.
Keep your motion quick and steady so the puddle doesn’t overheat or sag. That pace helps you produce a flat or slightly convex face, which supports sound weld geometry. Controlling travel speed is crucial for proper bead formation and penetration.
In multi-pass welds and structural work, weave beads give you the reach and control you need to build durable joints without wasting filler metal.
Warning: Avoid wide, slow weaves on thin metal because excess heat can cause burn-through or distortion.
Products Worth Considering

Powerful Flame Temperature Heat up to 5252°F (2900°C)

Complete Kit: Ideal for HVAC & Light Duty Brazing - Designed specifically for light-duty brazing and welding jobs, this kit is your go-to tool for HVAC repairs, metal crafts, and other precision tasks. Its portable design is perfect for on-the-go professionals

【High Performance】This mini torch can work with propane, acetylene, hydrogen, propylene, natural gas etc to finish jewelry repair work.Two connectors mix the oxygen and acetylene ( gas), to get high performance welding flame. The green one connect with oxygen and red connect gas (Acetylene/Butane/Propane)
When to Use Whip Motion and Walking the Cup
Whip motion is a stick-welding technique you use on root passes when you need tighter heat control and cleaner penetration. It can help on thin material where burn-through creates a risk.
You drive the puddle forward, then quickly pull back. That whip technique lets you manage heat without losing fusion. Use it when joint fit-up leaves little room for error.
Whip motion gives you tight heat control on root passes, helping prevent burn-through while keeping fusion strong.
- Root passes: Manage penetration and limit excess heat.
- Thin sections: Reduce burn-through while maintaining fusion.
- Changing positions: Adapt your motion to joint angle and thickness.
Walking the cup is a TIG-specific cup motion you use when you want a stable arc and even heat spread across the joint. Rock the cup diagonally to guide the tungsten smoothly and keep the puddle balanced.
Understanding maximum fillet weld size helps you protect joint integrity and avoid oversized or weak welds. Both methods reward precision. When you master them, you weld with fewer defects and stronger joint control.
What Makes a Good Weld Bead
A good weld bead shows even width and height, with a straight, flat profile that ties smoothly into the base metal. It also shows consistent penetration across the joint.
You should read weld bead characteristics by looking for uniformity, clean edges, and a controlled surface. A sound bead supports strength without excess buildup.
Penetration consistency matters because it tells you whether your heat input and travel speed match the material and joint design. Use a stringer bead when you need deeper fusion with little side-to-side motion. Use a weave when you need to fill a wider gap.
Keep your torch or electrode steady, maintain proper settings, and move at a constant pace so the puddle stays balanced. When shielding works well, you should see minimal spatter and no heavy soot.
Proper preparation is crucial because rust, oil, paint, and moisture can compromise weld quality.
Common Weld Bead Defects to Spot
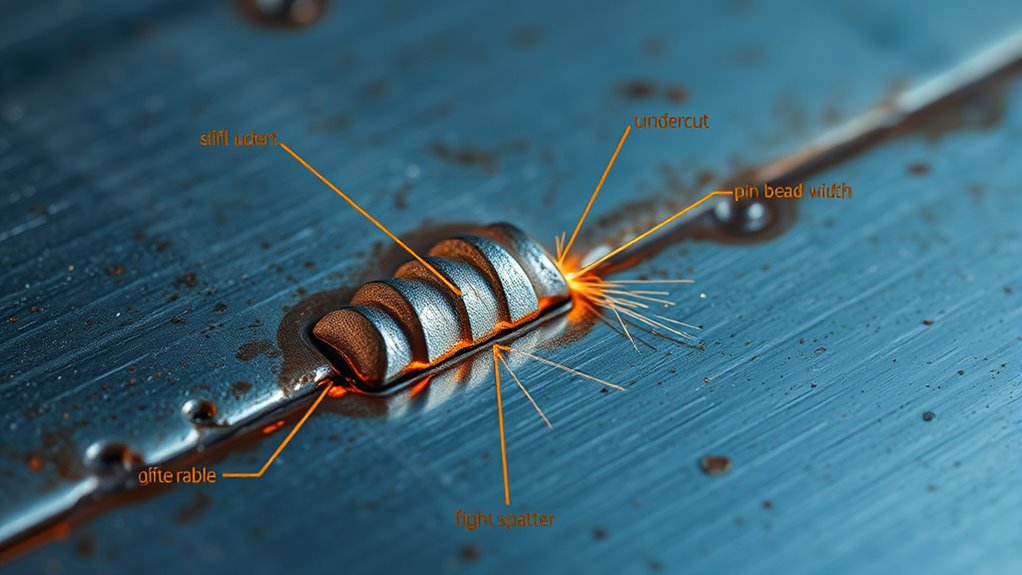
Common weld bead defects can tell you what went wrong during the weld. Learn to spot them early so you can fix the process before the joint fails.
Weld bead defects reveal hidden problems early, helping you catch issues before they weaken the joint.
When you compare weld bead types, defect identification becomes easier because each flaw leaves a distinct trace.
- Undercut: Melted edges beside the bead often point to excess speed, poor angle, or too much heat at the bead toes.
- Porosity: Small gas pockets inside the bead often point to contamination, moisture, or poor shielding gas coverage.
- Excessive reinforcement: A tall crown often points to too much filler metal, low travel speed, or low heat for the filler rate.
- Inconsistent width: Uneven width often shows that your hand speed, arc length, or angle changed during the pass.
- Cracks: Cracks in the bead or heat-affected zone can point to rapid cooling, poor material choice, or thermal stress.
Proper shielding gas during the welding process helps reduce porosity and other defects. Inspect each weld bead closely and correct defects before they spread.
How to Improve Weld Bead Consistency
Consistent weld beads come from steady setup and steady motion. Before you start, clean the joint, check fit-up, and match your settings to the metal thickness.
Keep your travel speed even and watch the puddle size as you move. If the puddle grows too wide, speed up slightly or lower heat within the safe range for the joint.
Practice on scrap metal that matches your workpiece. Short practice passes help you tune voltage, wire feed speed, amperage, and torch angle before you weld the final joint.
Note: Different welding processes use different settings, so adjust your bead technique for MIG, TIG, stick, or flux core welding.
Frequently Asked Questions
What Is the Purpose of a Weld Bead?
You use a weld bead to join metal, seal joints, and distribute stress across the connection. Its shape and surface help you judge penetration, fusion, and overall weld quality.
Why Is My Weld Bead So Tall?
Your weld bead may sit too tall because you added too much filler metal, moved too slowly, or used settings that didn’t flatten the puddle enough. Check weld bead height, steady your filler feed, and adjust travel speed for a flatter profile.
What Are the Six Basic Types of Welding Beads?
You will usually see six common welding bead types: stringer, weave, circular, spiral, whip, and stacked dime. Each bead style changes how you control penetration, heat, width, and appearance.
Should a Weld Bead Be Flat or Convex?
Many welds should look flat to slightly convex, depending on the joint and welding process. A bead with too much crown can waste filler and create stress points, while a deeply concave bead may lack reinforcement.
Can You Fix a Bad Weld Bead?
You can fix some bad weld beads by grinding out the defect and rewelding the area with better settings and technique. Do not weld over cracks, porosity, or lack of fusion without removing the flawed metal first.
Conclusion
A weld bead gives you a clear view of how well you controlled heat, filler metal, and travel speed. Read its shape before you trust the joint.
Choose the bead style that fits the metal thickness, joint width, and weld position. Then inspect for defects such as undercut, porosity, cracks, and uneven width.
With steady practice and careful setup, you’ll improve both quality and consistency in every weld you make.


