
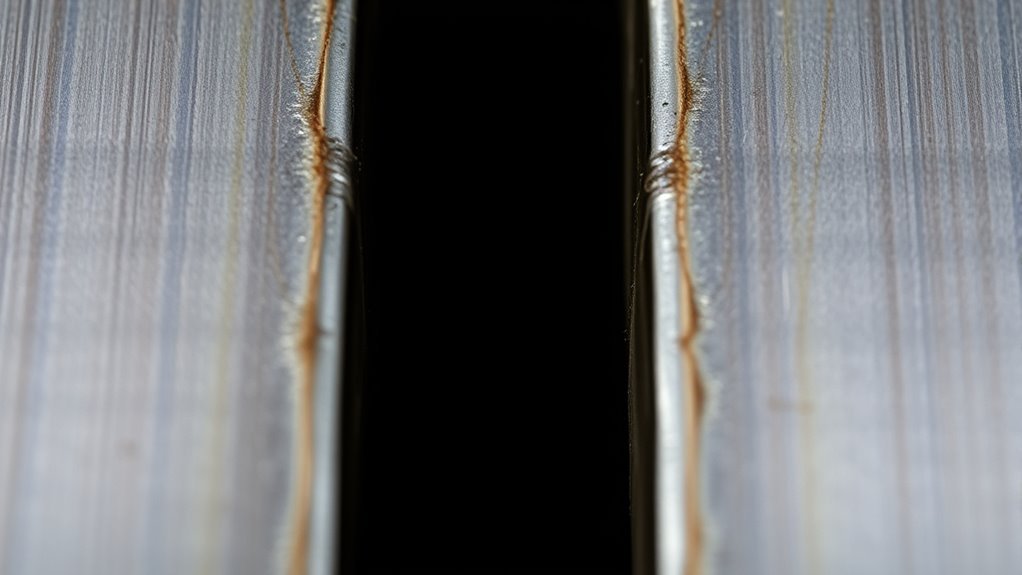
Incomplete penetration in welding happens when the weld metal does not reach and fuse through the joint root as required. That small unfused area can act like a notch, reduce load capacity, trap corrosion, and lead to cracking under stress. The fix starts before the arc: correct joint prep, root opening, heat input, travel speed, electrode choice, and inspection all matter.
Quick Answer
Incomplete penetration in welding means the weld does not fully fuse at the joint root or through the required thickness. It is usually caused by poor fit-up, a tight root gap, low heat input, fast travel speed, wrong electrode size, or poor technique. Hidden defects often need proper weld inspection or NDT.
Key Takeaways
- Incomplete penetration is a root defect, not just an ugly bead.
- The most common causes are poor joint prep, tight root openings, low amperage, long arc length, fast travel speed, and wrong electrode or wire size.
- Visual inspection can help when the root is visible, but hidden defects may require ultrasonic or radiographic testing.
- Critical welds must be repaired and accepted under the job’s WPS, code, drawing, and inspection requirements.
At a Glance
| Time Required | A few minutes for fit-up checks; longer if grinding, re-welding, and inspection are needed |
| Difficulty | Medium for practice welds; advanced for structural, pipe, pressure, or code work |
| Tools Needed | Welding machine, correct electrode or wire, grinder, wire brush, fit-up gauges, PPE, and inspection tools as required |
| Cost | Low for practice repairs; variable for certified inspection, NDT, or code-required rework |
Understanding Incomplete Penetration and Weld Integrity
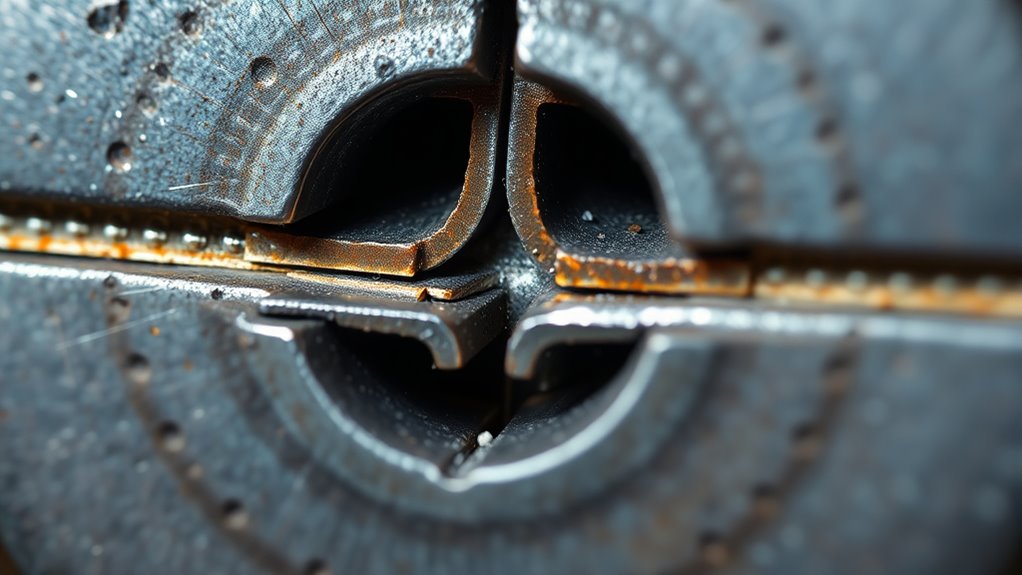
Incomplete penetration means the weld did not reach the required depth at the root of the joint. In a groove weld, that usually means the weld metal did not fuse through the full joint thickness or did not tie in at the root as specified.
This matters because the unfused root behaves like a notch. Under tension, bending, pressure, vibration, or fatigue, that notch can concentrate stress and start a crack. In corrosive service, the gap can also trap moisture, chemicals, or scale.
A weld can look acceptable on the face and still have incomplete penetration at the root if the joint was not opened, heated, and inspected correctly.
Incomplete penetration is especially serious in structural steel, bridges, lifting equipment, pipe, tanks, pressure vessels, and vehicle frames. In those jobs, the weld must meet the drawing, WPS, inspection plan, and governing code. Do not judge it by bead appearance alone.
Incomplete Penetration vs. Lack of Fusion
These terms are often mixed up, but they are not always the same defect.
| Incomplete penetration | The weld does not reach the required root depth or does not fuse through the required joint thickness. |
| Lack of fusion | The weld metal does not properly fuse to the base metal or to a previous weld pass. |
| Incomplete fusion | A broad term that may include sidewall fusion problems, interpass fusion problems, or root fusion problems. |
Think of incomplete penetration as a depth problem at the root. Think of lack of fusion as a bonding problem between weld metal and the surface it should join.
Key Factors Leading to Incomplete Penetration in Welds
When you see incomplete penetration, the cause usually traces back to fit-up, heat input, technique, or consumable selection. Good heat control matters, but heat alone will not fix a joint that is too tight or prepared incorrectly.
Joint Design Issues
Proper joint design gives the arc and weld pool access to the root. If the joint geometry blocks that access, penetration suffers.
- Root opening too tight: A narrow root gap can stop the arc from reaching the root.
- Root face too large: A heavy land takes more heat to melt and can leave an unfused root.
- Bevel angle too narrow: The electrode or torch may not reach the sidewalls and root.
- Poor fit-up: Mismatch, high-low, uneven gaps, or poor alignment can create inconsistent penetration.
- Backing or purge problems: Pipe and stainless work may need correct backing, purge, or root protection to support sound fusion.
Inadequate Heat Input
Low heat input is another common cause. If the weld pool does not stay hot long enough, it will not melt and fuse the root properly.
Common heat-related causes include low amperage, low voltage, travel speed that is too fast, poor torch angle, long arc length, incorrect stickout, and an electrode or wire that is too small for the joint. The right settings depend on process, material thickness, position, joint design, and the WPS.
Electrode, Wire, and Technique Problems
Consumables and technique directly affect penetration. A small electrode may not deliver enough heat to the root. A large electrode may be hard to control in a narrow joint. Wrong polarity, damp electrodes, dirty wire, poor shielding, or poor manipulation can also leave root defects.
Pro Tip: If the root is not tying in, do not only turn up the machine. First check the root gap, bevel angle, root face, stickout, travel speed, and electrode angle. A bad setup can still fail at higher amperage.
How to Identify Incomplete Penetration
Start with visual inspection, but understand its limits. If the root side is open and visible, look for a groove, dark line, lack of reinforcement, unfused edges, or a root bead that does not tie in. If the root is hidden, visual inspection from the face side may not prove the weld is sound.
For practice welds, you can cut, polish, and etch a test coupon to see the cross-section. For critical work, use the inspection method required by the job. Common options include visual testing, bend tests, macroetch tests, ultrasonic testing, and radiographic testing. Studies of weld radiographs commonly use lack of penetration, lack of fusion, and porosity as distinct weld-defect categories, which shows why the inspection method must match the defect being checked. Radiographic weld-defect research has used these defect types in classification work.
Here are three practical checks:
- Check the root side when accessible: Look for a continuous, fused root bead with no open line.
- Review fit-up before welding: Confirm root opening, bevel, root face, and alignment before striking an arc.
- Use the specified inspection method: For hidden or critical welds, use the NDT or destructive test required by the WPS, drawing, inspector, or code.
Note: A smooth cap does not prove full penetration. The root can be unfused even when the visible face bead looks clean.
Impacts of Incomplete Penetration on Weld Integrity
Incomplete penetration creates a weak area in the joint. In low-stress, noncritical practice work, it may simply mean the weld fails a bend test or breaks under a hammer test. In load-bearing work, it can be much more serious.
The main risks include:
- Reduced throat or cross-section: The joint may have less effective weld area than the design requires.
- Stress concentration: The unfused root acts like a notch where cracks can start.
- Fatigue failure: Vibration and repeated loading can grow a small root defect over time.
- Leak paths: Pipe, tank, and pressure welds can leak if the root is not sealed and fused.
- Corrosion traps: Crevices can hold moisture, slag, or corrosive chemicals.
That is why incomplete penetration is often rejectable when full penetration is specified. Acceptance depends on the drawing, service conditions, inspection class, and applicable code. If the weld is structural, pressure-retaining, lifting-related, or safety-critical, treat it as a qualified inspection issue, not a cosmetic flaw.
Effective Strategies to Prevent Incomplete Penetration
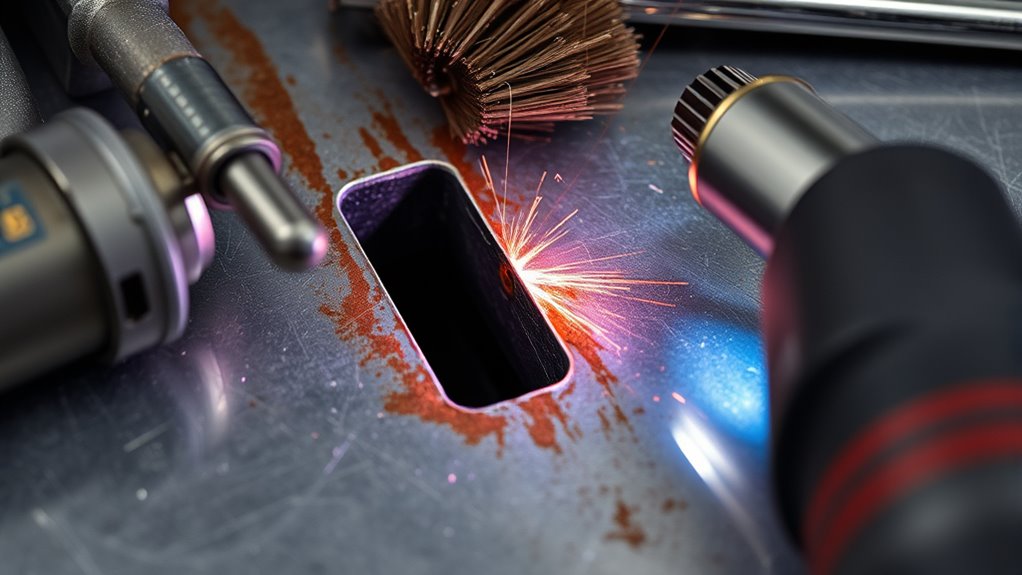
To prevent incomplete penetration, focus on joint preparation, welding parameters, and electrode selection before you start welding. Correct amperage settings help, but the setup has to allow the arc to reach the root.
Products Worth Considering

Checks Weld gap size, weld height, weld thickness

Weld gap size, weld height, weld thickness

PASS X-RAY INSPECTIONS WITH CONFIDENCE: Designed to cut radiographic rejects by accurately measuring internal misalignment after fit-up. Delivering professional-grade precision up to ±0.001 inches, this gauge is NBS calibration capable, making it the trusted choice for Certified Welding Inspectors (CWI) and serious pipefitters.
Proper Joint Preparation Techniques
Joint preparation should match the material thickness, process, welding position, and required penetration. For groove welds, check the root opening, bevel angle, land, alignment, and backing before welding.
- Set the root gap correctly: Use a gauge instead of guessing by eye.
- Keep the root face consistent: An uneven land can cause one area to burn through and another to lack penetration.
- Clean the base metal: Remove rust, paint, oil, moisture, mill scale, and slag before welding.
- Tack carefully: Tacks should hold alignment without closing the root gap.
- Follow the WPS: If the job has a welding procedure, do not change joint geometry or parameters without approval.
Optimal Welding Parameters
Good penetration needs the right balance of current, voltage, travel speed, arc length, work angle, and electrode manipulation. Too little heat leaves the root cold. Too much heat can burn through, distort the joint, or create a poor root profile.
Use test coupons when possible. If the coupon shows poor root fusion, adjust one variable at a time so you know what fixed the problem. For stick welding, verify amperage, polarity, arc length, rod angle, and rod size. For MIG and flux-core welding, check voltage, wire feed speed, stickout, travel speed, gas coverage, and gun angle. For TIG welding, check amperage control, tungsten angle, filler timing, root gap, and purge when needed.
Effective Electrode Selection
Selecting the right electrode or wire helps control penetration depth and bead profile. Match the filler metal to the base metal, joint thickness, position, and procedure. Low-hydrogen electrodes such as E7018 are common in many structural applications, but they must be stored and used correctly.
- Use the right diameter: The electrode must fit the groove and still deliver enough heat to the root.
- Use the right type: Choose a filler that matches the base metal, strength requirement, and welding process.
- Use the right settings: Follow the recommended amperage or wire-feed range, then tune with test welds.
- Replace poor consumables: Damp rods, rusty wire, contaminated filler, or clogged tips can create inconsistent fusion.
Process-Specific Prevention Tips
Each welding process has its own penetration traps. Use these as a starting point, then follow the WPS or machine chart for the actual job.
| Stick / SMAW | Keep a short arc, use the right rod size, control travel speed, and avoid letting slag run ahead of the puddle. |
| MIG / GMAW | Use correct voltage and wire feed, avoid excessive stickout, and do not outrun the puddle on thicker joints. |
| Flux-core / FCAW | Clean between passes, hold the correct drag angle, and keep slag behind the weld pool. |
| TIG / GTAW | Control heat with pedal or fingertip control, keep the tungsten angle steady, and add filler without chilling the root. |
| Pipe roots | Control land, gap, keyhole, internal purge where required, and tie-in points. Root defects are easy to trap at starts and stops. |
Products Worth Considering
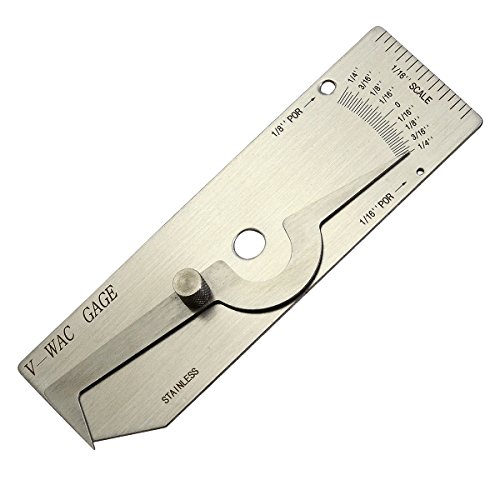
V-WAC Single Weld Gage

7piece Fillet Weld Set Gage Rl Gauge

WIDE APPLICATION: It easily connects to Argon, Helium, and Argon/CO₂ mixed gas tanks via the CGA-580 inlet nut. No additional adapters are required. Featuring superior airtight and leak-proof performance, it achieves stable and sealed gas supply with minimal gas loss. This regulator is ideal for MIG/TIG welding, chemical processing, general industrial use, and electronics industry applications.
Industry Standards for Incomplete Penetration
Incomplete penetration is not accepted or rejected by one universal rule. The decision depends on the code, contract, drawing, joint type, material, service condition, and inspection class.
For example, ASME BPVC Section IX is a qualification standard for welding, brazing, and fusing procedures and personnel. It supports qualified welding work, but it is not the only document used to accept or reject a production weld. Production acceptance may come from the construction code, project specification, customer requirement, inspector, or approved repair procedure.
AWS D1.1, AWS D1.5, API 1104, ASME B31.3, ASME Section VIII, ISO 5817, and other standards may apply depending on the job. Use the latest edition adopted by your project or jurisdiction. If full joint penetration is specified, incomplete penetration is usually a serious rejectable defect unless the applicable criteria clearly allow a limited condition.
Warning: Do not repair structural, pressure, lifting, vehicle-frame, or code welds by guessing. Follow the approved WPS and repair procedure, use proper PPE and ventilation, control hot-work fire hazards, and have the weld inspected by a qualified person.
How to Fix Incomplete Penetration Issues?
Fixing incomplete penetration starts with finding the full extent of the defect. Do not simply weld over the top. That can trap the unfused root inside the joint and make the weld harder to inspect.
- Stop and identify the defect: Use visual inspection, cut-and-etch testing, bend testing, UT, RT, or the method required by the job.
- Find the cause: Check fit-up, root opening, bevel, land, amperage, voltage, travel speed, arc length, electrode size, and technique.
- Remove the bad weld metal: Grind, gouge, or machine out the defective area until sound metal is reached.
- Clean the joint: Remove slag, carbon, oil, moisture, and grinding dust.
- Reset the joint if needed: Correct the root gap, bevel, alignment, or backing before re-welding.
- Re-weld with correct parameters: Use the approved WPS or a tested procedure with suitable heat input and travel speed.
- Inspect again: Confirm the repair meets the acceptance criteria before putting the part into service.
For practice work, you can learn a lot by cutting the weld open after repair. For code work, the repair and final inspection must match the job requirements. Correct amperage settings can improve penetration, but they must be paired with correct joint prep and technique.
Safety Checks Before Grinding or Re-Welding
Repairing a weld often means grinding, gouging, cutting, and welding in the same area. Treat it as hot work. OSHA’s welding, cutting, and brazing requirements include fire prevention, removal or shielding of combustibles, suitable extinguishing equipment, and fire watches in conditions where a fire could develop.
- Wear proper helmet, gloves, jacket, eye protection, and hearing protection.
- Remove or shield combustibles before grinding or welding.
- Keep suitable fire extinguishing equipment ready.
- Use ventilation or respiratory protection when fumes, coatings, or confined spaces are involved.
- Never weld on tanks, drums, or containers unless they have been properly cleaned, vented, and approved for hot work.
- Let a qualified inspector or supervisor approve safety-critical repairs.
Frequently Asked Questions
What is incomplete penetration in welding?
Incomplete penetration in welding is a defect where the weld does not reach or fuse through the required root depth. It often leaves an unfused gap at the joint root, which can reduce strength and create a crack-starting point.
How do you fix incomplete penetration in welding?
Remove the defective weld area by grinding, gouging, or machining until sound metal is exposed. Then correct the cause, such as poor root gap, low heat, fast travel speed, or wrong electrode size. Re-weld with the correct parameters and inspect the repair.
How do you prevent incomplete penetration?
Use proper joint preparation, a suitable root opening, correct bevel angle, clean base metal, and the right welding parameters. Control arc length, work angle, travel speed, electrode size, polarity, and heat input. For code work, follow the approved WPS.
Can you see incomplete penetration from the outside?
Sometimes, but not always. If the root side is visible, you may see a groove, dark line, or missing root bead. If the root is hidden, the face bead can look fine while the root is unfused. Hidden defects may need UT, RT, bend testing, or macroetch testing.
Is incomplete penetration the same as lack of fusion?
Not exactly. Incomplete penetration means the weld did not reach the required root depth. Lack of fusion means the weld metal did not bond properly to the base metal or another weld pass. A root defect can involve both problems, but the terms are not identical.
Is incomplete penetration always rejectable?
No single rule applies to every weld. It depends on the drawing, code, service condition, inspection class, and whether full penetration was required. In structural, pressure, pipe, lifting, and fatigue-loaded welds, incomplete penetration is often rejectable unless the governing acceptance criteria allow it.
Conclusion
Incomplete penetration is one of the most important weld defects to understand because it can hide at the root and weaken the joint even when the face bead looks acceptable. Prevent it by setting the joint correctly, using enough heat input, controlling travel speed and arc length, choosing the right electrode or wire, and inspecting the weld with the method required for the job.
If you find incomplete penetration, do not cover it with another pass. Remove the defective metal, correct the cause, re-weld with a sound procedure, and inspect the repair. For any structural, pressure, pipe, lifting, or safety-critical weld, follow the approved WPS and the governing code or inspector’s requirements.
Sources
- ASME BPVC Section IX — qualification context for welding, brazing, and fusing procedures and personnel
- OSHA 1910.252 Welding, Cutting, and Brazing — fire prevention, hot-work, container, and personnel safety requirements
- Fractal Analysis of Weld Defect Patterns Obtained by Radiographic Tests — radiographic weld-defect categories including lack of penetration
- Non Destructive Testing — overview of surface and volumetric NDT methods used in industrial inspection




