
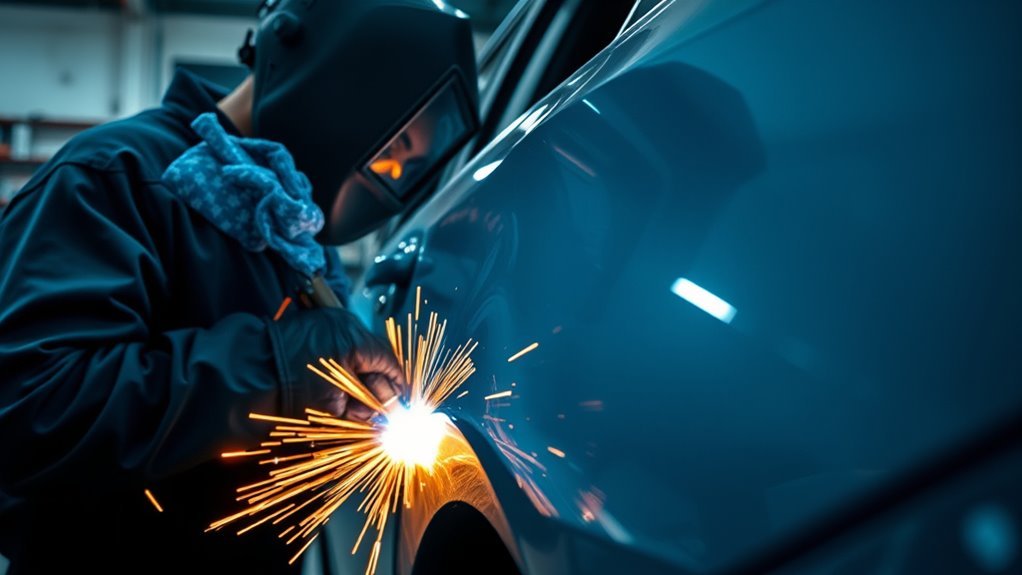
MIG welding in auto body repair is a practical way to patch rust, replace small steel panels, plug-weld flanges, and repair light brackets when you use the right wire, gas, and heat control. The goal is not to run a long bead. The goal is to make small, controlled welds that fuse the metal without warping the panel or burning through thin sheet steel.
Quick Answer
For auto body repair, MIG welding works best on clean mild steel panels when you use small solid wire, 75/25 argon/CO2 shielding gas, low heat, short tack welds, and cooling time between welds. Use it for patches, plug welds, and light brackets, but follow OEM repair procedures for structural areas.
Key Takeaways
- Use solid ER70S-6 wire and 75/25 argon/CO2 gas for most mild steel auto body work.
- Thin panels need tack-and-skip welding, not long continuous beads.
- Clean bare metal, tight fit-up, and a clean ground clamp matter as much as welder settings.
- Ventilation, eye protection, fire control, and fume protection are required parts of the job.
- Structural repairs, high-strength steel, fuel areas, and airbag zones should follow the vehicle maker’s repair procedure.
At a Glance
| Time Required | 30 minutes to set up and test, plus repair time based on panel size |
| Difficulty | Moderate for patch panels, advanced for structural or cosmetic outer-panel seams |
| Tools Needed | MIG welder, solid wire, shielding gas, regulator, helmet, gloves, jacket, clamps, grinder, wire brush, fire extinguisher, and ventilation |
| Cost | Low if you already own the welder, higher if you need gas, PPE, and panel-prep tools |
Warning: Auto body welding creates fire, fume, electrical, eye, and burn hazards. Remove or shield flammables, keep suitable fire extinguishing equipment ready, ventilate the work area, and never weld near fuel lines, fuel tanks, brake lines, airbags, batteries, seam sealer, undercoating, or unknown structural steel unless the area has been made safe and the repair procedure allows welding. OSHA’s welding rules cover fire prevention, PPE, and ventilation requirements at 29 CFR 1910.252.
What Is MIG Welding for Auto Body Repair?
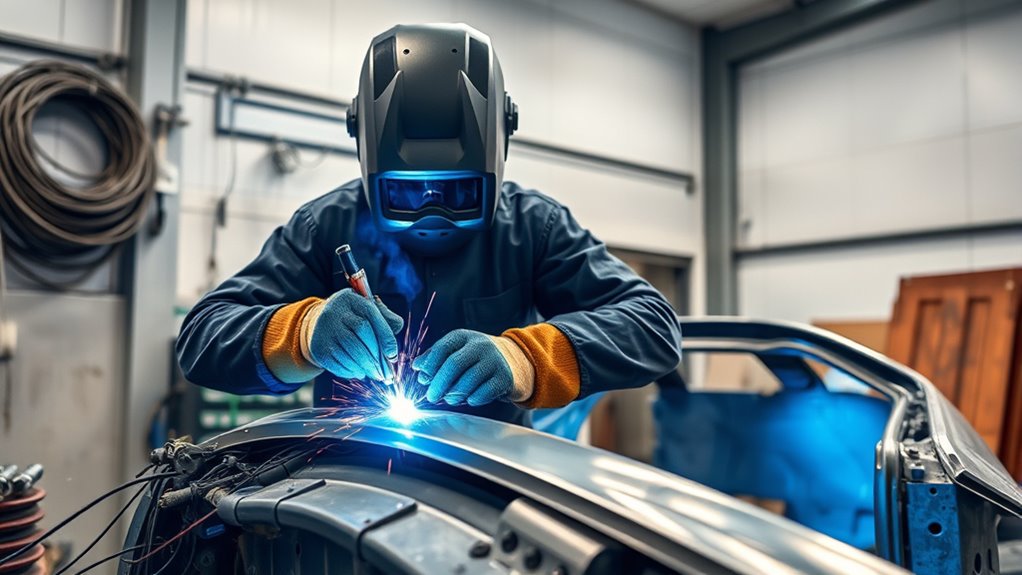
MIG welding, also called gas metal arc welding or GMAW, uses a continuously fed wire electrode and shielding gas to make an electric arc. The arc melts the wire and the panel edge so the metal fuses together. In auto body repair, you usually use short-circuit MIG because it gives you better control on thin mild steel than hotter spray-transfer methods.
MIG welding is popular for body work because the wire feeds continuously, the learning curve is reasonable, and the process can make clean welds on patches, flanges, floor pans, and light brackets. Still, the process is only as good as your setup. Wire size, shielding gas, polarity, panel fit, ground clamp location, and travel pattern all affect the finished repair.
For most DIY and small-shop body repairs, mild steel is the main target. Stainless steel and aluminum can be welded with MIG, but they need matching wire, shielding gas, and sometimes a spool gun or push-pull gun. Do not assume the same 75/25 gas and ER70S-6 wire setup works for every metal.
Is MIG Welding the Right Choice for Your Repair?
MIG welding is a good fit when the repair area is mild steel, the metal is clean, the panel can be clamped tightly, and the repair procedure allows fusion welding. It is not the right answer for every panel or structure on a modern vehicle.
| Good MIG uses | Rust patches, floor pan sections, plug welds on flanges, small brackets, non-cosmetic seams, and mild steel panel repair where welding is allowed |
| Use caution | Outer skins, long seams, thin roof or quarter-panel areas, galvanized steel, stainless, and aluminum |
| Avoid unless procedure-approved | Frame rails, crash structures, airbag sensor areas, boron or ultra-high-strength steel, fuel-system areas, suspension mounts, and any repair where the vehicle maker requires another joining method |
Products Worth Considering
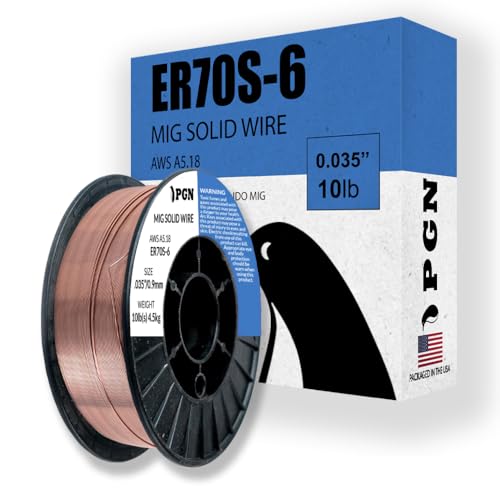
ER70S-6 PERFORMANCE: This .035 MIG welding wire supports precise arc control and low spatter for single-pass and multi-pass welding.

High-quality:Tooliom's .030" ER70S-6 MIG Welding Wire (10lb spool) meets all industry standards for consistent strength and performance. Enjoy smooth feeding, stable arcs, optimal penetration, and high deposition rates—everything you need for exceptional welds
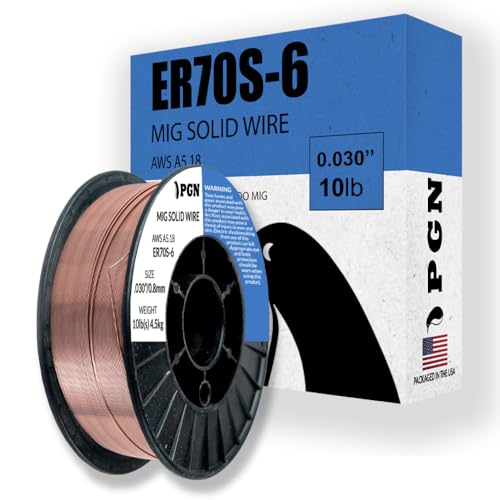
Do Your Best Work ... Color all your clients impressed with the precision and arc control of the ER70S-6 solid MIG welder wire. You'll love the low splatter whether you're performing single or multi-pass welds. Great for T-joints, butt welds & lap welds.
Essential MIG Welding Gear for Auto Body Repair
For a solid auto body setup, you need a MIG welder, the right wire, shielding gas, PPE, clamps, clean panel-prep tools, and a dependable ground clamp. A 120V machine can handle many light sheet-metal repairs, while a 240V machine gives you more range for thicker brackets or reinforcement pieces. Match the welder to the metal thickness instead of choosing settings by guesswork.
For mild steel body panels, a small solid wire is easier to control than large wire. Many auto body welders prefer 0.023 or 0.024-inch wire on thin sheet steel, with 0.030-inch wire for slightly thicker panels or light brackets. If you need a compact multi-process machine, a 140A 3 in 1 MIG welder can be useful for small projects, but the machine still needs stable low-end control for thin metal.
| Material | Common wire | Common gas | Notes |
| Mild steel body panels | ER70S-6, 0.023 to 0.030 inch | 75% argon / 25% CO2 | Best general setup for clean short-circuit MIG on steel panels |
| Stainless steel | Stainless wire matched to the grade | Stainless MIG mix recommended for the wire | Do not use mild steel wire for a stainless repair that must stay corrosion resistant |
| Aluminum | 4043 or 5356 aluminum wire, matched to base metal | 100% argon | Often needs a spool gun or push-pull gun because soft wire feeds poorly through a long liner |
Your welding safety starts with an auto-darkening helmet, correct shade lens, leather gloves, flame-resistant clothing, and eye protection for helpers. Add hearing protection when grinding, and use ventilation or fume extraction when welding coated, dirty, stainless, or galvanized metal. NIOSH notes that welding fumes are made of metals and can contain manganese, so avoid breathing the plume and keep your head out of the smoke. See the CDC/NIOSH welding fume guidance at Welding Fumes and Manganese.
- Set the welder to match the panel gauge.
- Feed wire smoothly and avoid birdnesting.
- Keep gas flow steady and shield the weld from drafts.
- Clamp the work lead to clean, bare metal near the repair.
- Inspect cables, gun liner, contact tip, nozzle, and drive rolls before welding.
Products Worth Considering
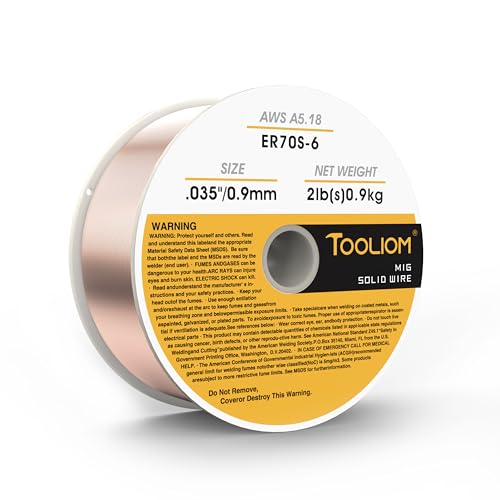
High-quality:Tooliom's .035" ER70S-6 MIG Welding Wire (2lb spool) meets all industry standards for consistent strength and performance. Enjoy smooth feeding, stable arcs, optimal penetration, and high deposition rates—everything you need for exceptional welds

【LOW SPATTER & EASY CLEANUP】Minimal Spatter, Flawless Beads: Experience exceptionally low spatter and minimal post-weld cleanup. This ER70S-6 solid wire allows you to achieve smooth, visually appealing beads with ease, saving both time and grinding effort on your metal fabrication.

【LOW SPATTER & EASY CLEANUP】Minimal Spatter, Flawless Beads: Experience exceptionally low spatter and minimal post-weld cleanup. This ER70S-6 solid wire allows you to achieve smooth, visually appealing beads with ease, saving both time and grinding effort on your metal fabrication.
How MIG Welding Works on Auto Panels
On auto panels, MIG welding feeds a wire electrode through the gun into an electric arc. The arc melts the wire and the panel edges, while shielding gas protects the molten puddle from oxygen and nitrogen. That shielding is what helps reduce porosity and contamination.
Thin sheet metal responds quickly to heat. If you hold the arc in one spot too long, the panel expands, pulls, and warps. If the heat is too low, the weld may sit on top without full fusion. Good auto body MIG welding is a balance: enough heat for fusion, short enough arc time to protect the panel shape.
Your technique matters. Keep a short wire stickout, hold a steady torch angle, and move in short tacks rather than long beads. If your machine starts acting up, stop and troubleshoot before continuing. A poor ground, dirty liner, worn contact tip, or wrong tension can make a MIG welder not work properly even when the settings look right.
Prepare the Panel Before MIG Welding
Panel preparation decides whether the weld will be clean or frustrating. Paint, rust, seam sealer, undercoating, zinc coating, oil, and adhesive can contaminate the puddle and create fumes. Clean farther than the weld itself because heat spreads beyond the bead.
- Expose clean metal: Grind or sand both sides of the weld area to bright metal wherever you can reach.
- Remove flammables: Pull back carpet, insulation, sound deadener, seam sealer, plastic trim, wiring, hoses, and fuel-related parts near the weld zone.
- Check the back side: Sparks and heat can ignite material behind the panel even if the front looks safe.
- Fit the patch tightly: Keep gaps small. Big gaps force more filler metal and heat into the panel.
- Clamp the panel: Use panel clamps, magnets, copper backing, or sheet metal screws where appropriate.
- Set the ground clamp: Attach it to clean bare metal close to the repair, not through hinges, bearings, threaded joints, or painted parts.
- Practice on scrap: Test on the same thickness and joint style before touching the vehicle.
Pro Tip: Cut a scrap strip from the removed damaged panel and use it for test welds. It gives you a better settings check than random shop scrap because the thickness and coating are closer to the actual repair.
MIG Welding Settings for Thin Metal
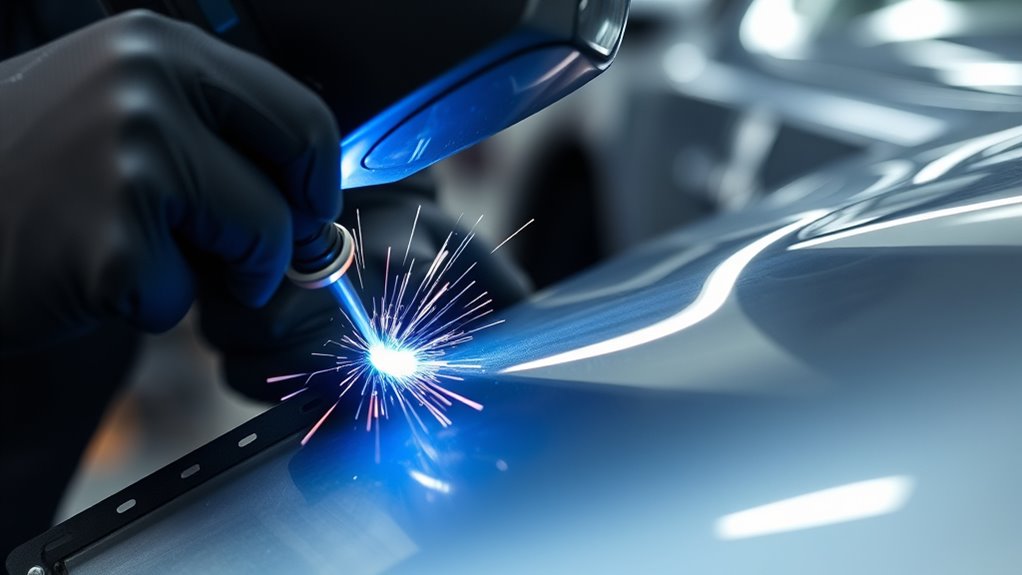
For thin panels, start low and test on scrap. Your machine chart is the first reference, but sheet metal repairs often need small adjustments because joint gap, panel coating, clamp pressure, and torch angle change the way the puddle behaves. A good test weld should sound steady, wet into both pieces, and leave only slight discoloration around the tack.
| Panel thickness | Wire size | Starting approach |
| 22 to 20 gauge | 0.023 or 0.024 inch | Lowest stable voltage range, short tacks, long cooling pauses |
| 19 to 18 gauge | 0.023 to 0.030 inch | Low to mid-low voltage, tack-and-skip sequence, test for full fusion |
| 16 gauge and thicker brackets | 0.030 inch or larger if machine allows | Higher setting than skin panels, still test on matching scrap first |
Wire Speed Control
Wire speed controls how much filler metal enters the puddle and affects amperage on most MIG machines. If the wire speed is too low, the arc may burn back into the tip or sputter. If it is too high, the wire can push into the panel, make a tall bead, or blow through the edge.
Start from your machine chart, then make small adjustments. A smooth short-circuit MIG arc often sounds like steady sizzling. If the bead is ropey and cold, increase voltage slightly or reduce travel speed. If the edge melts away, lower heat, shorten the arc time, or tighten the panel gap.
- Test on scrap first.
- Change one setting at a time.
- Keep wire stickout about 1/4 to 3/8 inch unless your machine or wire calls for something different.
- Watch the back side of scrap for heat marks and penetration.
- Recheck settings when sheet thickness changes.
Voltage for Thin Panels
Voltage affects arc length and bead shape. Thin automotive panels usually need a low, stable setting because too much voltage spreads heat and increases burn-through risk. Too little voltage can leave a cold bead with poor fusion.
Use the lowest setting that still wets the tack into both sides of the joint. Hold a steady torch angle, keep the stickout short, and avoid weaving on thin sheet metal. Let the panel cool between tacks so heat does not build in one zone.
Polarity and Gas Flow
Solid-wire MIG welding usually runs DCEP, also called electrode positive. Check your welder door chart and wire label before welding. Self-shielded flux-core wire is a different process and may require a different polarity, so do not use a flux-core MIG welding settings chart for solid-wire body-panel MIG unless the wire and machine instructions match.
For mild steel with 75/25 shielding gas, many small-shop welders start around 20 to 25 cubic feet per hour indoors, then adjust for nozzle size, drafts, and weld quality. Too little gas can cause porosity. Too much gas can create turbulence and pull air into the puddle.
MIG Welding Techniques to Prevent Warping
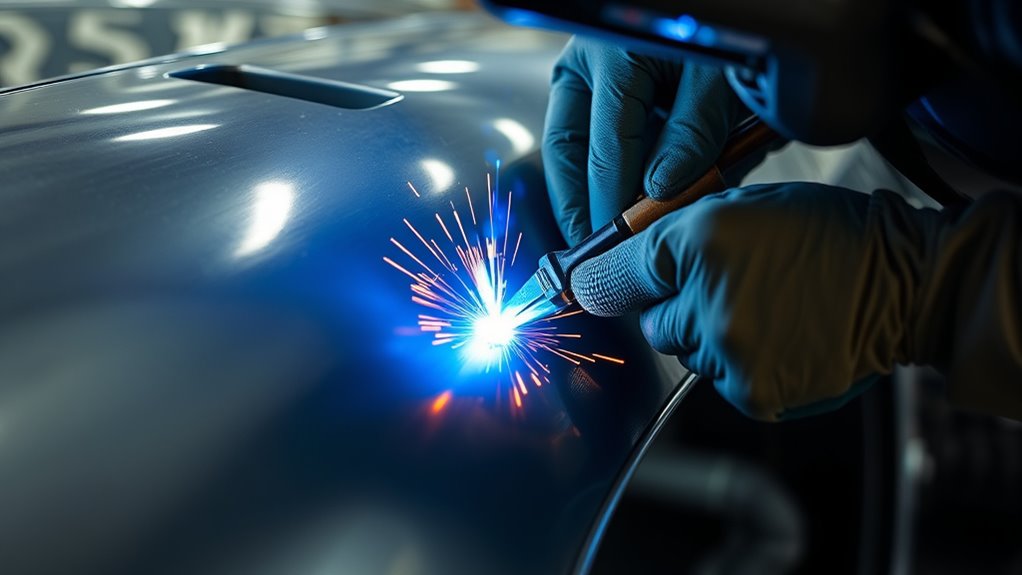
To prevent warping, you need tight heat control. The best body-panel welders spend more time fitting, clamping, tacking, and cooling than they spend pulling the trigger. Long beads are the fastest way to distort a door skin, quarter panel, or roof panel.
Heat Control
Heat control starts before the arc. Keep the gap tight, use clean metal, and make small tacks. Place a tack, move to another area, then return after the first spot cools. This spreads heat across the seam instead of concentrating it in one place.
- Use a staggered tack sequence.
- Skip around the panel instead of welding in a straight line.
- Let each tack cool naturally.
- Use compressed air only with caution because rapid cooling can harden or stress some steels.
- Stop if the panel becomes too hot to touch near the weld area.
Stitch Welding
In auto body work, stitch welding often means a tack-and-skip pattern, not long structural stitches. On thin outer panels, make short tacks and connect them gradually only after the surrounding metal has cooled. On thicker non-cosmetic pieces, short stitch welds may be acceptable, but they still need cooling time between passes.
Do not chase a gap with more heat. If the patch gap opens up, stop and refit it. A copper backing spoon can help absorb heat and support the puddle on small gaps, but it is not a substitute for good panel fit.
Plug Welding
Plug welds are common when replacing spot welds on flanges, brackets, and lap joints. Drill or punch the top panel, clamp the panels tightly, start in the center of the hole, and spiral outward until the weld ties into the edge of the hole. The finished plug weld should be flat enough to dress but fused to the lower panel.
Note: Plug weld size and spacing should follow the vehicle maker’s repair procedure when the weld replaces factory spot welds. Guessing spacing on structural flanges can weaken the repair.
Best Uses for MIG Welding in Auto Repair
MIG welding is a strong fit for many mild steel auto repair jobs because it is fast, controllable, and works well with common body-panel thicknesses when the settings are right. It is especially useful when you need to make repeated tack welds or plug welds across a repair area.
- Patch rusted body panels after cutting out all weak metal.
- Join replacement patch panels with tight fit-up.
- Plug-weld flanges when replacing spot welds.
- Repair light brackets and mounts when the metal is suitable.
- Weld floor pans, inner panels, and hidden seams that can be protected after welding.
When you use shielding gas, you get a cleaner weld with less slag cleanup than self-shielded flux-core wire. You still need proper surface prep, panel fit, and rust prevention after welding. For a deeper body-panel walkthrough, see this guide on how to weld sheet metal on a car.
Troubleshooting Common MIG Welding Problems on Auto Panels
| Problem | Likely cause | Fix |
| Burn-through | Too much heat, large gap, slow travel, or long trigger time | Lower heat, tighten fit-up, use shorter tacks, and back the joint with copper where possible |
| Warping | Heat concentrated in one area | Skip around, cool between tacks, and avoid long beads |
| Porosity | Dirty metal, low gas flow, drafts, long stickout, or contaminated nozzle | Clean the metal, check gas flow, shield drafts, trim stickout, and clean the nozzle |
| Cold, tall bead | Voltage too low, travel too fast, or dirty joint | Clean again, slow slightly, and raise voltage only after testing on scrap |
| Wire stutter or birdnesting | Drive tension, liner, contact tip, spool drag, or wrong tip size | Match tip to wire, check liner, set drive tension correctly, and keep the gun cable straight |
After-Weld Finishing and Corrosion Protection
After the weld cools, inspect both sides if you can. Look for pinholes, missed spots, burn-through, cracks, and poor fusion. Dress the weld slowly with a flap disc or grinding disc, but do not thin the surrounding panel. Grinding too aggressively can create low spots that need extra filler later.
Once the seam is shaped, protect the metal. Bare welds rust quickly, especially on floor pans, wheel openings, rockers, and lower quarter panels. Use epoxy primer or another approved corrosion-protection system, then apply seam sealer and cavity wax where the repair needs it.
Warning: Galvanized coatings and old body coatings can create hazardous fumes when heated. Grind the coating away from the weld zone, use ventilation, and wear proper respiratory protection when needed. For more detail, see this guide to MIG welding galvanized steel.
When Not to MIG Weld Auto Body Parts
Do not MIG weld a vehicle part just because the metal looks weldable. Modern vehicles use different steels, aluminum castings, adhesives, factory spot welds, and heat-sensitive crash structures. Some parts must be replaced, bonded, riveted, resistance spot welded, or sectioned only at approved locations.
- Do not weld fuel tanks or closed containers.
- Do not weld near fuel vapor, brake fluid, solvents, aerosol cans, upholstery, or insulation.
- Do not weld structural rails or pillars without the OEM repair procedure.
- Do not weld near airbags, seatbelt pretensioners, or wiring until the area is safely disabled and cleared.
- Do not weld coated or unknown metal without identifying the coating and fume risk.
Frequently Asked Questions
Why is MIG welding used on car bodywork?
MIG welding is used on car bodywork because it is fast, controllable, and practical for thin mild steel when the settings are low and stable. It works well for patch panels, plug welds, floor sections, and light brackets.
What is the best type of welder for auto body repair?
A solid-wire MIG welder with shielding gas is usually the best all-around choice for mild steel auto body repair. Choose a machine with stable low-end settings, a good wire feed system, and enough output for the thickest metal you plan to repair.
What is the disadvantage of MIG welding for repair work?
The main disadvantage is heat control. MIG can warp thin panels or burn through gaps if you use too much heat or weld too long in one place. It also needs clean metal, shielding gas coverage, and good machine setup.
What wire size should I use for thin auto body panels?
For thin mild steel body panels, 0.023 or 0.024-inch ER70S-6 solid wire is often easier to control than larger wire. For slightly thicker sheet or light brackets, 0.030-inch wire may work well if your machine is set correctly.
Can I use flux-core wire for auto body panels?
You can use flux-core wire for some rough repairs, but solid wire with shielding gas is usually cleaner and easier to control on thin auto body panels. Flux-core often runs hotter, creates more smoke and spatter, and can make burn-through more likely on thin sheet metal.
How do I stop auto body panels from warping while MIG welding?
Use tight fit-up, short tacks, low heat, and a skip-around pattern. Let each tack cool before adding another nearby tack. Avoid long beads on outer body panels, and test settings on matching scrap before welding the car.
Conclusion
When you use MIG welding in auto body repair, success comes from preparation and heat control. Clean the panel to bare metal, choose the right wire and gas, set the machine on matching scrap, then weld with short tacks instead of long beads. For a rust patch or replacement flange, skip around the seam, let the panel cool, and inspect both sides before grinding. With safe setup, proper PPE, ventilation, and corrosion protection, you can make clean mild steel repairs that hold up well.
Sources
- OSHA 29 CFR 1910.252, Welding, Cutting, and Brazing: General Requirements — supports fire prevention, PPE, fire watch, and ventilation guidance.
- OSHA 29 CFR 1910.254, Arc Welding and Cutting — supports equipment setup, grounding, work lead, cable, and machine safety guidance.
- CDC/NIOSH Welding Fumes and Manganese — supports fume, manganese, and ventilation caution.
- Pradhan et al., Machine Learning Models for Determination of Weldbead Shape Parameters for Gas Metal Arc Welded T-joints — supports the importance of GMAW current, voltage, and travel-speed variables in weld bead quality.




