
When you compare butt welds and lap welds for auto body work, the stronger choice is usually a properly fitted butt weld. It joins two panel edges in the same plane, leaves a flatter repair, and avoids the hidden overlap where moisture can sit. A lap weld is easier to fit and tack, but it needs careful sealing because the overlap can become a rust trap.
Quick Answer
For most visible auto body panel seams, a correctly fitted butt weld is stronger, cleaner, and less rust-prone than a lap weld. Choose a lap weld only when the repair design, access, flange, plug-weld layout, or OEM repair procedure calls for an overlap.
Key Takeaways
- Butt welds are best for flush exterior panel patches when you can trim both edges tightly and control heat.
- Lap welds are easier for beginners because the panels overlap, but they create a double layer that must be sealed against corrosion.
- For structural or late-model collision repairs, follow the vehicle maker’s repair procedure instead of choosing a joint style by habit.
- Both weld types can fail if the metal is dirty, overheated, poorly fitted, or left unsealed on the backside.
At a Glance
| Best Strength | Butt weld, when fit-up and penetration are correct |
| Beginner Difficulty | Lap weld is easier; butt weld needs tighter trimming |
| Rust Risk | Lower with butt weld; higher with unsealed lap welds |
| Best Use | Butt weld for visible sheet-metal seams; lap or plug weld for flanges, floors, and OEM-specified overlaps |
Warning: Welding on a vehicle can ignite undercoating, insulation, carpet, seam sealer, fuel vapors, and hidden debris. Wear proper welding PPE, remove coatings near the weld, ventilate the area, keep a fire extinguisher ready, and use a fire watch after welding when hidden combustibles may be present. OSHA’s welding rules cover fire prevention, eye protection, protective clothing, and ventilation for welding work.
Understanding Butt Welding Basics
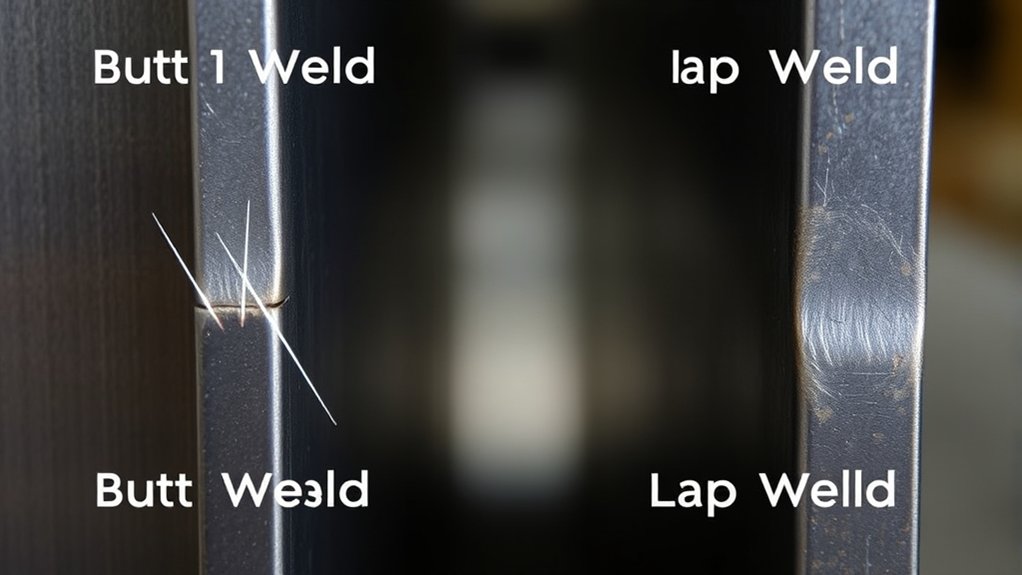
Butt welding joins two metal panels edge-to-edge. The panel faces sit in the same plane, so the finished seam can be ground smooth without leaving a raised overlap. That is why butt welding is common for quarter-panel patches, door-skin repairs, roof patches, and other visible sheet-metal seams where you want a flat finish.
The strength of a butt weld depends on fit-up, clean metal, heat control, and full fusion. The gap should be consistent, the edges should be free of paint and rust, and the weld should tie into both sides without pinholes or undercut. If the joint is too wide, dirty, or overheated, a butt weld can still crack, warp, or burn through.
For thin auto body steel, you usually do not run one long continuous bead. Instead, you place small tack welds, move around the panel, let the metal cool, and slowly connect the tacks. This method helps control distortion while still building a solid seam. If you are new to panel welding, basic joint preparation practice on scrap metal helps you learn how tight the fit needs to be before you touch the actual vehicle panel.
What Are the Key Features of Lap Welding?
Lap welding joins two pieces of sheet metal by overlapping one panel over the other. This gives you more room for small trimming errors, which is why beginners often find it easier than a butt weld. The overlap can also be useful on floor pans, inner panels, brackets, flanges, and areas where a plug weld or spot-weld-style repair is needed.
The main downside is the double layer. The overlapped seam can hold moisture, primer gaps, dust, and road salt if it is not sealed correctly. That hidden crevice is why lap welds need extra corrosion protection on both sides of the repair. A lap weld can work well, but it should not be treated as a shortcut on visible exterior panels where a flush repair is expected.
Lap welding also leaves a ridge that often needs more grinding and filler. If the overlap is uneven, the surface can pucker during welding and show through the final paint. Proper mechanical cleaning, like the prep described in this mechanical cleaning guide, is still important even when the joint is easier to fit.
Which Weld Offers Greater Strength?
A properly made butt weld usually offers better strength for a flush auto body seam because it creates a single-layer joint instead of stacking two panels. The load transfers across the joined edges, the finished surface stays flatter, and there is no overlap pocket to hold moisture.
That does not mean every butt weld is automatically stronger. A poor butt weld with gaps, porosity, incomplete fusion, or too much grinding can be weaker than a well-made lap repair. Strength depends on the quality of the weld, the panel material, the repair location, and whether the repair matches the vehicle maker’s procedure.
The strongest auto body weld is not just the “stronger joint style.” It is the joint style that matches the repair area, is welded cleanly, keeps heat under control, and is sealed against corrosion.
How Do Weld Types Affect Durability and Corrosion?
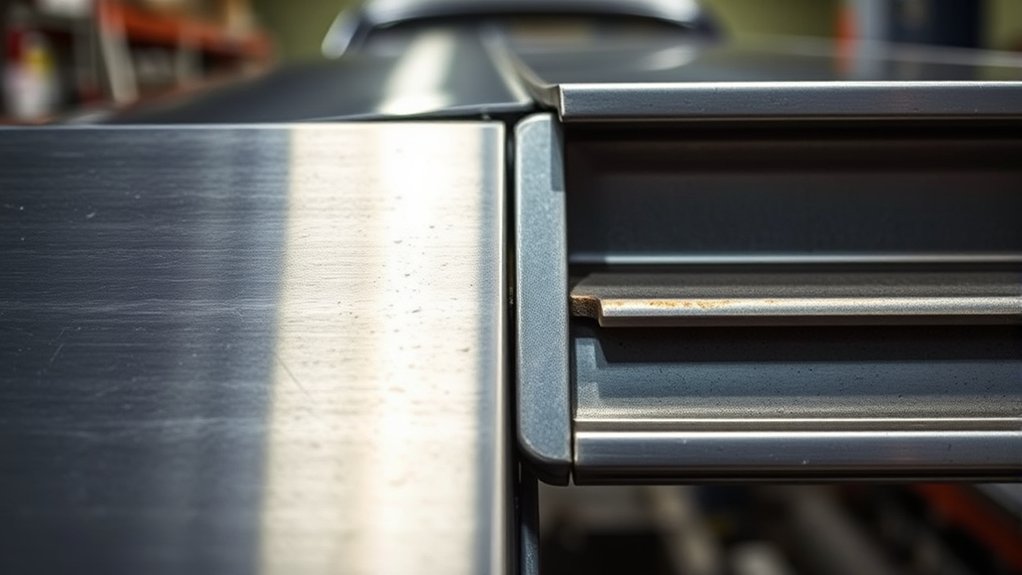
Durability is where butt welds often have the edge. A butt weld leaves a single-ply seam, so there is less hidden surface area for moisture to attack. Once the weld is ground, primed, sealed, and painted, the repair is easier to protect.
Lap welds create a narrow space between the two panels. Crevice-style corrosion can happen in tight gaps, seams, and contact areas where moisture or contaminated fluid sits without good air movement. That makes an unsealed lap weld risky on exterior panels, lower body sections, rocker areas, wheel arches, and other places exposed to water and road grime.
To protect either repair, clean the metal to bright steel, weld in short sections, grind only as much as needed, then coat both sides. Use epoxy primer where possible, seam sealer over joints that need sealing, and cavity wax inside closed sections after paint work. If you cannot access the backside of a lap weld, think carefully before using it on a rust-prone area.
Pro Tip: Before welding a patch panel, test-fit it with magnets, panel clamps, or clecos, then mark where you can reach the backside for primer, seam sealer, and cavity wax. A weld you cannot protect is more likely to rust again.
Is Butt or Lap Welding Easier for Beginners?
Lap welding is usually easier for beginners because the overlap gives you a wider target and hides small trimming mistakes. You can clamp the panels together, tack the seam, and make adjustments before final welding. It is forgiving during fit-up, especially on hidden panels.
Butt welding has a steeper learning curve. The panel edges must be trimmed neatly, the gap must stay controlled, and the weld must bridge the joint without burning away the thin metal. You also need more patience because heat must be spread out across the seam.
Learning Curve Comparison
Lap welding lets you focus on arc control before you master perfect trimming. That makes it useful for practice and for non-visible repairs. Butt welding forces you to learn cleaner metal shaping, tighter panel alignment, and better heat management. Those skills matter if you want a repair that disappears under paint.
Tool Accessibility Factors
Lap welds are easier to hold with clecos, clamps, or sheet-metal screws before final welding. Butt welds often require panel clamps, magnets, careful tack spacing, and more trial fitting. If you cannot reach the backside of the repair, however, the easier lap joint may become harder to protect from corrosion.
| Factor | Butt Welding | Lap Welding |
|---|---|---|
| Fit-up skill | High | Moderate |
| Finish quality | Best for flat exterior seams | Raised seam needs more finishing |
| Corrosion risk | Lower when sealed | Higher if overlap is not sealed |
| Best beginner practice | After learning heat control | Good first practice joint |
Practice Opportunities Available
Practice both weld styles before working on the vehicle. Use scrap pieces the same thickness as the body panel. Cut a butt joint, tack it every inch, then fill the gaps slowly. Next, try a lap joint with plug welds and edge tacks. Grind both samples and bend them by hand or in a vise. This simple test shows whether your weld is fused or just sitting on top.
Preparation and Finishing: How They Differ
Preparation is the biggest difference between the two joints. A butt weld needs two clean, matching edges. The better the cut, the less filler metal you need and the less grinding you do afterward. A lap weld can tolerate more trimming error, but the overlap should still be clean, tight, and protected before welding.
For butt welds, remove paint, primer, rust, seam sealer, and undercoating from both sides of the seam where possible. For lap welds, clean the overlap area before assembly and use weld-through primer only where the product instructions allow it. Do not rely on weld-through primer as the only corrosion protection after the repair.
Finishing is usually easier on a butt weld. You can grind the bead flush, lightly dress the surface, apply a thin skim of filler if needed, then prime. A lap weld often needs extra leveling because the metal is doubled. That can add filler thickness and make the repair more visible over time.
Note: Avoid grinding a butt weld until it becomes paper-thin. A smooth surface is good, but removing too much weld and surrounding sheet metal can weaken the repair.
When to Choose Butt vs. Lap Welding
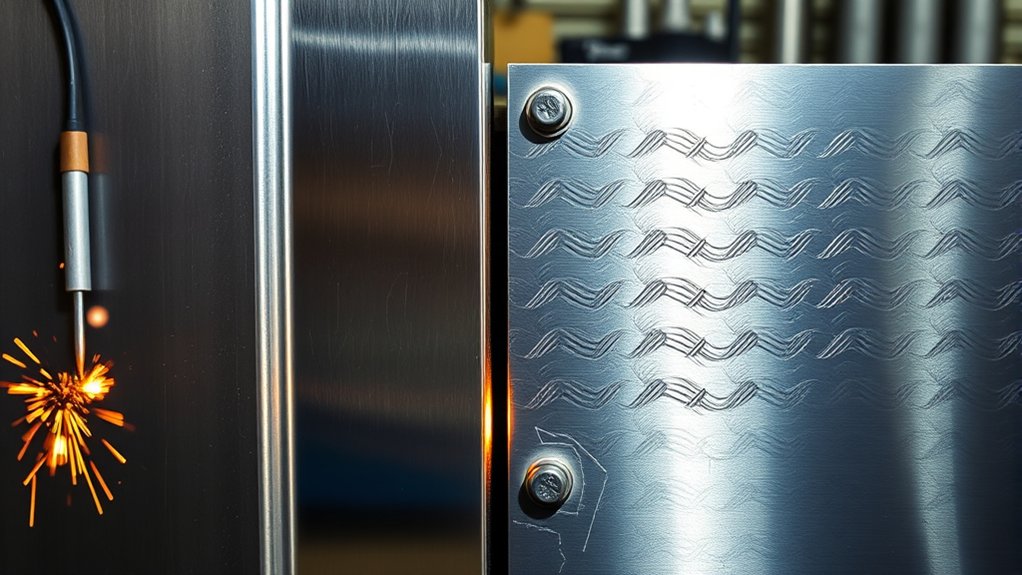
Choose the weld type based on the panel, the repair goal, and the vehicle maker’s instructions. For a classic-car patch on a visible quarter panel, a butt weld is usually the cleaner long-term repair. For a floor pan, hidden flange, brace, or factory-style overlap, a lap weld or plug weld may be the better match.
| Repair Situation | Better Choice | Why |
|---|---|---|
| Visible exterior patch panel | Butt weld | Flatter finish and lower moisture-trap risk |
| Floor pan patch | Lap weld or plug weld | Often hidden and easier to reinforce if sealed well |
| Factory flange replacement | Plug weld or spot-weld-style repair | Mimics many factory flange joints |
| Structural or late-model collision repair | OEM procedure | Material type and sectioning location control the repair |
| Beginner scrap practice | Both | Lap weld teaches control; butt weld teaches precision |
If you are cutting with a plasma cutter or trimming panels before welding, remember that cut quality affects fit-up. A rough cut creates gaps, and gaps make thin sheet metal harder to weld without distortion.
OEM Repair Procedures and Structural Caution
For restoration work on older non-structural panels, you often have room to choose between butt and lap welding. For modern collision repair, do not guess. Many vehicles use high-strength steels, ultra-high-strength steels, adhesives, weld bonding, squeeze-type resistance spot welds, and specific sectioning locations. Welding in the wrong location can weaken the repair or damage the surrounding metal.
Use the vehicle’s service information when repairing rails, pillars, rockers, aprons, frame sections, roof rails, or other structural areas. If the procedure calls for plug welds, spot welds, adhesive bonding, or a specific overlap, follow that procedure. If the procedure says not to section or heat a part, replace it as directed or send the job to a qualified collision repair technician.
How to Control Heat on Thin Auto Body Metal
Heat control matters more than the label on the joint. Thin panels warp when too much heat builds in one area. Use short tacks, move around the seam, and allow cooling time between welds. Compressed air can help cool the area, but do not quench the weld so aggressively that you shock the metal or hide a poor weld.
- Start with clean metal: Remove paint, rust, oil, seam sealer, and undercoating near the weld.
- Fit the panel tightly: Butt welds need a small, even gap. Lap welds need a tight overlap with no debris between panels.
- Tack first: Place tacks several inches apart, then add more between them as the panel stays aligned.
- Skip around: Do not weld one long section at once. Move to a cool area after each tack.
- Check alignment often: Stop and correct panel movement before the seam is fully locked in.
- Grind carefully: Use light pressure and avoid thinning the panel.
For flux-core work on body panels, heat and spatter control become even more important. This guide to stitch welding techniques explains why short welds and patience matter on thin metal. If you are still learning flux core welding, practice on scrap before welding a car panel.
Products Worth Considering

Value Pack: The package includes 24 packs of butt welding clamps, enough quantity to meet your daily needs and replacements. Each butt welding clamps is individually wrapped in a small bag, convenient to carry and use.
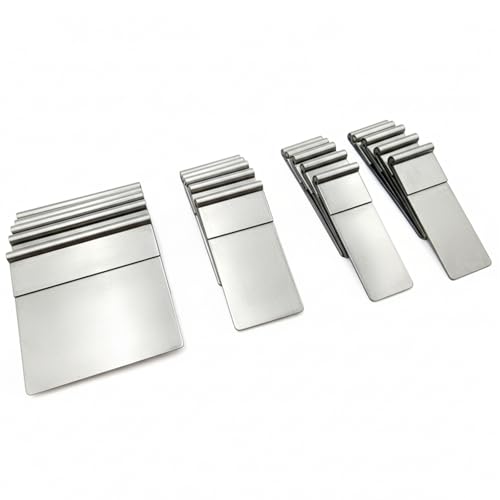
🛡️【Engineered for Seamless Integration】Specifically designed to integrate with Tac‑N‑Pull clamp systems, our pull plate kit works harmoniously with your repair equipment (clamps sold separately) to deliver secure and efficient operations.

16-Pack Welding Clamps Set: Includes 16 butt welding clamps designed for precise edge-to-edge welding, ideal for body repair, floor patching, door skins, and sheet metal alignment.
What Mistakes Should You Avoid With Each Welding Method?
Both joint styles fail when the basics are ignored. Clean metal, good fit-up, correct settings, and corrosion protection are not optional. The mistakes below are the ones that most often cause weak welds, warped panels, or rust returning around the repair.
Products Worth Considering
![[Black] 2 Pack Professional Automotive Seam Sealer, Paintable Quick-Set Polyurethane Auto Body Seam Sealer for Metal Surfaces of Cars, Trucks, Etc, Includes Gloves & Tip - Black RV Roof Sealant](https://m.media-amazon.com/images/I/51rYdoPRb-L._SL500_.jpg)
Bonds to All Surfaces: Our seam sealer automotive formula bonds strongly with primed, painted, or bare metal surfaces, offering a fast curing solution. Ready for paint in just 30 minutes, it serves as an effective RV roof sealant and polyurethane auto body filler without the need for sanding.
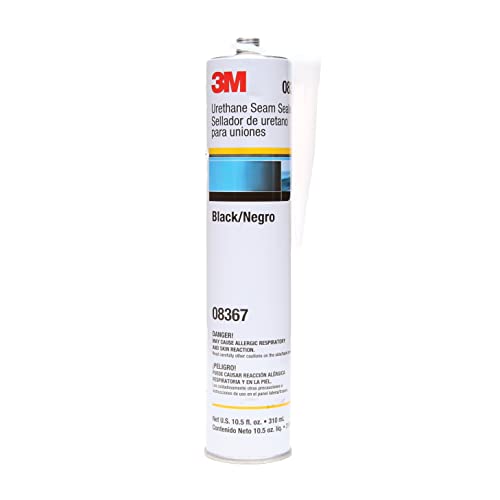
SINGLE COMPONENT FORMULA: Adheres well to bare metal, primed metal and painted surfaces
![[Black] Professional Automotive Seam Sealer, Paintable Quick-Set Polyurethane Auto Body Seam Sealer for Metal Surfaces of Cars, Trucks, Etc, Includes Gloves & Tip - Black RV Roof Sealant](https://m.media-amazon.com/images/I/41CSSWLKzxL._SL500_.jpg)
Bonds to All Surfaces: Our seam sealer automotive formula bonds strongly with primed, painted, or bare metal surfaces, offering a fast curing solution. Ready for paint in just 30 minutes, it serves as an effective RV roof sealant and polyurethane auto body filler without the need for sanding.
Common Mistakes in Butt Welding
- Leaving large gaps: Big gaps force you to add too much heat and filler, which causes burn-through and warping.
- Grinding too much: A weld can look smooth but become weak if you grind away too much metal.
- Welding dirty edges: Rust, paint, oil, and old coatings can cause porosity and poor fusion.
- Rushing the seam: Long beads on thin sheet metal almost always increase distortion.
Overlapping Issues in Lap Welding
- Skipping backside protection: The overlap can rust from the inside if it is not primed, sealed, and waxed.
- Making the overlap too wide: A large overlap creates more hidden surface area and a larger ridge to finish.
- Welding over trapped debris: Dirt or rust between panels can keep spreading after the repair is painted.
- Ignoring final sealing: Seam sealer is not cosmetic here; it helps keep water out of the joint.
Ignoring Heat Management Techniques
Overheating is a problem with both butt and lap welds. Too much heat can warp the panel, harden the heat-affected area, burn coatings, and make finishing harder. Keep the welds short, let the panel cool, and use the lowest settings that still give reliable fusion. For specialty metals, such as stainless or cast materials, contamination and process choice become even more important, as covered in this guide on contamination risks and this guide to proper techniques.
Corrosion Protection After Welding
A good weld can still fail if the repair is left bare. Auto body panels live around water, vibration, road salt, and temperature changes. Protecting the weld is part of the repair, not a final detail.
- Clean the weld area: Remove grinding dust, soot, and residue.
- Inspect for pinholes: Hold a light behind the seam if possible and repair any openings.
- Prime bare metal: Use epoxy primer where access allows.
- Seal joints: Apply automotive seam sealer over lap joints, flanges, and seams that need water protection.
- Protect closed cavities: Use cavity wax inside rockers, quarters, pillars, and other enclosed areas after refinishing.
- Finish the exterior: Use only the filler needed to level the surface, then prime and paint.
Professional Insights on Butt and Lap Welding Applications
Professionals often prefer butt welding for visible auto body seams because it gives a flatter repair and reduces hidden corrosion pockets. That makes it a strong choice for restoration panels, patch panels, and custom metal work where the final paint surface matters.
Professionals still use lap welds where they make sense. Factory flanges, plug-welded seams, hidden reinforcements, and floor repairs often use overlapping metal. The difference is that a good technician plans the overlap, welds it cleanly, and seals it thoroughly afterward.
The best rule is simple: use a butt weld when you need a flush, single-layer exterior seam and you can protect both sides. Use a lap weld when the repair design calls for overlap, when the area is hidden, or when a plug-welded flange better matches the original construction. For structural repairs, follow the OEM procedure first.
Inspection Checklist Before Paint
Before filler, primer, or paint hides the work, inspect the repair carefully.
- Look for pinholes: Any pinhole can let moisture through.
- Check panel shape: Fix warping before burying the repair under filler.
- Check backside access: Make sure the rear of the weld is coated or will be protected with cavity wax.
- Look for undercut: A groove along the weld toe can weaken the seam.
- Tap and flex lightly: Listen for loose areas or poor fusion on non-structural practice pieces.
- Seal the joint: Lap welds and flanges need special attention because moisture can enter the overlap.
Frequently Asked Questions
What kind of welding is best for auto body panels?
MIG welding is the most common choice for auto body steel because it is fast and practical for thin sheet metal. TIG can give cleaner control on some restoration work, but it is slower and requires more skill. The best process also depends on panel thickness, access, material, and the vehicle repair procedure.
Which is stronger, a butt weld or a lap weld?
A properly fitted butt weld is usually stronger for a flush sheet-metal seam because it joins the panel in one plane and avoids a hidden overlap. A lap weld can still be strong when designed, welded, and sealed correctly, especially on flanges, floors, and hidden panels.
What is the main disadvantage of a lap joint?
The main disadvantage is the overlap. It creates a double layer and a narrow space that can trap moisture if it is not sealed. Lap joints also leave a raised seam that may require more grinding and filler on visible panels.
What is the weakest weld joint in auto body repair?
The weakest joint is usually the one that is poorly fitted, contaminated, overheated, under-penetrated, or left unprotected against rust. A bad butt weld can fail, and a bad lap weld can rust from the inside. Technique and corrosion protection matter as much as joint style.
Can I use a lap weld for rust repair?
Yes, but use it carefully. A lap weld may be acceptable on floors, hidden patches, and flanges, but it must be sealed and protected on both sides. For visible exterior rust patches, a butt weld usually gives a cleaner and longer-lasting repair.
Should I butt weld or overlap a quarter-panel patch?
For many restoration-style quarter-panel patches, a butt weld is preferred because it finishes flatter and avoids a moisture-trapping overlap. For late-model collision repairs, use the OEM sectioning procedure because it may specify a different joint, weld type, or replacement method.
Conclusion
For most visible auto body work, a properly fitted butt weld is the better choice because it is flatter, cleaner, and less likely to trap moisture. A lap weld is easier to fit and can be useful on hidden panels, floors, flanges, and plug-welded areas, but it needs careful sealing to prevent rust.
Do not choose by habit alone. Match the weld to the repair area, panel material, access, and OEM procedure. Clean the metal, control heat, inspect the weld, and protect both sides of the repair so the panel stays strong after the paint goes on.
Sources
- OSHA Welding, Cutting, and Brazing — welding hazards, standards, and safety resources.
- OSHA 29 CFR 1910.252 General Requirements — fire prevention, PPE, ventilation, and hot-work safety requirements.
- Crevice Corrosion Overview — explains corrosion risk in gaps, seams, and contact areas where stagnant moisture can remain.
- Welding Joint Types Overview — background on butt, lap, tee, corner, and edge joint geometry.




