First, align and clamp the panels so the edges sit flush and can’t shift. Then measure the gap with digital calipers for overall width and feeler gauges for exact clearance. Check the seam at multiple points, including corners and midspan, and compare each reading to OEM specs. Verify the edges are level with a straightedge, and mark any trim areas with masking tape. Recheck the fit before tack welding, because small adjustments now save time later.
Align and Clamp the Panels First
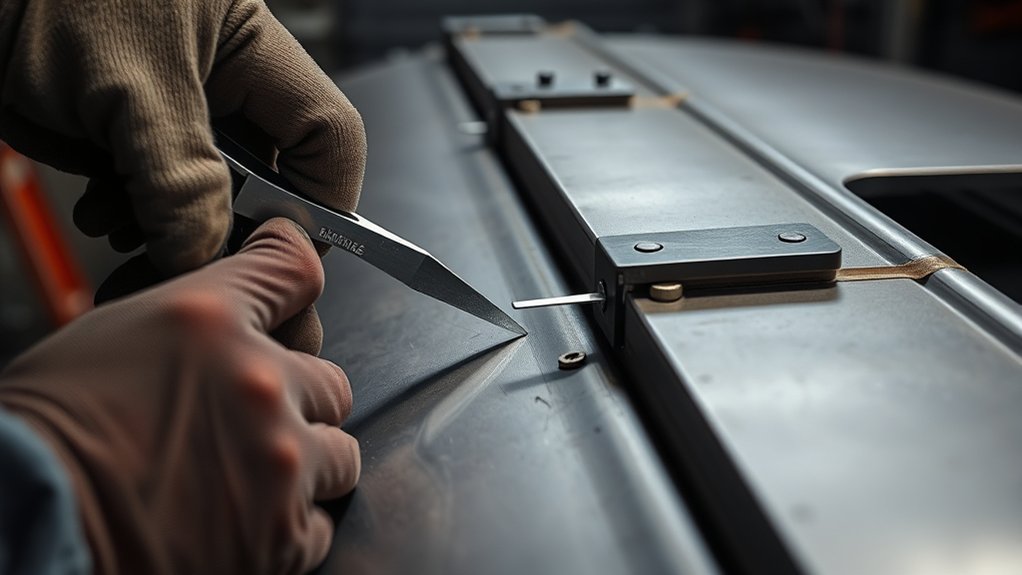
Start by aligning the panels so their edges sit flush and the joints are properly positioned before you measure anything. You align each panel to its mating edge, then clamp them firmly so they can’t shift under load or vibration. Check the full length of every seam for contact, because even small gaps can distort your reading and weaken the joint. With the panels locked in place, you can measure the spacing at several points along each edge and compare those values for consistency. If you detect uneven gaps, adjust the panel position, re-clamp, and verify the fit again. Keep the setup tight and methodical; precision here protects your freedom to build clean, controlled welds. Additionally, ensure that you are wearing appropriate protective clothing to safeguard against potential hazards during the welding process. After each correction, double-check alignment and clamp tension so the geometry stays stable before you move on.
Products Worth Considering


Welding Clamps : for Floors Door Panels etc Repair and Renovation

【Product Purpose】Butt welding clamps set includes 16 welding corner square welder clamps, which can be used to make precision butt welds and edge-to-edge welds for patch repairs in floors, wings, door skins, fabricating, and re-skinning projects. They are good accessories to help you to find the location quickly in repair work.
Use Calipers and Feeler Gauges
Use two tools to lock down the gap: digital calipers for overall width and feeler gauges for exact clearance. You measure Panel Gaps with calipers at 90 degrees, so the reading stays true and the sightline runs straight. Move along the seam and confirm that the width stays consistent from end to end. Then slide feeler gauges into the opening to verify the exact clearance and fine-tune your body work without guesswork. Additionally, ensuring proper fillet weld sizing can help maintain the structural integrity of your welds during the assembly process.
| Tool | Purpose |
|---|---|
| Digital calipers | Read total gap width |
| Feeler gauges | Confirm exact clearance |
| 90-degree check | Keep the gap uniform |
Check the measurement against the manufacturer’s spec for the vehicle you’re working on, since targets can differ by platform. Compare similar panels, like doors and hoods, and keep the numbers matched. When you measure this way, you take control of fitment and free your build from sloppy alignment.
Choose the Right Gap Size
Once you’ve measured the seam accurately, the next step is picking a gap size that matches the vehicle and the build style. You don’t chase a single universal gap; you select one that fits the panel and its intended character. Many European cars look correct near .090 inches, while a classic like a 1955 Chevy Bel Air may need up to .155 inches. Use digital calipers to confirm measurements and keep body panels consistent from door to hood to deck lid. If hinge clearance demands more space, adjust the surrounding metal, including the inside fender, so the gap stays even. When needed, trim or add material before welding to reach the target. That method gives you control, preserves alignment, and lets the car’s form stand clean without compromise. Additionally, ensuring the gap size aligns with OEM body repair manuals can help maintain structural integrity and overall aesthetics.
Products Worth Considering

[4 measuring methods and safety]: Digital calipers can be used to measure inner and outer diameters, depths and steps. The pins of the caliper are made of plastic, so there is no short circuit when measuring the battery or inside. Contact with the positive and negative poles. The safety is higher than that of metal calipers.
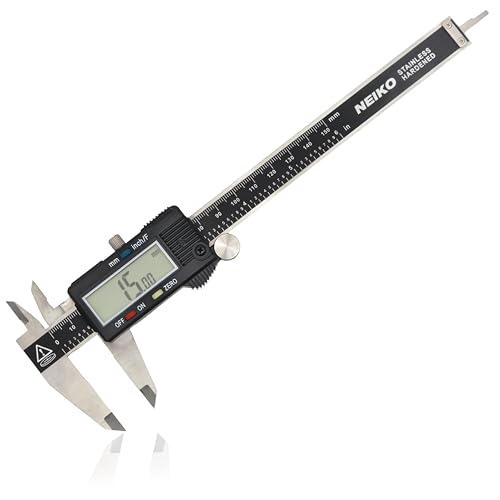
MULTI-FUNCTION: This measuring tool has a quick-change button that changes between three measuring modes such as inch, fraction, and millimeter to make conversion a snap during measurement. Our metric caliper measuring tool is splash and dust resistant.

Precise measurement: Measurement range: 0 - 6''/0 - 150 mm; Resolution: 0.01”/0.1 mm; Accuracy: +/- 0.2 mm/0.01”. Perfect and accurate caliper measuring tool for household/DIY measurement. Choose stainless steel digital caliper for more accurate measuring
Check Flushness at the Panel Edges

With the gap size set, you need to verify that both panel edges sit flush with no visible overlap or step, because that alignment is the base for a clean weld. To check flushness, place a straight edge or level across the joint and inspect the full length. If one panel stands proud, adjust it until the surfaces meet evenly. Use clamps to hold the panel edges in position while you confirm the even gap and the face alignment. Take your time; precision now prevents distortion later. Additionally, ensure the work area is clear of any flammable materials that could pose a risk during the welding process.
| Check | Result |
|---|---|
| Edge alignment | No step or overlap |
| Straight edge test | Full contact |
| Clamp hold | Panels stay flush |
| Final prep | Ready for tack weld |
When you work methodically, you free the joint from stress and give the weld a stable, professional foundation.
Measure Panel Gaps at Multiple Points
After you’ve confirmed the edges sit flush, measure the gap at multiple points along the joint to verify it stays uniform from end to end. Use digital calipers to measure panel gaps with fraction-level precision, and keep each reading squarely at 90 degrees to the seam. Check both the top and bottom edges, because small differences can signal poor fit before metal work locks it in. Compare readings against your straight edges, then log every value in sequence so you can spot drift fast. If you see a wider area, note it immediately; don’t let a later cutting disc pass hide an alignment error. Consistent gaps let you move with confidence, protect your control, and keep the weld line disciplined. When you measure panel gaps at multiple points, you create the conditions for clean, repeatable assembly and less corrective labor later. Additionally, ensure the metal is properly prepared to enhance the quality of the final weld.
Mark Trimming Areas Before Welding
Mark the trimming areas before you weld so you know exactly where material needs to come off. Use masking tape to mark trimming areas on both the new panel and the existing panel, and keep the edges visible. Measure each panel gap at 90 degrees so you can confirm the fit stays consistent across the opening. If you see uneven spots, draw precise trimming lines with layout dye to show where you’ll remove material. Before you cut, make sure the panels are aligned correctly; that keeps you from chasing errors and wasting time and effort on unnecessary changes. Check the fit with the weatherstrip installed, because the marked areas should support a clean seal when the work is finished. When you work this way, you control the repair, reduce guesswork, and preserve the space your build needs for a true, liberated fit. Additionally, proper surface preparation is crucial to ensure strong welds and avoid issues related to galvanized coatings.
Recheck Panel Gaps Before Tack Welding

Before you tack weld, recheck every panel gap at 90 degrees to confirm the spacing stays even across the opening. Use digital calipers to measure gaps at several points, then verify the numbers against your target before adjusting anything. Check doors, hoods, and adjacent panels with the weatherstrip installed so you know the fit will seal correctly after welding. Re-evaluate flushness now; if one edge sits high or low, correct the gap width first. Mark both panels with masking tape to preserve the set position and give yourself a clear visual reference. Additionally, maintaining proper joint fit-up is crucial to ensure optimal weld quality.
| Check | Action |
|---|---|
| 90-degree gap | Measure and compare |
| Flushness | Adjust panel height |
| Weatherstrip fit | Confirm seal |
Make small, controlled adjusting moves, then repeat the measurement cycle until each gap matches. This method keeps your work aligned, protects your freedom to correct errors early, and sets a clean foundation for tack welding.
Frequently Asked Questions
How to Measure Panel Gap?
Measure your panel gap with digital calipers at 90 degrees, then verify panel alignment, gap consistency, and tool selection. Keep all panels installed, mark trim areas with layout dye, and adjust for welding precision.
How Big Should a Weld Gap Be?
You should target the ideal gap size for your project: about .090 inches on many European cars, .155 on classics. Follow weld gap standards, assess effects on strength, and use gap adjustment techniques for uniform fit.
Can a Panel Gap Be Measured With a Gap Gauge?
Yes—you can measure a panel gap with a gap gauge, and it’s almost magical for precision. You’ll use gap gauge types with exact measuring techniques to verify panel alignment, improve welding precision, and lock in consistency.
Can You Weld a 1/4 Gap?
No, you shouldn’t weld a 1/4 gap directly. You’d need gap welding techniques, acceptable gap sizes, and gap adjustment methods; otherwise, welding distortion effects increase, and you risk weak, uneven, unacceptable joints.
Conclusion
By now, you’ve aligned the panels, measured with calipers and feeler gauges, and checked flushness at several points. Keep the gap consistent, mark any trim areas, and recheck everything before tack welding. Like a watchmaker setting gears, your precision here determines the final fit and finish. Don’t rush this stage; small errors now can telegraph through the weld. Measure twice, adjust once, and you’ll weld with confidence and control.


