After welding, you should grind or wire-brush the seam to bare metal, remove all rust, and wipe it dry. Then apply a compatible weld-through or rust-inhibiting primer and let it cure fully. Seal the joint with a generous, smooth bead of seam sealer so no gaps remain. Finish with paint and cavity wax for extra moisture protection. If you spot cracks or lifting later, repair them early; the details matter more than you might think.
What Causes Rust Under Seam Sealer?
Rust can form under seam sealer when moisture gets trapped between the metal and the sealer, especially if you didn’t clean and prep the surface properly before applying it.
Moisture trapped beneath seam sealer can cause rust, especially when the metal wasn’t properly cleaned and prepped first.
You also risk corrosion when the seam sealer is old, thin, or badly applied, because it can let water creep into the joint and stay there.
If you seal over surface rust, you lock contamination in place and weaken adhesion, so the coating can’t protect the metal evenly.
Skipping primer leaves bare steel exposed to moisture, which speeds oxidation under the sealer.
You can also trap water by sealing over unsealed welds or rough joints, especially where runoff or standing water collects.
To protect your work and keep your build free, you need a sound bond, complete coverage, and dry metal beneath every seam sealer layer. Additionally, ensuring that all zinc residues are removed before application can help prevent moisture issues.
Prep Welded Seams Before Sealing
You should clean the welded seams thoroughly with a wire brush or wheel to remove rust, coatings, and other contaminants. Make sure the metal is dry and free of debris before sealing, since trapped moisture can cause corrosion under the sealer. Apply a weld-through primer first so you protect the bare steel and improve seam sealer adhesion. Additionally, assessing rust holes is crucial to ensure the integrity of the repair before sealing.
Products Worth Considering

15 pieces Stainless Steel Wire Brush: The stainless steel wire cleaning brush length about 17cm/6.7inch, mini stainless steel brushes for cleaning, enough quantity for your daily use.
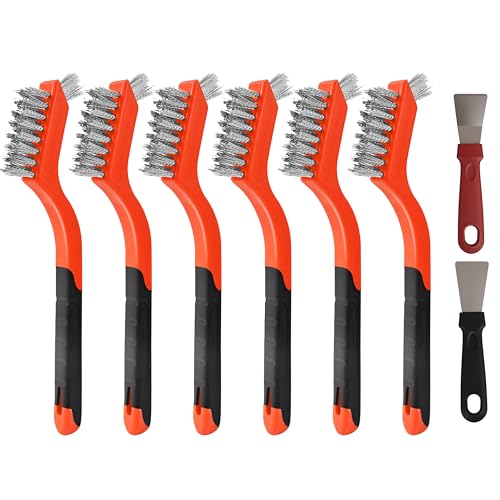
【What do you get】: The wire brush set includes 6 Stainless Steel brushes and 2 cleaning scrapers, Wire Brushes Set will help you cope with all kinds of daily cleaning efficiently

Material: Crafted with carbon steel and stainless steel wire bristles, ensuring long-lasting performance and effective cleaning.
Clean Welds Thoroughly
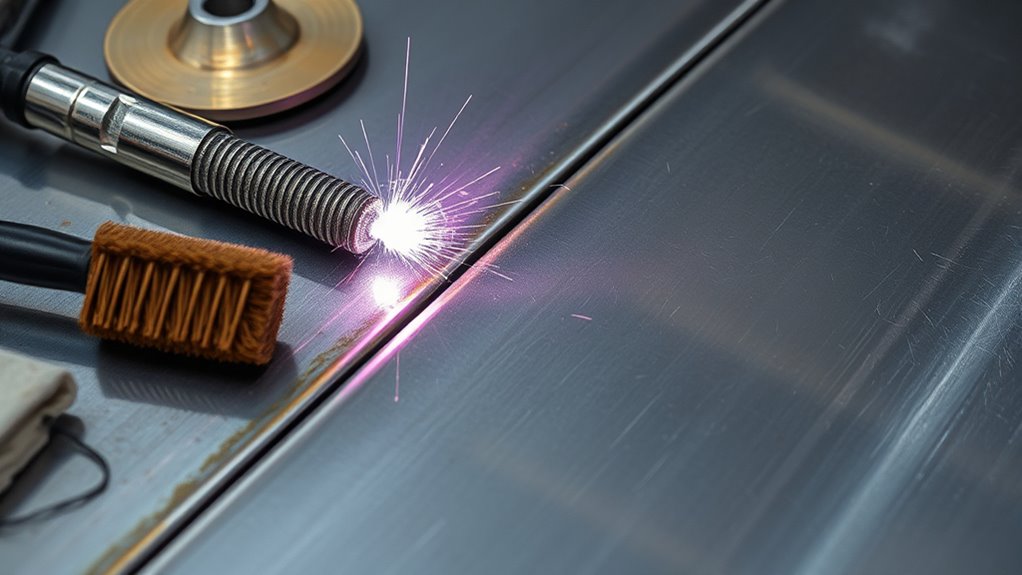
Before sealing welded seams, scrub them thoroughly with a wire brush or wheel to remove rust, slag, coatings, and other contaminants that can interfere with adhesion.
Clean welds let seam sealer bond directly to sound metal, so you’re not trapping debris beneath the barrier.
After brushing, inspect the joint for voids, pinholes, or sharp edges, and correct any flaws before you move on.
Wipe the area dry and confirm there’s no moisture left in seams, overlaps, or crevices.
If the surface is clean and dry, apply a rust inhibitor primer to create a protective base.
Then you can lay seam sealer over the prepared metal with confidence, knowing you’ve given corrosion fewer chances to start and spread.
Remove Rust And Coatings
Strip away every trace of rust and old coating from the welded seam with a wire wheel, bead blasting, or sand blasting so the seam sealer bonds to clean metal instead of trapping contamination underneath.
You need to remove rust completely, not just smooth it over, because hidden residue keeps corrosion alive under the seal. Check the seam for paint, undercoat, scale, and adhesive film; any leftover coating can hold moisture and start rust again.
Work the edge, lap, and pinholes until bare metal shows uniformly. Use blasting when the weld is rough or the corrosion is stubborn.
After you finish, wipe the area dry and confirm no dampness remains. A clean, dry seam gives you control, durability, and freedom from avoidable failure.
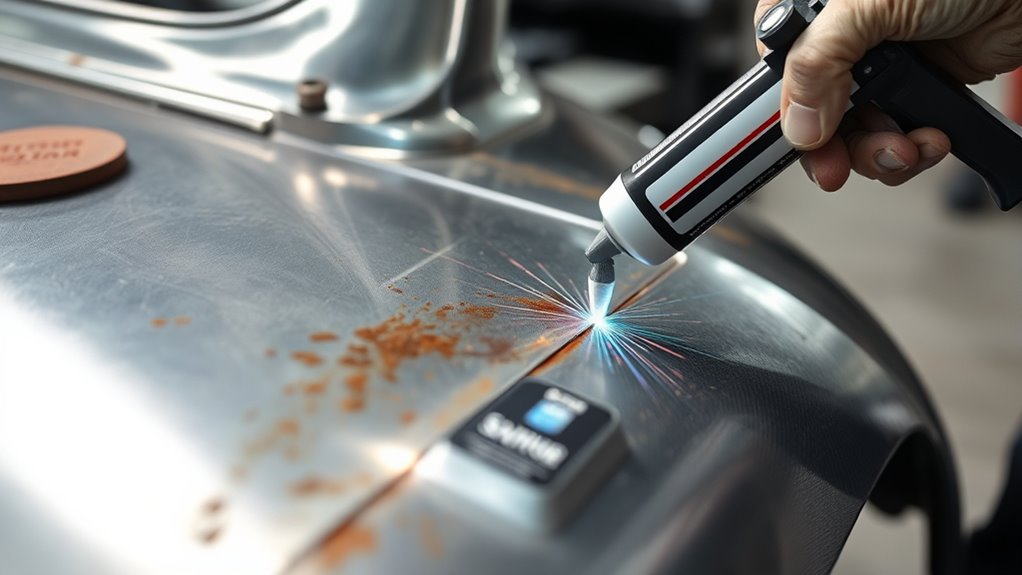
Prime Before Seam Sealing
After the seam is clean and dry, brush away any last dust or residue, then apply a weld-through primer to the bare metal so the seam sealer has a protected, corrosion-resistant base. If you prime before seam sealing, you block moisture before it can start trouble. Use seam sealers only after the primer flashes off, and keep the coat even, because gaps invite rust. | Step | Action |
| — | — |
|---|---|
| 1 | Inspect bare metal |
| 2 | Apply weld-through primer |
| 3 | Seal evenly |
| 4 | Let cure fully |
A flexible seam sealer helps the joint move without cracking, so the barrier stays intact. Don’t trap water under the seal; that’s how corrosion wins. With the right prep, you control the seam, protect your work, and prevent rust without relying on luck.
Remove Rust From Overlapping Joints
You should clean overlapping joints thoroughly with a wire wheel to remove rust, scale, and contaminants before welding. This gives you proper metal-to-metal contact and reduces moisture entrapment in the joint. After the rust is removed, seal the overlap with welds or a corrosion-resistant sealer to block future ingress. Additionally, ensuring a clean surface helps to improve overall weld quality and reduces the risk of defects.
Clean Joints Thoroughly
Thoroughly clean overlapping joints with a wire wheel or grinder to remove existing rust, scale, grease, oil, and old coatings before sealing the seam. When panels are spot welded together, you need bare metal so the seam can bond and defend the joint. Clean joints thoroughly, then inspect every edge before you apply seam sealer.
- Strip loose contamination from both flanges.
- Use bead blasting or sand blasting in tight areas where tools can’t reach.
- Wipe away residue so no grease or oil remains.
- Check for hidden rust and rework any suspect spots immediately.
A rust inhibitor primer on the cleaned surface strengthens Preventing Rust and reduces moisture entrapment.
This disciplined prep gives you control, protects the repair, and keeps corrosion from returning under the seam.
Seal After Rust Removal
Once the overlapping joints are free of rust, scale, and residue, prime the bare metal with a rust-inhibitor primer before sealing. You’ve already done the hard work, so don’t let hidden contamination reclaim the seam.
Use bead blasting or sand blasting to strip every trace of rust from the overlap, then inspect each edge closely. Even tiny particles can trap moisture and start corrosion under the seam sealer.
After the primer cures, apply seam sealer generously so it fully encapsulates the joint and blocks water ingress. Maintain continuous coverage at the weld flange and into tight corners.
Recheck the sealed area during service; if you spot cracking, lifting, or water intrusion, repair it immediately. That’s how you keep rust from returning and protect your work.
Choose the Right Weld-Through Primer
Choosing the right weld-through primer is critical because a zinc-rich formula can melt during welding and help protect the joint from corrosion, even under seam sealer.
You need weld-through primers that form a durable barrier before you join panels, so moisture can’t creep into seams after the weld cools. Clean, bare metal gives the coating the bite it needs, and a light roughening improves adhesion.
Verify compatibility with your chosen seam sealer; some products can react and weaken the defense. Select an automotive-grade primer from a reputable brand, because protection levels vary. Additionally, improper storage of welding rods, such as low-hydrogen rods, can lead to moisture issues that compromise the integrity of the weld.
- Clean the metal thoroughly.
- Roughen the surface for grip.
- Apply an even primer coat.
- Match it to your seam sealer.
When you choose well, you keep rust from gaining ground and preserve the strength of the repair.
Products Worth Considering

A durable, zinc enhanced coating that protects all metal surfaces

High quality, fast drying surface
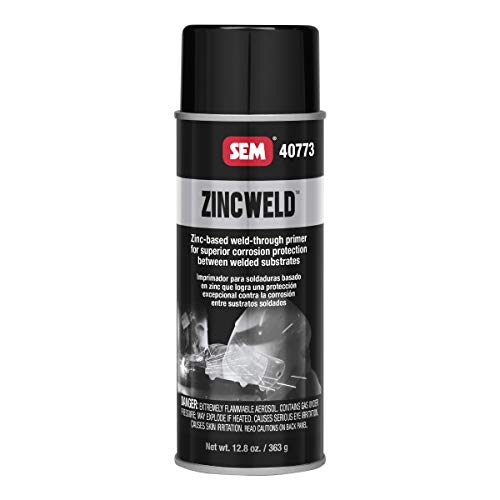
Weld thru primer
Apply Seam Sealer Correctly
After the weld cools, apply seam sealer only to clean, properly primed metal so it can form a reliable moisture barrier.
Before you start, scrub away dust, oil, and weld residue; any contaminant can block adhesion and trap moisture.
Load the seam sealer generously and work it into every lap, flange, and overlap, because thin coverage leaves paths for water ingress and hidden rust.
Tool it smoothly so you seal the full joint, not just the edges. Keep the film continuous, with no pinholes or skips.
Then let the seam sealer cure for the full time the product specifies before you expose it to moisture or handling. That patience preserves the barrier you’ve built and keeps rust from starting beneath the sealer.
After service, inspect sealed seams routinely, and renew damaged areas quickly so you stay in control of the metal you’ve already protected. Additionally, ensure that the surface is cleaned thoroughly to avoid issues like porosity in welds.
Protect Welds With Paint and Wax
Brush a rust inhibitor primer onto every exposed weld as soon as the metal is clean and dry, because that first barrier helps keep moisture from reaching the joint and starting corrosion under the seam sealer.
Then paint the welded area with a compatible coat to add another shield against air and water. Let the coating cure fully before you seal, so you don’t trap solvent or weaken adhesion.
- Clean and dry the weld.
- Prime all bare metal.
- Paint the repair area evenly.
- Wax seam interiors where you can reach them.
If your seam sealer is paintable, cover it after it cures to build a tighter moisture-resistant finish.
Use wax inside enclosed seams after welding to block hidden moisture paths. Inspect the painted and sealed zones regularly, because a nick or crack can invite rust.
You stay ahead of decay by keeping every layer intact and serviceable. Additionally, ensure proper ventilation in the work area to prevent moisture accumulation during the painting process.
Fix Failed Seam Sealer Before Rust Spreads
Inspect the seam sealer regularly for cracks, gaps, or lifting edges, because even a small failure can let moisture creep into the joint and start rust beneath the surface.
When you find damage, cut out the failed material completely and clean the exposed metal to bare, sound steel. Treat any rust you uncover, then prime the surface before you reseal it.
Don’t smear new sealer over contamination; that traps moisture and weakens adhesion. Use a flexible, high-quality seam sealer that bonds well around spot welds and vibration-prone joints.
Apply it with full coverage, then feather the edges so water can’t enter the repair line. If the area sees repeated wetting, recheck it after curing and reapply where needed.
This is how you keep the joint sealed, stop rust from spreading, and protect your work without surrendering to hidden corrosion. Additionally, ensure the surface is preheated properly to prevent rapid cooling which can exacerbate rust formation.
Frequently Asked Questions
How to Prevent Rust After Welding?
You prevent rust after welding by cleaning bare metal, applying weld-through primer, sealing seams with quality seam sealer, and letting it cure fully. You’ll maintain Corrosion Protection and inspect repairs regularly for damage.
Will Seam Sealer Prevent Rust?
Yes, Seam Sealer will help prevent rust if you apply it over clean, primed metal; you’re cutting off moisture and contaminants. Don’t let it be a Band-Aid—inspect and maintain it regularly.
What Is the Anti Rust Spray After Welding?
It’s a corrosion resistance coating you spray on welded metal to stop oxidation. You’ll use zinc-rich weld-through primer or POR-15 after cleaning the surface, then seal it to protect against moisture and future rust.
Can You Weld Through Seam Sealer?
Usually, you shouldn’t, but you can with weld-through seam sealer. You’ll need proper Welding Techniques, clean metal, and controlled heat; otherwise, contamination weakens the joint. Use it only where the manufacturer rates it.
Conclusion
If you seal a weld without proper prep, you’re basically inviting rust to set up camp and throw a slow-motion demolition party underneath your panel. Clean the seam, remove every trace of corrosion, use the right weld-through primer, and lay the seam sealer on evenly. Then protect the joint with paint and wax. If you catch a failed sealer early, you stop a tiny defect from turning into a full-blown metal disaster.


