
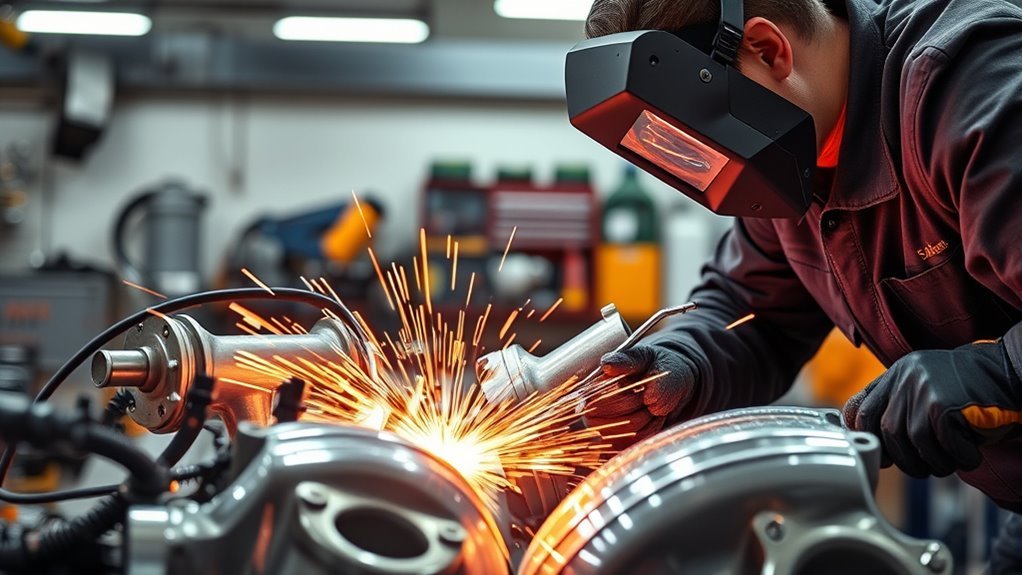
To weld aluminum automotive parts well, start with the repair procedure, not the welder. Confirm that the part is allowed to be welded, clean the aluminum until the oxide and contamination are gone, then choose TIG for thin or precision work and MIG for thicker brackets, tabs, and non-critical repairs. Use 100% argon shielding gas, the right filler wire or rod, controlled heat, and a test coupon before touching the vehicle.
Quick Answer
You can weld many aluminum automotive parts with AC TIG or MIG using a spool gun or push-pull gun, but only after checking the OEM repair manual. Clean with solvent, remove the oxide with a dedicated stainless brush, use 100% argon, choose 4043 or 5356 filler correctly, and inspect the weld for cracks, porosity, and heat damage.
Key Takeaways
- Do not weld structural, crash, suspension, wheel, fuel, battery, or airbag-adjacent parts unless the vehicle maker specifically allows that repair.
- Clean aluminum in two stages: remove oil first, then remove oxide with a dedicated stainless brush or abrasive pad.
- TIG gives the best control on thin aluminum; MIG is faster on thicker parts but needs a spool gun or push-pull setup.
- Use 100% argon for most aluminum MIG and TIG work; do not use steel C25 gas on aluminum.
- Test settings on scrap of the same thickness before welding the actual part.
At a Glance
| Time Required | 30 minutes to several hours, depending on cleaning, fit-up, test welds, and inspection |
| Difficulty | Intermediate to advanced; aluminum is less forgiving than mild steel |
| Tools Needed | AC TIG welder or MIG welder with spool gun/push-pull gun, 100% argon, aluminum filler, dedicated stainless brush, solvent, clamps, PPE, fire extinguisher |
| Cost | Low if you already own the welder; higher if you need argon, a spool gun, aluminum wire, or professional inspection |
Warning: Aluminum automotive welding can affect crash performance, airbag timing, corrosion protection, and battery safety. Do not weld wheels, suspension arms, steering parts, crash rails, battery enclosures, fuel-system areas, or structural body sections unless the OEM repair procedure allows welding and you are qualified to perform it.
Why Aluminum Welding Matters in Automotive Repair
Aluminum is common in modern hoods, doors, liftgates, subframes, brackets, heat shields, intake parts, intercooler piping, battery trays, and some truck body panels. It is popular because it offers a strong weight-to-performance balance, but it behaves very differently from mild steel.
The biggest challenge is heat. Aluminum carries heat away quickly, does not glow red before it melts, and has a tough oxide layer on the surface. That oxide melts at a much higher temperature than the base metal, so it can block fusion if you do not remove it before welding.
Good aluminum welds depend on four things: clean metal, the right process, the right filler, and heat control. If one of those is wrong, you can get porosity, cracking, burn-through, poor fusion, or a repair that looks fine but is weak.
Aluminum welding is mostly preparation. A clean joint, correct filler, and controlled heat matter more than simply turning the machine hotter.
Before You Weld: Check the Part, Alloy, and Repair Limits
Before you strike an arc, identify what you are repairing. A small non-structural bracket is very different from a bumper reinforcement, suspension casting, or frame section. Many vehicle makers require replacement, bonding, riveting, or specific squeeze-type resistance spot welding instead of open-arc welding in certain areas.
Use this checklist before welding aluminum car parts:
- Check the OEM repair manual. Follow the vehicle maker’s approved repair method, especially on crash structure and EV parts.
- Confirm the alloy if possible. Common automotive aluminum includes 5xxx and 6xxx sheet/extrusions, plus cast aluminum parts. Each reacts differently to heat and filler.
- Check thickness. Thin sheet is easy to burn through; thick castings may need more amperage, beveling, or controlled preheat.
- Inspect for contamination. Oil, road salt, paint, seam sealer, undercoating, and coolant can cause porosity and toxic fumes.
- Protect the vehicle. Disconnect the 12-volt battery when appropriate, protect modules and glass, keep sparks away from trim, and follow EV high-voltage disable procedures if the vehicle is electric or hybrid.
- Plan corrosion protection. After welding, aluminum still needs proper cleaning, primer, seam sealer, or coating where the repair procedure calls for it.
Note: A welded repair can soften heat-treated aluminum near the weld. On safety-related parts, the concern is not only whether the weld bead holds, but whether the surrounding heat-affected zone still meets the vehicle maker’s requirements.
What Aluminum Automotive Parts Can You Weld?
You can weld some aluminum automotive parts, but you should not treat every aluminum part as repairable. The table below gives a practical starting point. The OEM repair procedure always wins.
| Part Type | Welding Guidance | Main Risk |
|---|---|---|
| Small brackets, tabs, guards, non-critical mounts | Often weldable if the alloy is suitable and the load is low | Cracking, poor fit-up, vibration failure |
| Body panels, hoods, doors, liftgates | May require bonding, riveting, spot welding, or controlled MIG/TIG repair | Warpage, corrosion, paint failure |
| Cast housings and covers | Sometimes repairable, but contamination and porosity are common | Oil trapped in casting pores |
| Wheels, suspension, steering, crash rails, battery enclosures | Do not weld unless the OEM procedure specifically allows it | Loss of crash strength or sudden failure |
Essential Equipment for Welding Aluminum Automotive Parts
Welding aluminum automotive parts requires equipment that keeps the arc clean and the soft filler wire feeding smoothly. These are the core items you need:
- AC TIG welder: Best for thin sheet, precise repairs, visible welds, and small parts that need careful heat control.
- MIG welder with spool gun or push-pull gun: Best for faster work on thicker aluminum, because soft aluminum wire can birdnest in a standard long liner.
- 100% argon shielding gas: Use this for most aluminum TIG and MIG work. Do not use steel C25 gas on aluminum.
- Aluminum filler metal: Use 4043 or 5356 only when it matches the base metal, service temperature, and repair requirement.
- Dedicated aluminum prep tools: Keep a stainless steel brush, abrasive pads, files, and clamps reserved for aluminum so you do not grind steel contamination into the part.
- PPE and ventilation: Use a welding helmet, gloves, jacket, eye protection, and enough ventilation or local exhaust to keep fumes out of your breathing zone.
OSHA warns that welding produces fumes and gases that can harm workers, and that cleaning coatings and using ventilation can reduce exposure. Review OSHA’s welding fume guidance before doing hot work in a garage or shop.
Products Worth Considering

【Born for Aluminum Welding】AC TIG mode is perfect for dealing with Aluminum and Aluminium alloy.

Comes with lift TIG torch, E6013 welding rods and welding gloves, capable of either Stick welding or Lift TIG welding.

Large LED Display: Features a large LED screen for enhanced visibility and a clear display of welding parameters and settings. Its intuitive interface ensures effortless operation, enabling precise welding of diverse metals
How to Clean Aluminum for Welding Quality
Cleaning is the difference between a smooth aluminum weld and a porous, black, weak bead. Aluminum needs a two-step cleaning process: remove contamination first, then remove oxide.
Proper Cleaning Techniques
Start with the contamination you can spread by accident: oil, grease, wax, road film, coolant, polish, adhesive, paint, and undercoating. Do not grind through oily paint and then weld. That drives contamination into the surface and creates fumes.
- Remove paint, coating, seam sealer, and undercoating far enough from the weld zone to prevent smoke and contamination.
- Wipe the joint with acetone or an aluminum-safe degreaser using a clean lint-free cloth.
- Let the solvent flash off completely before welding.
- Use a dedicated stainless steel brush or clean abrasive pad to remove oxide.
- Brush in one direction instead of scrubbing dirty particles back and forth.
- Handle the cleaned area with clean gloves so you do not transfer skin oil back onto the joint.
Oxide Layer Removal
The aluminum oxide layer is thin, but it is tough and has a much higher melting point than the aluminum below it. If you leave it in the joint, the base metal may melt while the oxide remains trapped in the weld puddle.
Use a stainless brush made only for aluminum, a clean Scotch-Brite-style pad, or light mechanical abrasion. Do not use a carbon-steel brush, rusty clamp, or grinding disc that has touched steel. Steel contamination can cause corrosion and dirty welds.
Pro Tip: Clean as close to welding time as practical. If the part sits overnight, gets handled, or collects shop dust, wipe and brush it again before welding.
Selecting the Best Welding Technique for Aluminum
The best aluminum welding process depends on part thickness, access, appearance, load, and your equipment. For most garage and repair work, the choice is between TIG and MIG.
| Process | Best For | Tradeoff |
|---|---|---|
| AC TIG | Thin sheet, precision brackets, small parts, clean visible welds | Slower and requires more hand control |
| MIG with spool gun | Medium-thickness parts, tabs, brackets, and longer seams | Less precise on thin material |
| MIG with push-pull gun | Frequent aluminum MIG work and production-style repairs | Higher equipment cost |
| Welding not recommended | Parts the OEM says to replace, bond, rivet, or spot weld | Wrong repair can compromise safety |
For code-level or production work, compare the job requirements with the relevant welding standard and the vehicle maker’s repair method. Structural aluminum welding is covered by AWS D1.2, while automotive applications may also reference automotive-specific welding standards.
Choosing the Right Aluminum Filler Metal
Do not choose filler wire only by what is on the shelf. Filler affects crack resistance, strength, color match, corrosion behavior, and service temperature.
| Filler | Common Use | Watch Out For |
|---|---|---|
| 4043 | Many 6xxx repairs, castings, and jobs where crack resistance and fluidity matter | May not color-match as well after anodizing and may not be the strongest choice |
| 5356 | Many 5xxx and 6xxx applications where higher as-welded strength is needed | Avoid for sustained high-temperature service unless the procedure allows it |
| OEM-specified filler | Structural or collision repair work | Do not substitute without approval |
Products Worth Considering

ER4043 TIG WELDING ROD: ER4043 is a 5% silicon -containing aluminum and silicon alloy welding rod. It has high silicon content, good liquidity, and strong heat resistance

ER4043 TIG WELDING ROD: This TIG welding rod has 5% added silicon, This can improve the liquidity of the melt pool.

ER4043 TIG WELDING ROD: This TIG welding rod has 5% added silicon, This can improve the liquidity of the melt pool.
Essential MIG Welding Settings for Successful Aluminum Joints
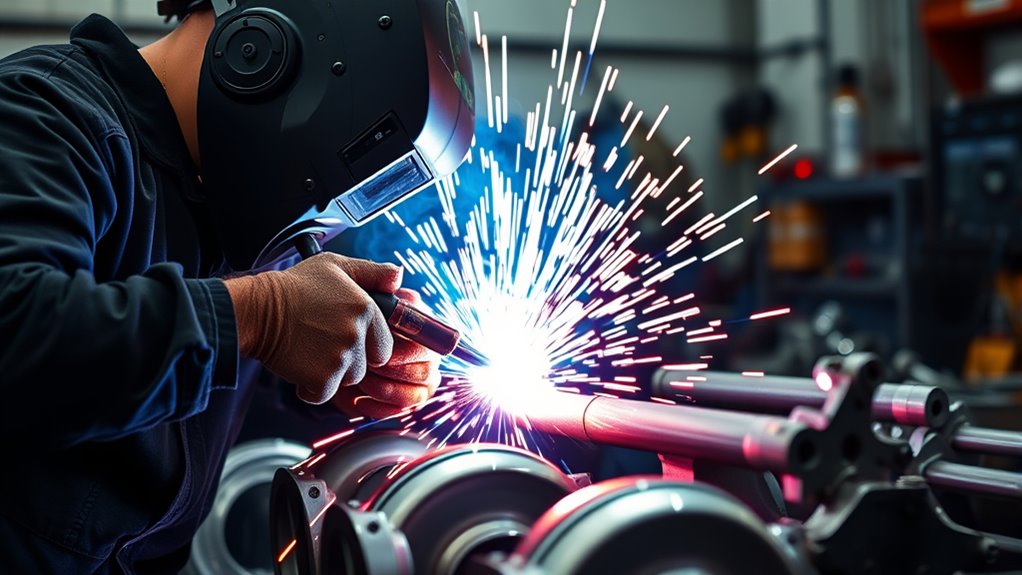
MIG welding aluminum works best when wire feeding is smooth and the arc is stable. Start with your welder’s chart for the exact wire size, alloy, and thickness. Then fine-tune on scrap from the same part or the same thickness.
Optimal Voltage Settings
Many thin-to-medium aluminum MIG jobs start somewhere near 18 to 22 volts, but that is only a starting point. Thicker aluminum, spray transfer, pulsed MIG, and larger wire may need more voltage. If the bead sits cold on top, increase heat or slow down. If the edge collapses or drops out, reduce heat, increase travel speed, or use shorter welds.
Wire Feed Speed
Aluminum wire usually feeds faster than steel wire because aluminum needs more wire speed to carry the same current. Use U-groove drive rolls, correct tension, a clean liner, and a spool gun or push-pull gun to reduce birdnesting.
| Aluminum Thickness | Common MIG Starting Point | Adjustment Clue |
|---|---|---|
| Thin sheet, about 1/16 in. | Low heat, short tacks, fast travel, small wire | Back off if the panel warps or burns through |
| Around 1/8 in. | Often near the 18–22 V range, with wire speed set from the machine chart | Tune until the bead wets into both sides without soot or undercut |
| Around 1/4 in. | Higher voltage and wire feed, possible bevel, multiple passes, or pulsed MIG | Watch for cold lap if the puddle does not tie in at the toes |
Shielding Gas Selection
Use 100% argon for most aluminum automotive MIG welding. A common starting flow is about 20 to 30 CFH indoors, but the right flow depends on cup/nozzle size, air movement, and joint access. Too little gas causes porosity. Too much gas can create turbulence and pull air into the weld.
Keep the nozzle clean, avoid fans blowing across the arc, and check for leaks in the hose, regulator, and gun connection. If you are welding thick aluminum in a controlled shop setup, an argon-helium blend may improve heat input, but it is usually not necessary for common garage repairs.
TIG Welding Settings for Thin Aluminum Car Parts
AC TIG is the most controlled method for thin aluminum. It lets you manage the puddle, add filler exactly where needed, and avoid excessive buildup on small parts.
- Current: Use AC for most manual aluminum TIG work.
- Shielding gas: Start with 100% argon, often around 15 to 20 CFH.
- Tungsten: Use a tungsten type recommended by your welder manufacturer for AC aluminum, commonly lanthanated, ceriated, or zirconiated.
- AC balance: Use enough cleaning action to break oxide, but not so much that the tungsten overheats.
- Heat control: Use a foot pedal or fingertip control when possible, especially on thin sheet.
- Technique: Keep a tight arc, move steadily, and add filler before the edge overheats.
Aluminum does not give you the same color warning as steel. Once the puddle forms, it can go from controlled to collapsed quickly. Practice on scrap until you can start, move, add filler, and stop without leaving a crater crack.
Step-by-Step: How to Weld Aluminum Automotive Parts
- Confirm the repair is allowed. Check the OEM procedure and avoid safety-critical parts unless welding is approved.
- Remove nearby hazards. Move trim, foam, carpet, wiring, fuel vapors, brake cleaner, and flammable coatings away from the weld zone.
- Clean the part. Degrease first, then remove oxide with aluminum-only tools.
- Fit and clamp the joint. Aluminum moves with heat, so close fit-up and solid clamping matter.
- Choose filler and settings. Match the filler to the base metal and set the machine from a chart, not guesswork.
- Run a test coupon. Weld scrap of the same thickness, then break, bend, or cut it to check fusion.
- Tack the part. Use small tacks to hold alignment and spread heat.
- Weld in short controlled sections. Let heat spread evenly, and pause if the part gets too hot.
- Fill the crater. Taper off at the end so the weld does not crack as it cools.
- Inspect and protect the repair. Check for defects, clean the area, and restore corrosion protection.
Warning: Never weld near fuel vapors, solvent residue, brake cleaner residue, airbags, seatbelt pretensioners, EV high-voltage cables, or battery packs without following the correct disable and hot-work procedure.
Tackling Common Aluminum Welding Challenges
Aluminum welding problems usually come from contamination, poor gas coverage, filler mismatch, wire-feeding issues, or too much heat. Use the symptoms below to narrow down the cause.
| Problem | Likely Cause | Fix |
|---|---|---|
| Porosity | Oil, moisture, oxide, poor gas coverage, wind, dirty filler | Re-clean, check argon flow, block drafts, use dry clean filler |
| Black soot | Long arc, wrong torch angle, poor shielding, contamination | Shorten arc, correct angle, check gas, clean again |
| Burn-through | Too much heat, slow travel, gap too wide | Lower heat, speed up, use backing, tighten fit-up |
| Lack of fusion | Too cold, oxide trapped in joint, poor angle | Clean better, increase heat, improve torch/gun angle |
| Crater cracks | Abrupt stop or wrong filler | Fill the crater, taper off heat, confirm filler choice |
| MIG birdnesting | Soft wire feeding through the wrong liner, rolls, or tension | Use U-groove rolls, correct tension, and a spool gun or push-pull gun |
Safety Tips for Welding Aluminum Automotive Parts
Welding aluminum automotive parts requires technical skill and strict safety habits. You are dealing with heat, UV radiation, fumes, sparks, gas cylinders, vehicle electronics, and sometimes fuel or battery systems.
- Wear proper PPE: Use a welding helmet with the right shade, leather gloves, flame-resistant clothing, safety glasses, and hearing protection where needed.
- Ventilate the work area: Use local exhaust or forced ventilation when fumes can collect. Welding outdoors does not automatically guarantee safe ventilation.
- Clean coatings safely: Remove paint, solvent residue, undercoating, and seam sealer from the weld zone before welding.
- Control fire risk: Keep a charged fire extinguisher nearby and do a fire watch after welding.
- Protect electronics: Follow service-manual steps for batteries, modules, sensors, and high-voltage systems.
- Secure the work: Use clamps or Vise Grips so the part cannot shift while you weld.
- Store gas cylinders safely: Keep cylinders upright, capped when stored, and away from heat and impact.
For more detail on general welding hazards, OSHA’s welding, cutting, and brazing topic page outlines standards, hazards, and safety resources.
Post-Weld Inspections and Finishing Tips
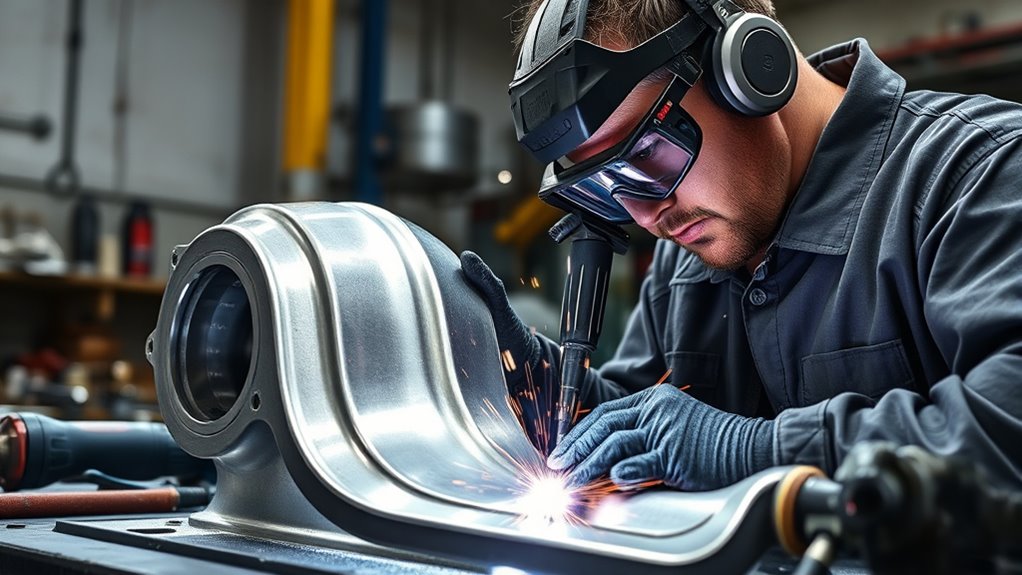
After welding, let the part cool naturally. Do not quench aluminum unless the repair procedure specifically calls for it. Rapid cooling can create new problems, especially on heat-treated parts.
Start with a careful visual inspection. Look for cracks, crater cracks, porosity, undercut, incomplete fusion, excessive buildup, distortion, and heat damage around the joint. If the weld is on a loaded part, visual inspection alone may not be enough.
For higher-risk repairs, use non-destructive testing such as dye penetrant inspection or professional ultrasonic testing. A pretty bead is not proof of a safe repair.
Once the weld passes inspection, clean the area and restore corrosion protection. That may include sanding only where allowed, applying aluminum-compatible primer, seam sealer, cavity wax, paint, or another coating specified by the repair procedure. Make sure the fillet weld size is appropriate for the thinner part and does not create extra stress or interference.
Frequently Asked Questions
What is the trick to welding aluminum?
The trick is cleaning and heat control. Remove oil first, remove oxide second, use the right filler and 100% argon, then weld with a tight arc and steady travel speed. Aluminum does not glow before it melts, so practice on scrap before welding the part.
Can you weld aluminum car parts?
Yes, you can weld some aluminum car parts, such as non-critical brackets, tabs, covers, and certain panels. Do not weld structural, suspension, steering, wheel, battery, or crash parts unless the OEM repair manual clearly allows it and you have the correct equipment and training.
What kind of welding is best for aluminum?
AC TIG is best for thin, precise, or visible aluminum welds. MIG with a spool gun or push-pull gun is better for thicker aluminum and faster work. The best process depends on the part, thickness, access, and repair procedure.
Is it better to weld aluminum with AC or DC?
For common manual TIG welding on aluminum, AC is usually preferred because it helps clean the oxide layer while still heating the base metal. DC aluminum welding is possible in special setups, but AC TIG is the normal choice for most shop and garage aluminum TIG work.
Can you MIG weld aluminum with regular MIG wire and C25 gas?
No. Use aluminum MIG wire and 100% argon for most aluminum MIG work. Steel wire and C25 gas are for steel, not aluminum. Aluminum wire also feeds better through a spool gun or push-pull gun because it is soft.
Why do aluminum welds get black soot or pinholes?
Black soot and pinholes usually point to contamination, poor shielding gas coverage, too long of an arc, wind across the weld, or dirty filler. Re-clean the part, check argon flow, block drafts, and test on scrap before welding again.
Conclusion
Mastering aluminum welding for automotive parts means slowing down before you speed up. Start with the OEM repair procedure, verify the part is weldable, clean the aluminum correctly, choose TIG or MIG based on thickness and access, and test your settings before the real repair. With proper shielding gas, filler choice, heat control, and inspection, you can produce cleaner and stronger aluminum welds while avoiding the common problems that make automotive repairs unsafe.
Sources
- OSHA Fact Sheet: Controlling Hazardous Fume and Gases during Welding — supports ventilation, fume, cleaning, and respiratory safety guidance.
- OSHA Welding, Cutting, and Brazing — supports general hot-work hazards and safety standards context.
- Miller Guidelines for Gas Tungsten Arc Welding — supports TIG process basics and aluminum TIG setup concepts.
- American Welding Society Standards — supports checking applicable welding standards for structural and automotive aluminum work.
- Study on 6061-T6 Aluminum Resistance Spot Weld Properties — supports the warning that welding can change mechanical properties in the weld and heat-affected zones.




