
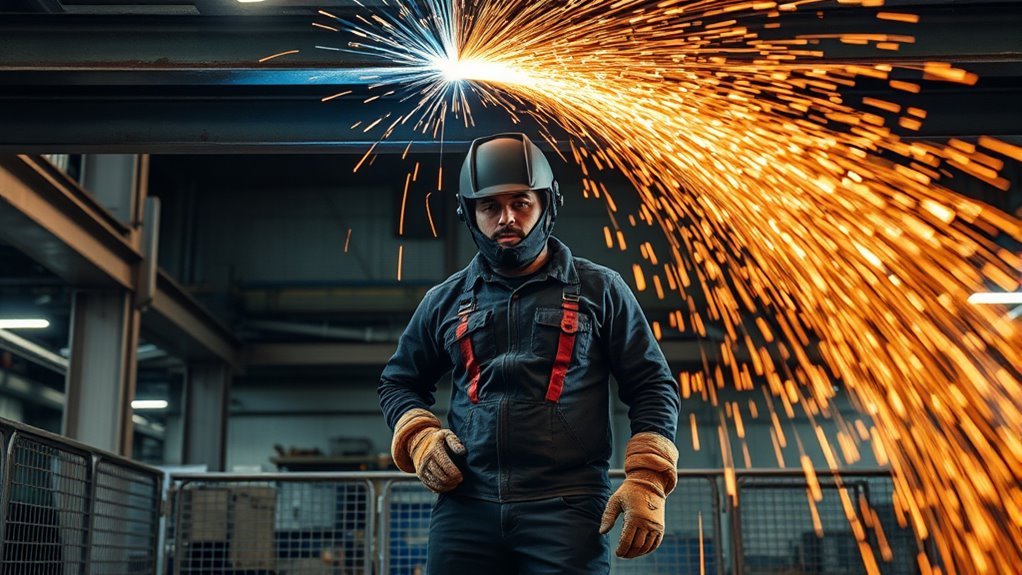
Overhead welding is one of the hardest welding positions because gravity works against the puddle, sparks fall toward you, and small setup mistakes can turn into burn, fire, fume, or weld-defect problems. To weld safely in the overhead position, you need full protective gear, a fire-safe work area, good ventilation, a stable stance, and a controlled technique that keeps the puddle small.
Quick Answer
To weld overhead safely, wear flame-resistant clothing, gloves, ear protection, and a properly shaded welding helmet. Clear or shield combustibles, control fumes with ventilation, use a tight arc, keep the puddle small, and make short, steady stringer beads. Follow your WPS, machine chart, or instructor’s settings for your process.
Key Takeaways
- Overhead welding includes 4G groove welds and 4F fillet welds, both done with the weld face pointing downward.
- Your main goals are to protect yourself from falling sparks, keep the molten puddle small, and prevent sagging, undercut, porosity, and lack of fusion.
- Use short beads, tight arc length, controlled travel speed, and only enough heat to get fusion without letting the puddle hang too long.
- Do not treat gas flow, amperage, or electrode choice as universal. Follow the Welding Procedure Specification, machine chart, filler-metal data, or instructor guidance for your exact job.
At a Glance
| Time Required | 15 to 30 minutes for setup and practice passes; longer for multi-pass or code work |
| Difficulty | Advanced beginner to intermediate; harder than flat and horizontal welding |
| Tools Needed | Welder, correct filler metal, clamps, grinder or wire brush, chipping hammer for stick or flux-core, fire extinguisher, welding helmet, FR clothing, gloves, boots, ear protection, and ventilation or fume extraction |
| Cost | Mostly consumables if you already own equipment; PPE and fume control can cost much more if not already available |
Warning: Overhead welding is hot work. Do not weld near unprotected combustibles, on sealed or contaminated containers, in confined spaces, on wet floors, or on structural, pressure, or vehicle-critical parts unless you are trained and the work follows the correct procedure, code, and safety rules.
What Is Overhead Welding?
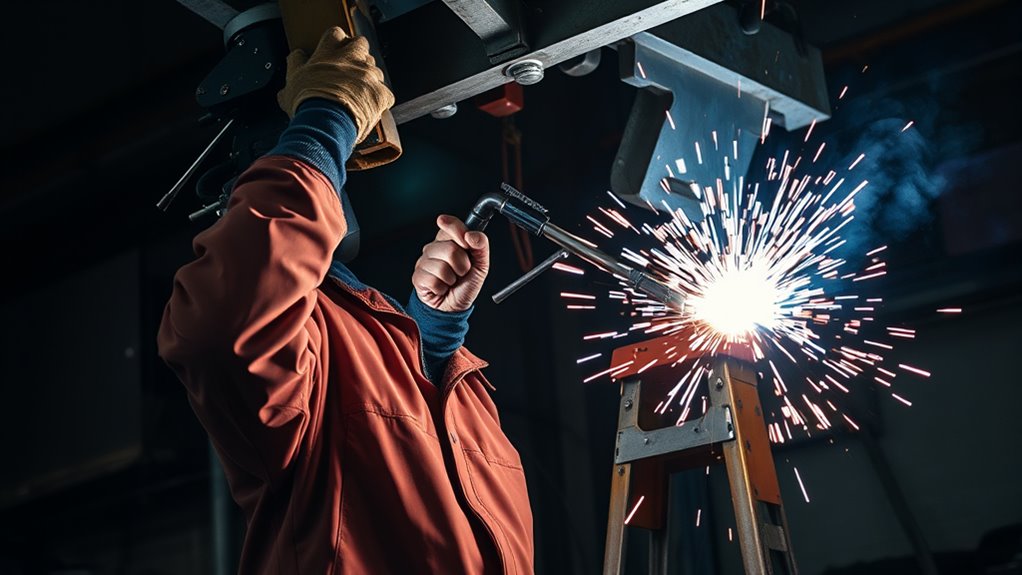
Overhead welding means the joint is above you and the weld face points downward. In common position codes, a 4G weld is an overhead groove weld, while a 4F weld is an overhead fillet weld.
This position is difficult because molten metal wants to sag or drip before it freezes. Your job is to keep the puddle small, direct the heat into the joint, and move at a speed that gives fusion without letting the weld pool hang too long.
Overhead work also raises the safety risk. Sparks, slag, and spatter can fall into sleeves, gloves, boots, collars, helmet gaps, and ears. That is why overhead welding demands better body coverage than a quick flat-position practice bead.
Common Challenges in Overhead Welding
The biggest challenge in overhead welding is gravity. If the weld puddle gets too large or too hot, it can sag, drip, undercut the toes of the weld, or leave poor fusion at the root.
You will also deal with limited visibility, awkward body position, and faster fatigue. When your arms get tired, arc length usually grows. That longer arc can increase spatter, reduce control, and make the bead less consistent.
- Dripping or sagging: Usually caused by too much heat, slow travel, a large weave, or a puddle that is too wide.
- Undercut: Often caused by too much amperage, long arc length, poor work angle, or traveling too fast at the weld toes.
- Lack of fusion: Often caused by moving too fast, using too little heat, poor joint prep, or letting the arc point away from the joint.
- Porosity: Often caused by poor shielding gas coverage, drafts, dirty metal, paint, oil, moisture, or long stickout.
- Slag inclusion: Common in stick and flux-core welds when the slag is trapped by poor angle, poor cleaning, or too wide a weave.
Essential Safety Gear for Overhead Welding
Your safety gear must protect your eyes, face, ears, neck, arms, torso, hands, legs, and feet. OSHA requires appropriate eye and face protection where workers are exposed to hazards such as flying particles, molten metal, and injurious light radiation, and OSHA’s welding standard requires helmets or hand shields during arc welding operations. See OSHA 1910.133 eye and face protection and OSHA 1910.252 welding requirements for the full regulatory text.
Products Worth Considering

All-Round Protection: The cotton-lined stand-up collar effectively protects workers' neck area; the adhesive Velcro can block sparks splashing during work. The adjustable cuff design is intended to prevent sparks from splashing onto hands. ARCCAPTAIN welding jacket provides all-round protection during welding.

Safety Protection: Crafted from heat-resistant and flame-retardant heavy-duty split cowhide leather, this welding jacket features a stand-up collar and soft cotton lining. It offers full protection against flames, sparks, and slag, covering vital areas like the neck to effectively prevent burns. It’s the ideal safety choice for high-risk tasks such as welding.
All-Round Protection: The cotton-lined stand-up collar effectively protects workers' neck area; the adhesive Velcro can block sparks splashing during work. The adjustable cuff design is intended to prevent sparks from splashing onto hands. ARCCAPTAIN welding jacket provides all-round protection during welding.
Protective Clothing Requirements
Wear flame-resistant clothing that fully covers your skin. A leather welding jacket, leather sleeves, or heavy FR cotton jacket helps protect your arms and torso from falling sparks and spatter.
Avoid synthetic clothing. Polyester, nylon, and similar fabrics can melt into your skin when hit by hot sparks. Tuck in loose drawstrings, close cuffs, button your collar, and keep gloves over or under sleeves in a way that does not catch sparks.
Use sturdy leather work boots. Do not wear low shoes or boots with open tops where slag can fall inside.
Proper Eye Protection
Use a welding helmet that fits well and blocks light, sparks, and spatter from reaching your face. Your lens shade should match your process and amperage, not just a single blanket number.
OSHA’s shade table lists minimum protective shades by process and current. For example, it gives different minimums for SMAW, GMAW/FCAW, and GTAW at different amperage ranges. OSHA also advises starting with a shade that is too dark to see the weld zone, then moving lighter without going below the minimum.
Safety glasses with side shields under the helmet are a smart extra layer, especially when grinding, chipping slag, or brushing between passes.
Head and Neck Coverage
Overhead welding exposes your ears, neck, and scalp to falling sparks. Wear a welding cap or FR hood under your helmet. Many welders turn a welding cap backward so the bill protects the back of the neck.
- Use a helmet that seals well around your face.
- Wear earplugs or FR ear protection to keep sparks out of your ears.
- Cover the neck with a welding bib, FR hood, or high-collar jacket.
- Inspect gloves, jacket sleeves, and helmet parts before welding.
Pro Tip: Before striking an overhead arc, bend, reach, and look up while wearing all your gear. If your sleeves, collar, helmet, or gloves open up when you move, sparks can get in during the weld.
Pre-Weld Safety Checklist for Overhead Work
Do this check before every overhead weld. It takes less time than fixing a burn, fire, or failed weld.
- Clear combustibles: Move paper, wood, rags, fuel, paint, solvents, and dust away from the work area. OSHA welding guidance calls for moving fire hazards when possible or using guards to confine heat, sparks, and slag.
- Check below and behind the joint: Overhead sparks can fall through cracks, holes, open doorways, and floor openings.
- Keep extinguishing equipment ready: Have a suitable fire extinguisher nearby and know how to use it.
- Use a fire watch when needed: A fire watch may be required when combustibles are nearby, hidden, or exposed through openings.
- Control fumes: Use general ventilation, local exhaust, or fume extraction. OSHA’s welding fume fact sheet notes that welding smoke can contain harmful metal fumes and gases, and that outdoor or open spaces do not automatically guarantee enough ventilation. See OSHA’s welding fume fact sheet.
- Clean the metal: Remove oil, paint, rust, moisture, plating residue, and solvent residue before welding. This helps reduce porosity and toxic fume risk.
- Support the work: Clamp the joint so it cannot shift while you are welding above your head.
- Route cables safely: Keep welding leads, gas hoses, and extension cords out of walkways, ladders, and sharp edges.
- Check your escape path: Make sure you can step back quickly if slag falls, the arc flares, or the work shifts.
Note: If you are welding galvanized, painted, stainless, plated, or coated metal, fume risk can rise sharply. Clean the surface, use proper ventilation, and use respiratory protection when required by the hazard assessment or workplace procedure.
Products Worth Considering
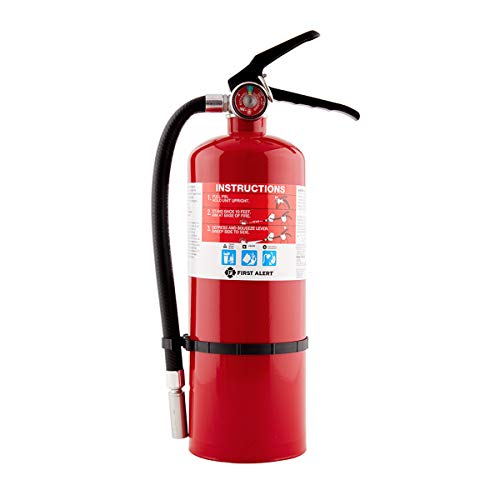
The First Alert HOME2PRO Fire Extinguisher is UL rated 2-A: 10-B:C and meets minimum 2-A: 10-B:C code requirements; It features durable all-metal construction with a commercial-grade metal valve and trigger
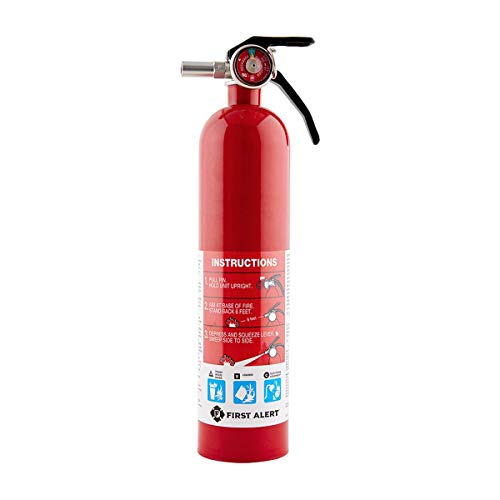
First Alert's HOME1 FE1A10GR Fire Extinguisher is UL rated 1-A: 10-B:C; it features durable all-metal construction with a commercial-grade metal valve and trigger to meet demanding needs

First Alert's HOME1 FE1A10GR Fire Extinguisher is UL rated 1-A: 10-B:C; it features durable all-metal construction with a commercial-grade metal valve and trigger to meet demanding needs
Techniques to Manage Gravity Effects in Overhead Welding
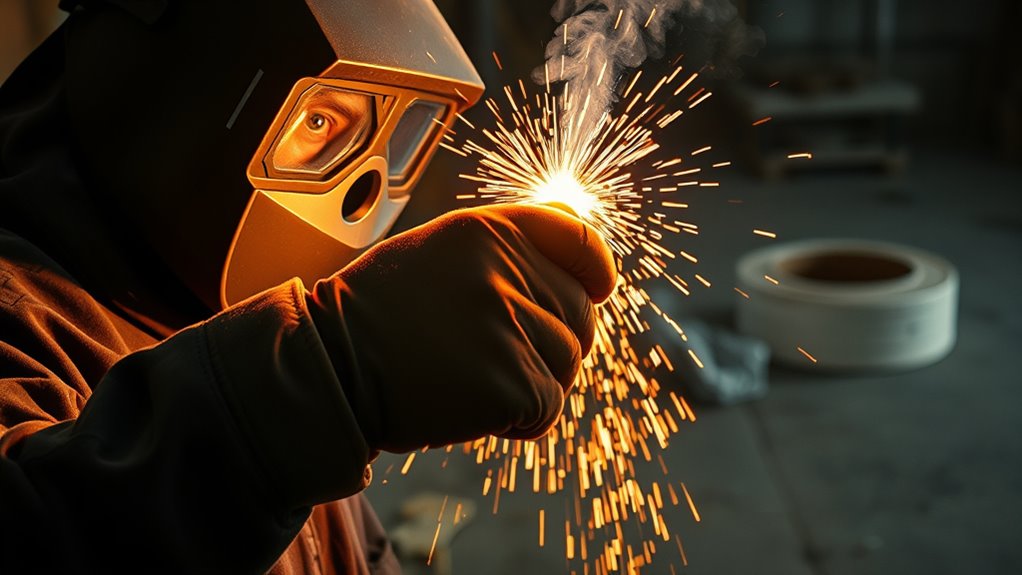
To manage gravity, keep the weld puddle small and fast-freezing. Do not try to carry a wide, heavy puddle overhead. Use short beads, steady travel, and a tight arc so the weld metal freezes before it can drop.
Proper Equipment Selection
Your machine, filler metal, shielding gas, and electrode must match the base metal, thickness, joint design, and required weld quality. For code work, use the approved Welding Procedure Specification. For practice and non-code projects, follow the machine chart and filler-metal instructions.
- MIG or FCAW: Use the correct wire diameter, shielding gas or flux-core wire, polarity, contact-tip-to-work distance, and transfer mode for out-of-position welding.
- Stick welding: Choose an electrode approved for overhead use and the base metal you are welding. E6010, E6011, and E7018 are common in many training and field situations, but the right rod depends on the job.
- TIG welding: Use a tungsten size, cup size, gas lens, and filler rod that let you see the puddle and keep shielding stable.
- Support tools: Use clamps, arm rests, platforms, or stable body support when possible. Less body strain means better arc control.
Welding Technique Adjustments
Use a short arc and aim the arc into the joint, not at the lower edge of the puddle. A long arc spreads heat, increases spatter, and makes overhead puddle control harder.
Keep your beads narrow. Stringer beads are usually easier to control overhead than wide weaves. If you must weave, keep it small and pause only long enough at the toes to tie in without overheating the puddle.
Travel fast enough that the puddle does not sag, but not so fast that the bead becomes ropey or fails to fuse. Watch the back edge of the puddle. It should freeze cleanly behind the arc.
Effective Positioning Strategies
Stand where you can see the leading edge of the puddle without leaning directly under the weld. Keep your head to the side when possible so sparks and slag do not fall straight toward your helmet, collar, or gloves.
- Brace your elbows or forearms when you can do it safely.
- Keep your shoulders relaxed to reduce shaking.
- Use two hands on the gun, stinger, or torch when possible.
- Work in short sections so fatigue does not ruin the bead.
- Step down and rest before your arc length starts drifting.
Master MIG Welding Techniques for Overhead Positions
For MIG overhead welding, short-circuit transfer is commonly used because it gives a smaller, cooler, faster-freezing puddle than hotter transfer modes. Set voltage and wire feed according to your machine chart, WPS, or instructor’s direction.
Keep your contact-tip-to-work distance short and consistent. Too much stickout can make the arc unstable, reduce shielding, and cause porosity or spatter. Hold the gun at a slight work angle that lets you see the puddle and direct heat into both sides of the joint.
Do not automatically increase shielding gas to a high number. Use enough flow to protect the puddle, but avoid excessive flow that can cause turbulence and pull air into the shielding envelope. If you see porosity, check for dirty metal, drafts, leaks, poor nozzle position, clogged nozzle, long stickout, or bad gas coverage before simply turning the regulator higher. Proper filler wire selection also helps match the weld to the base material.
Stick Welding Strategies for Overhead Joints
Stick welding overhead requires a tight arc, the correct amperage, and clean slag control. In many cases, overhead stick settings are slightly lower than flat-position settings, but the exact number depends on electrode type, diameter, polarity, joint design, and the WPS.
- Keep the arc short: A short arc focuses heat and helps prevent undercut and spatter.
- Use small stringers: Stringer beads help keep the puddle small and reduce slag-trap risk.
- Control electrode angle: Hold the rod close to perpendicular to the joint with a slight drag or push angle based on the electrode and joint.
- Clean every pass: Chip and brush all slag before adding another bead.
- Watch the toes: Tie in both edges without staying so long that the puddle sags.
Good joint preparation matters even more overhead because poor fit-up forces you to carry more molten metal than the position can easily support.
Effective TIG Techniques for Overhead Welding
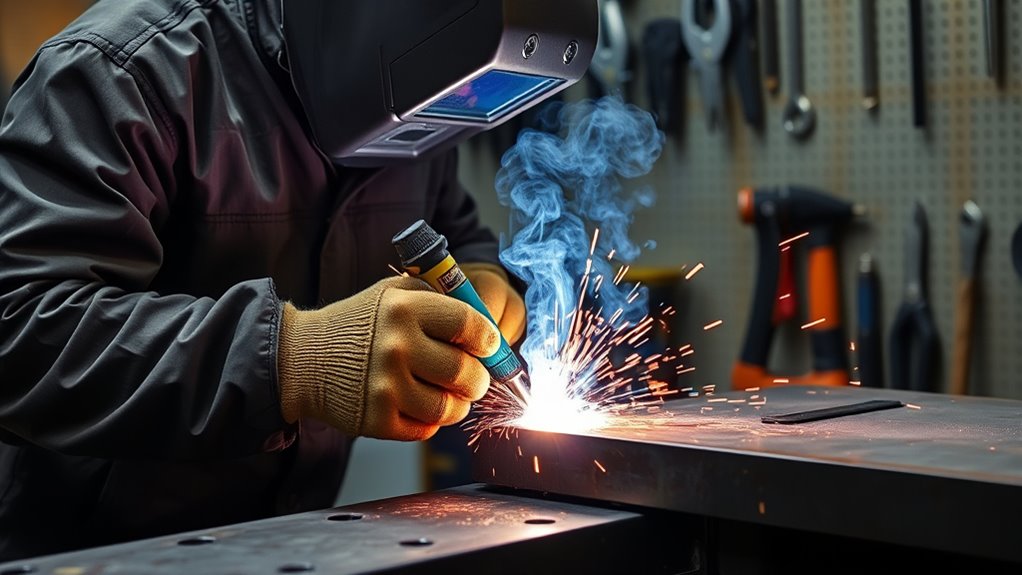
TIG overhead welding gives excellent control, but it also demands steady hands and clear visibility. Keep the tungsten close enough for a tight arc without dipping it into the puddle. A long arc overheats the area and makes puddle control worse.
A small, bright, controlled TIG puddle is safer overhead than a wide puddle that forces you to chase sagging metal.
Use filler in small, controlled dabs. Keep the filler rod shielded by the gas envelope as much as practical. If your hand shakes, use a TIG finger, prop, or stable arm position to improve control.
For best results, position the torch so you can see the leading edge of the puddle. If visibility is poor, stop and reposition instead of guessing. Correct amperage settings and heat control are critical in all overhead processes, including TIG.
Adjusting Travel Speed and Wire Feed
Your travel speed and wire-feed or amperage setting must work together. If heat is too high or travel is too slow, the puddle grows and sags. If heat is too low or travel is too fast, the bead may sit on top without proper fusion.
- If the bead sags: Reduce heat slightly, increase travel speed, shorten arc length, or make smaller beads.
- If the bead is ropey: Slow down slightly or adjust heat so the weld wets into the toes.
- If there is undercut: Reduce arc length, lower heat if needed, and pause briefly at the toes.
- If there is porosity: Clean the joint, check gas coverage, block drafts, inspect the nozzle, and confirm the correct polarity and shielding setup.
- If slag is trapped: Use smaller beads, improve rod angle, and clean each pass fully.
For MIG and flux-core work, proper gas flow, wire feed, voltage, stickout, and surface prep all affect overhead weld quality.
Overhead Welding Defect Troubleshooting
| Problem | Likely Cause | Fix |
| Sagging bead | Too much heat, slow travel, wide weave | Use stringer beads, shorten arc, reduce heat slightly, and travel steadily |
| Undercut | Long arc, high amperage, poor angle, fast travel | Tighten arc, adjust angle, lower heat if needed, and pause briefly at the toes |
| Porosity | Dirty metal, poor gas coverage, drafts, moisture | Clean the joint, block drafts, check nozzle and gas flow, and keep proper stickout |
| Slag inclusion | Poor cleaning, wrong angle, too wide a weave | Chip and brush between passes, use smaller beads, and keep slag behind the puddle |
| Lack of fusion | Low heat, fast travel, poor joint prep | Improve fit-up, aim into the joint, adjust heat, and slow enough to tie in |
How to Practice and Improve Your Overhead Welding Skills?
Practice overhead welding on scrap metal before working on anything important. Start with clean mild steel coupons and a simple joint that is easy to inspect.
- Run flat beads first: Confirm your machine settings and puddle control in an easier position.
- Move to horizontal or vertical practice: Build out-of-position control before going overhead.
- Practice short overhead stringers: Run 1-inch to 2-inch beads and stop before fatigue affects your hands.
- Inspect each bead: Look for undercut, sagging, porosity, and poor tie-in.
- Change one variable at a time: Adjust arc length, travel speed, work angle, or heat one step at a time so you know what fixed the problem.
- Clean between passes: For stick and flux-core, remove slag completely before welding over the bead.
Good overhead welding is not about fighting a huge puddle. It is about setting up a small puddle you can control from start to stop.
Use safety gear every time you practice. Overhead practice creates the same falling spark and slag hazards as real work.
When to Stop and Get Help
Stop welding and fix the setup if you smell burning material, see smoke outside the weld zone, feel sparks entering your clothing, notice dizziness or throat irritation, lose shielding gas, or cannot see the puddle clearly.
Get a qualified welder, instructor, or inspector involved when the weld affects structural strength, vehicle safety, lifting equipment, pressure containers, pipe systems, or code-regulated work. In those cases, technique tips are not enough. The job needs the correct procedure, filler metal, inspection, and qualification.
Frequently Asked Questions
How do you position yourself for overhead welding?
Stand slightly to the side of the weld instead of directly under it. Brace your body when possible, keep your helmet and neck covered, and position your head so you can see the puddle without letting sparks fall into your collar, gloves, or ears.
Are overhead welds acceptable?
Yes, overhead welds are acceptable when they meet the required procedure, code, size, appearance, fusion, and inspection standards. For structural or certified work, the welder must be qualified for the position and must follow the approved WPS.
What is the position code for overhead welding?
The common position code is 4G for overhead groove welds and 4F for overhead fillet welds. The “4” identifies the overhead position, while “G” means groove weld and “F” means fillet weld.
What is the hardest position to weld in?
Overhead is often considered the hardest common plate-welding position because gravity pulls on the molten puddle and falling sparks increase the safety risk. It takes strong puddle control, body positioning, and consistent practice.
Can you MIG weld overhead?
Yes. MIG can be used overhead when the machine, wire, shielding gas, and transfer mode are suitable for out-of-position work. Short-circuit transfer is commonly used because it produces a smaller, faster-freezing puddle than hotter transfer modes.
What causes overhead welds to drip?
Dripping usually comes from too much heat, slow travel, long arc length, a wide weave, poor joint fit-up, or trying to deposit too much metal at once. Use smaller stringer beads and let the puddle freeze quickly behind the arc.
Conclusion
Mastering overhead welding starts with safety, not speed. Cover your body, protect your eyes and ears, control fire hazards, manage fumes, and set your machine for a small, stable puddle. Once the setup is safe, focus on a tight arc, short beads, steady travel speed, and careful cleaning between passes.
With practice, you can make clean overhead welds, but do not use practice-level settings or guesswork on critical work. If the weld affects safety, structure, pressure, or code compliance, follow the approved procedure and get qualified help when needed.
Sources
- OSHA Welding, Cutting, and Brazing — overview of OSHA welding standards, hazards, and resources.
- OSHA 29 CFR 1910.252 General Welding Requirements — fire prevention, PPE, ventilation, and hot-work safety requirements.
- OSHA 29 CFR 1910.133 Eye and Face Protection — filter lens shade guidance and eye protection requirements.
- OSHA Fact Sheet: Controlling Hazardous Fume and Gases during Welding — welding fume hazards, ventilation, positioning, and respiratory protection guidance.




