

Out-of-position welding in auto body repair demands tight control of heat, puddle size, travel speed, and gun angle because gravity can pull the puddle out of shape fast. You’ll often work vertical, horizontal, overhead, or on awkward seams where flat-position welding is not possible, so short-circuit GMAW or FCAW-G can help stabilize the weld when the repair procedure allows it. Clean joints, tight fit-up, proper PPE, correct settings, and steady practice reduce defects like sagging, undercut, burn-through, porosity, and lack of fusion.
Quick Answer
Out-of-position welding in auto body repair is hard because gravity pulls the molten puddle away from the joint. The best results come from clean metal, tight fit-up, a small controlled puddle, lower heat input, steady travel speed, correct gun angle, and full PPE for burns and fumes.
Key Takeaways
- Out-of-position welding includes vertical, horizontal, and overhead welds where gravity affects the puddle.
- Short-circuit GMAW and gas-shielded flux-cored welding can help when matched to the repair procedure and metal thickness.
- Heat input, travel speed, gun angle, stickout, and electrode movement must be adjusted constantly.
- Joint prep matters more than usual because contamination and gaps quickly create weak welds.
- Overhead and vertical welding increase burn and fume risks, so PPE and ventilation are not optional.
At a Glance
| Best Processes | Short-circuit GMAW, pulsed GMAW when appropriate, and FCAW-G for suitable thicker repairs |
| Difficulty | Intermediate to advanced, especially for overhead work and structural seams |
| Main Risks | Sagging, undercut, lack of fusion, burn-through, spatter burns, fumes, and poor access |
| Key Controls | Clean metal, tight gaps, small puddle, lower heat, correct travel speed, stable gun angle, and good ventilation |
Why Out-of-Position Welding Matters in Auto Body Repair
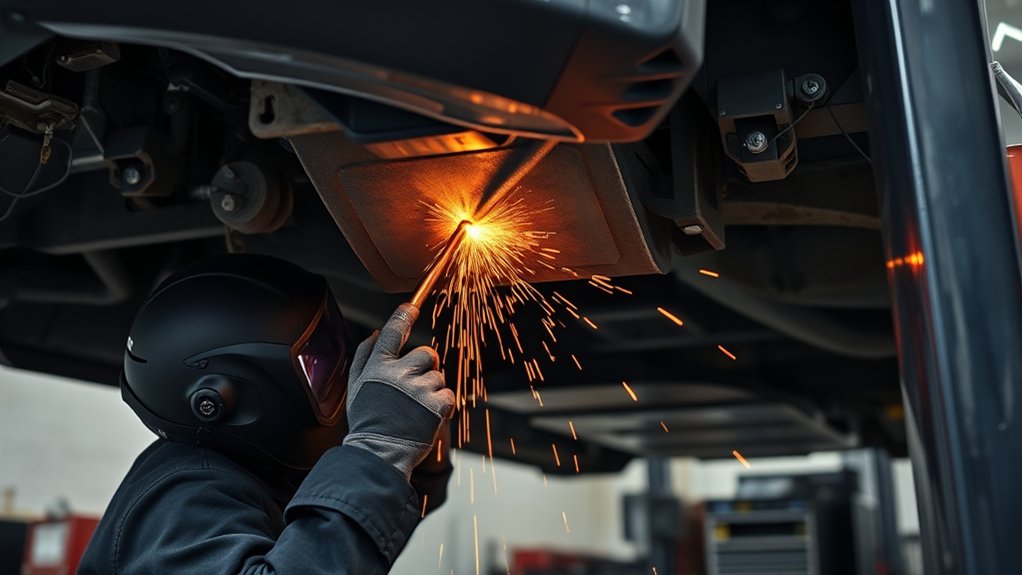
Out-of-position welding matters in auto body repair because you often have to make strong, accurate welds on vertical, overhead, or otherwise awkward sections where flat-position welding is not possible. You use out-of-position welding to restore structural members, seams, brackets, reinforcements, and panel joints without removing more material than necessary. That precision protects weld quality and helps keep the repair aligned with factory intent.
When you apply the right welding techniques, you can join hard-to-reach areas cleanly, limit rework, and keep vehicles safer for service. Your skill also increases your value in the shop because complex repairs demand technicians who can work confidently in every orientation. In practice, training and repetition let you execute repairs that less prepared welders can’t. For a workforce that deserves competence, mobility, and respect, mastery of out-of-position welding isn’t optional; it’s how you deliver durable repairs and support structural integrity. Additionally, understanding welding process selection is crucial for achieving high-quality results in challenging positions.
Why Out-of-Position Welding Is So Hard
Although the weld itself may be small, the challenge is large: you’re fighting gravity every time you weld vertical, overhead, or otherwise awkward joints, so controlling the molten pool becomes much harder and defects become more likely. In out-of-position work, you have to balance heat input with pool fluidity. Too much heat causes sagging, burn-through, and wide beads. Too little heat invites lack of fusion and poor penetration.
You can’t just set and forget the torch or gun. You must manipulate the electrode, adjust travel speed, control stickout, and watch bead shape in real time. That precision takes practice because a slight error can destabilize the puddle and weaken the joint. If you’re inexperienced, the risk rises fast, especially in automotive repair where consistency and safety matter.
Advanced processes such as FCAW-G can help you get better penetration and productivity on suitable work, but only when you train hard and monitor parameters carefully. Welding challenges like porosity and excessive spatter can further complicate the process, making it essential to understand the materials you’re working with.
Note: Always follow the vehicle maker’s repair procedure first. Some collision repairs specify the process, weld type, location, or replacement method, and those instructions should override general welding habits.
Common Out-of-Position Welds in Collision Repair
In collision repair, you’ll run into several common out-of-position welds, and each one asks for tight control of the puddle. You’ll often make vertical up and vertical down welds on frames, reinforcements, brackets, and body panels, where gravity tries to pull the metal away from the joint. In vertical down welding, you need a fast, steady hand to avoid undercut and excess buildup. In vertical up welding, you need more patience and puddle support to avoid sagging and cold lap.
Overhead welds show up on structural repairs, floor areas, rocker sections, braces, and underbody work. You must keep the arc calm while the pool hangs below you. Horizontal welds on vertical surfaces, like quarter panels or side structures, demand precise travel speed so the bead won’t sag. Awkward plug welds and stitch welds can also become out-of-position when the panel angle, access point, or clamp position forces you to weld from below or the side.
Each welding position rewards clean electrode manipulation and disciplined heat control. Flux core welding can help you manage heat input and reduce some defects on suitable materials, but your skill still drives the result. Wear personal protective equipment (PPE), set up your work safely, and stay focused. When you control the puddle, you protect structure, fit, and your own freedom to do the job right.
Products Worth Considering

Country Of Origin: China

New bag for Auto Darkening Welding Helmet Hood Mask

True Color Clear View: A 3.64" x 1.67" viewing area with 1/1/1/1 optical clarity delivers a true color view for improved visibility and reduced eye strain.
Choose the Right Welding Process
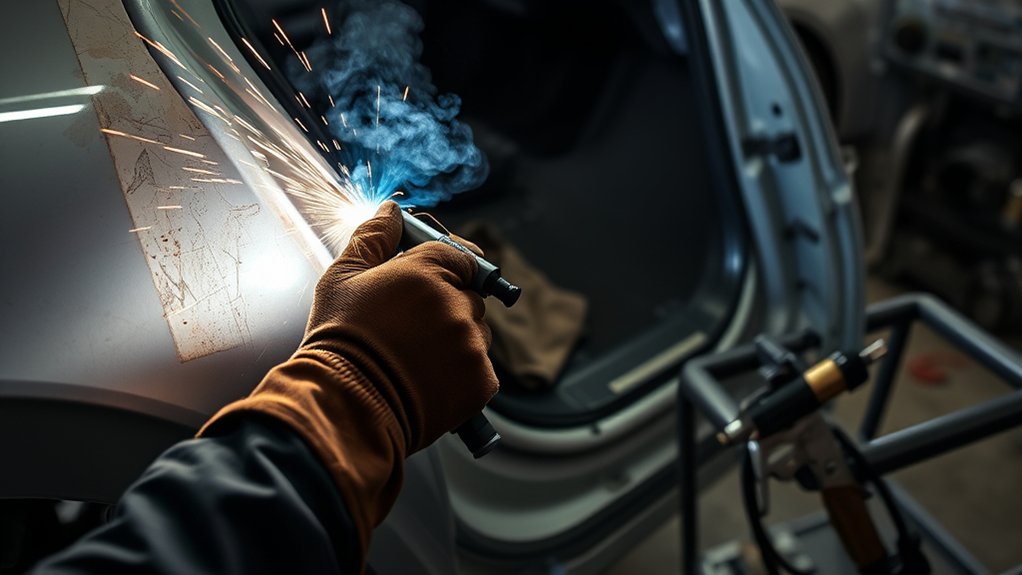
To weld successfully in vertical or overhead positions, you need a process that can control the puddle and freeze fast enough to prevent sagging. Among welding processes, choose Gas Metal Arc Welding with short-circuit transfer or pulsed settings when you need lower heat input and better fusion control. Short-circuit GMAW is common in auto body work because it can run a smaller, cooler puddle than hotter transfer modes when settings are correct.
For thicker sections or tighter production demands, FCAW-G often gives you more freedom because its fast-freezing slag supports the puddle and helps it stay put. Match the process to the material thickness, joint shape, coating, access, repair procedure, and any code or OEM limits before you strike an arc. Vertical down can move faster, but it isn’t always allowed for structural welding, so verify the job requirements first.
Don’t rely on process choice alone; you still need proper training and correct parameter setup to avoid weak welds. When you select the right tool, you work with the joint instead of fighting it, and that makes out-of-position repair more precise and more independent. Additionally, understanding the importance of cut quality and capacity can significantly enhance your welding outcomes.
Products Worth Considering

【LOW SPATTER & EASY CLEANUP】Minimal Spatter, Flawless Beads: Experience exceptionally low spatter and minimal post-weld cleanup. This ER70S-6 solid wire allows you to achieve smooth, visually appealing beads with ease, saving both time and grinding effort on your metal fabrication.

ER70S-6 MIG WIRE: It's the most common wire of the copper-coated mild steel GMAW (MIG) wires for single or multiple pass welding.

Lincoln ED030584 .035", NR-211, LB Spool, Inner Shield Flux-Core Welding Wire
Control Heat, Speed, and Gun Angle
Once you’ve picked a process that can handle vertical or overhead work, your next job is to fine-tune how you run it. To control heat, reduce current or voltage until the puddle stays tight and won’t sag, while still giving the joint full fusion. Watch your speed: move too fast and you’ll starve the joint; move too slow and molten metal drops away. Hold the gun angle so the arc points into the leading edge of the puddle, not straight down.
Fine-tune heat, speed, and angle so the puddle stays tight and vertical welds hold.
- Use the lowest heat input that still gives full fusion.
- Match speed to position, joint design, material thickness, and puddle size.
- Set gun angle to support gravity, not fight it.
- Keep stickout consistent so amperage and puddle behavior stay predictable.
- Use a brief weave, pause, or circular motion when you need more puddle control.
If your machine offers pulse, use it only when the process and material support it. The low phase helps the metal solidify quickly, while the peak phase drives penetration. You’re not trapped by the joint; you’re directing it with disciplined inputs. Additionally, always consider the maximum fillet weld size according to the thinner plate to ensure strong and compliant welds.
Pro Tip: Before welding the vehicle, run the same joint position on scrap metal with similar thickness. If the practice bead sags, burns through, or sits cold, adjust your settings before touching the repair area.
Prep Joints for Stronger Out-of-Position Welds
Good joint prep gives you more control before the arc ever starts. When you prep joints, clean off rust, paint, grease, seam sealer, adhesive residue, zinc coating where the procedure requires it, and other contamination so the arc can bite into sound metal. Then bevel the edges when the material thickness and repair procedure call for it. A proper bevel can open the joint and increase fusion area, which matters even more on out-of-position repairs where puddle control is tight.
Keep both pieces aligned and clamped so you don’t force the weld to bridge gaps or chase distortion. Tight, consistent fit-up helps you keep penetration where you want it. On thicker materials, preheating may slow heat loss and help the puddle wet in before gravity pulls it down, but only use it when the material and repair procedure allow it. Treat preparation as part of the weld, not busywork.
Every minute you spend setting up clean, accurate joints gives you a steadier bead, stronger fusion, and more freedom to place metal exactly where the repair needs it. Additionally, using dedicated stainless tools can help prevent contamination and ensure a cleaner weld when stainless steel is part of the job.
Follow Safety Rules and PPE Basics
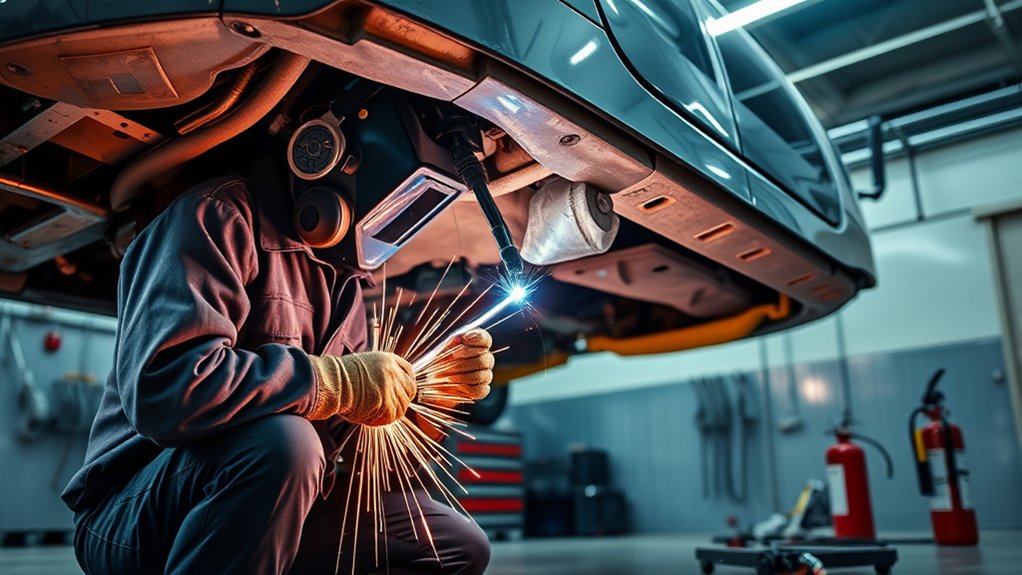
You’re exposed to higher burn and fume hazards in out-of-position welding, so keep your awareness high and control your workspace. Wear an auto-darkening helmet, flame-resistant jacket, gauntlet gloves, steel-toed boots, hearing protection when needed, and a respirator when fumes can accumulate. Additionally, ensure you are equipped with essential safety gear to reduce risks effectively. You’ll also need to follow safe work practices, keep flammables clear, and position yourself to limit contact with falling spatter and heat.
Warning: Never weld near fuel lines, batteries, airbags, interior trim, seam sealers, or hidden insulation until the area is inspected and protected. Out-of-position work can drop sparks into places you cannot see from the torch angle.
Burn and Fume Hazards
Out-of-position welding raises burn and fume risks because molten metal can drop onto exposed skin and fumes can collect around the work area, especially in confined spaces. You need discipline, not guesswork, to stay safe and keep your workflow free.
- Keep your stance stable so spatter won’t catch you off guard.
- Inspect the area for clutter, leaks, flammables, and other hazards before you strike an arc.
- Use personal protective equipment (PPE) that blocks burns and limits contact with slag and spatter.
- Ventilate the space and wear respiratory protection to reduce harmful fumes.
- Keep a fire watch plan in place when sparks can fall behind panels or under the vehicle.
When you follow safety rules, you protect your body, preserve control, and weld with confidence. Limit exposure, stay alert, and work with precision.
Essential Protective Gear
Proper protective gear is nonnegotiable in out-of-position welding, where heat, spatter, and fumes can reach you from awkward angles. Your welding helmet must shield your eyes from UV and IR radiation, and an auto-darkening lens helps you see the puddle clearly while staying protected. Choose welding gloves made from heat-resistant material with gauntlet cuffs so sparks can’t cut up your forearms.
Wear a flame-resistant jacket that fits correctly to cover your torso and arms without restricting movement. Use steel-toed, slip-resistant boots for foot protection and stable footing. Add a respirator when fumes and particulates build up, especially in enclosed areas. Treat personal protective equipment (PPE) as your defense line because you deserve control, safety, and freedom at the torch.
Safe Work Practices
When you weld out of position, safety rules become even more important because falling molten metal can burn you fast. You protect yourself by treating safe work practices as nonnegotiable and by setting welding parameters for control, not speed. Wear personal protective equipment (PPE): leather gloves, a flame-resistant jacket, and steel-toed boots. Keep ventilation flowing so fumes don’t build up in tight spaces. Inspect leads, torches, clamps, and the machine before every job; faulty gear can ruin both the weld and your safety. Train until your movements stay steady in overhead and vertical positions.
- Check PPE fit.
- Clear the work area.
- Verify ventilation.
- Maintain equipment.
- Protect glass, wiring, trim, and nearby panels from sparks and heat.
Avoid the Weld Mistakes That Cause Failures
You need to control heat input and travel speed because poor heat control can cause lack of fusion, burn-through, or a weak bead profile in out-of-position welds. You also need clean, accurate joint prep since contamination, poor fit-up, and incorrect bevel geometry reduce penetration and make defects harder to avoid. Keep tight puddle control throughout the pass, or gravity will pull the weld pool out of shape and leave you with an unstable, inconsistent weld. Additionally, starting at the midpoint of the recommended range for amperage can significantly improve the quality of your out-of-position welds.
Poor Heat Control
Poor heat control is one of the fastest ways to ruin an out-of-position weld. If the puddle gets too hot, it widens, sags, and may burn through thin auto body metal. If it gets too cold, the bead can sit on top of the joint without proper fusion.
- Set heat low enough to control sag, but not so low that penetration drops.
- Keep travel speed steady; too fast or too slow harms bead quality.
- Use pulsed welding to stabilize the pool and limit overheating when your machine and procedure support it.
- Train your hand to adjust electrode angle and heat settings with precision.
- Watch the toe of the weld, not just the center of the bead, so you can see whether fusion is happening.
You can’t force quality; you’ve got to command the arc.
Bad Joint Prep
Bad joint prep is a setup problem, and it starts before the arc strikes. If you leave paint, rust, debris, adhesive, seam sealer, or oxide on the joint, contamination can weaken fusion and set the weld up for failure. You need clean metal, correct bevels, and tight fit-up so the joint can carry load without hidden defects.
Check alignment and gap tolerances before you weld; misalignment creates stress risers and weak points. In structural steel, bad joint prep can turn a sound process into a failure path. Use backing bars, copper backing, or support blocks when the position and procedure allow them, so the joint stays stable and penetration stays consistent. Keep your prep tools sharp and inspected because worn tools reduce precision and repeatability. Strong welds start with disciplined preparation.
Weak Puddle Control
A shaky puddle can ruin an out-of-position weld fast. With weak puddle control, you’ll get an uneven bead, shallow penetration, undercut, and a joint that can fail under load. In vertical or overhead arc welding, gravity pulls the pool down, so you must tune heat inputs and travel speed to keep it tight.
- Keep the puddle small.
- Use a slight weave or circle to improve toe wetting.
- Pause briefly at the sides of a vertical weld to help tie in the toes.
- Try pulsed welding to let the metal freeze between bursts when suitable.
- Practice electrode manipulation until your motion stays steady.
When you control the pool, you cut sag, reduce lack of fusion, and weld with more freedom and less rework.
Build Out-of-Position Welding Skill Through Practice
Build out-of-position welding skill through repeated, deliberate practice in vertical, overhead, horizontal, and other challenging positions until you can control the weld pool without hesitation. You’ll build muscle memory by welding the same joints under varying angles, then refining torch or gun position, travel speed, arc length, stickout, and body position. Use electrode manipulation and heat control to keep the puddle tight, prevent sagging, and secure full fusion.
Practice with different welding settings on your equipment so you can adapt quickly to each panel and joint. Start with flat practice beads, then move to horizontal, vertical, and overhead positions. Cut or bend test coupons when possible so you can see whether the weld penetrated properly instead of judging by appearance alone. If you can, train in a structured program where an experienced welder can correct your technique and speed your progress.
Advanced equipment with pulsing technology can help stabilize the molten metal, but your hands still drive the result. Treat every pass as deliberate practice, not guesswork. That discipline gives you real control, and control gives you freedom. Additionally, understanding proper joint preparation is crucial for achieving strong welds in challenging positions.
Inspection and Troubleshooting After the Weld
Out-of-position welding does not end when the arc stops. Let the weld cool as required, then inspect it before the repair moves forward. Look for undercut, overlap, porosity, pinholes, cracks, incomplete tie-in, excessive convexity, burn-through, and uneven bead width. If the weld is on a practice coupon, sectioning or bend testing can reveal problems that the surface does not show.
If the bead sags, reduce heat input, increase travel speed slightly, improve your angle, or shorten the puddle. If the weld lacks fusion, slow down, improve cleaning, adjust the angle, or raise heat within the recommended range. If spatter increases, check voltage, wire feed speed, stickout, shielding gas, polarity, and surface contamination. If porosity appears, check for drafts, poor gas coverage, dirty metal, moisture, or contaminated wire.
Document settings that work. A small notebook or phone note with wire type, gas, voltage, wire feed speed, metal thickness, and position can save time the next time you face a similar repair.
Frequently Asked Questions
What is considered out-of-position welding?
Out-of-position welding is any weld made outside the flat position. It includes vertical, horizontal, overhead, angled, and awkward-access welds where gravity affects the molten puddle. You need positional adjustments to control the puddle, manage heat, and keep strong fusion.
What are the biggest challenges in welding out of position?
The biggest challenges are heat control, gravity-driven puddle sag, lack of fusion, undercut, burn-through, spatter, poor access, and burn or fume hazards. Smart equipment selection, strict safety precautions, and constant technique improvement help keep welds sound and efficient.
What is the hardest position to weld in?
Overhead welding is usually the hardest position because you fight gravity constantly. Molten metal wants to drip, so you need strong positional technique, a small puddle, correct PPE, and precise control. Vertical joints are also challenging, but overhead work often demands the most control.
What is the golden rule in welding?
Cleanliness is one of the golden rules in welding. Keep the workspace clean, remove contamination from the joint, use proper joint preparation, choose correct equipment, and follow welding safety practices so your welds stay strong, precise, and consistent.
Is vertical-up or vertical-down welding better for auto body work?
It depends on the material, joint, process, and repair procedure. Vertical down can be faster on thin material, but it may risk lack of fusion if used incorrectly. Vertical up can improve tie-in on some joints but adds heat and requires better puddle control. Follow the repair procedure first.
How do you stop welds from sagging overhead?
Use a smaller puddle, reduce heat input, shorten stickout, keep travel speed steady, and adjust gun angle so the arc supports the leading edge of the weld. Practice on scrap first and avoid long pauses that let the puddle grow too heavy.
Conclusion
Out-of-position welding isn’t just awkward; it directly affects repair quality and safety. You’ll get better results when you control heat, keep a steady travel speed, maintain the correct gun angle, and prep each joint carefully. Hard-to-access seams leave less room for guesswork, so every setting and movement needs a purpose.
If you practice on scrap, follow PPE rules, respect vehicle repair procedures, inspect the weld after it cools, and choose the right process for the material, you’ll cut failures and build cleaner, stronger welds. The goal is simple: keep the puddle small, the joint clean, the heat controlled, and the repair safe.
Sources
- OSHA Welding, Cutting, and Brazing — workplace welding safety, fire hazards, and protective practices.
- NIOSH Welding and Manganese — welding fume exposure and respiratory safety context.
- American Welding Society Standards — welding terminology, procedures, and standards context.
- 3M Welding Safety — PPE and respiratory protection guidance for welding environments.




