Powermax45 XP Consumables Kit Guide
What’s in This Article
- Product Overview and Scope
- Key Features and Technologies
- Kit Contents and Part Numbers
- Compatibility and System Requirements
- Before You Begin
- Step-by-Step Consumable Installation
- Maintenance, Inspection, and Storage
- Troubleshooting and Best Practices
- Technical Specifications and Support Resources
- Frequently Asked Questions
- Conclusion
One worn plasma consumable can turn a clean cut into heavy dross, bevel, or failed arc starts. Your Powermax45 XP consumables work as a stack, so each part must match the torch, seat correctly, and stay clean. This guide shows you how to identify common parts, install them safely, inspect wear, and keep your torch cutting with steady performance.
Quick Answer
To change Powermax45 XP consumables, shut off power, release air pressure, remove the retaining cap, and inspect the electrode, nozzle, swirl ring, and shield. Replace worn parts with compatible Hypertherm parts, seat each part in the correct order, hand-tighten the cap, then test gas flow and arc transfer before cutting.
Key Takeaways
- Match every consumable to your torch and cutting setup before installation.
- Shut off power and release air pressure before you touch the torch head.
- Inspect the electrode, nozzle, swirl ring, shield, cap, and O-rings before each change.
- Use clean, dry air and correct standoff to protect cut quality and consumable life.
- Track part numbers and wear patterns so you can reorder the right parts on time.
Product Overview and Scope
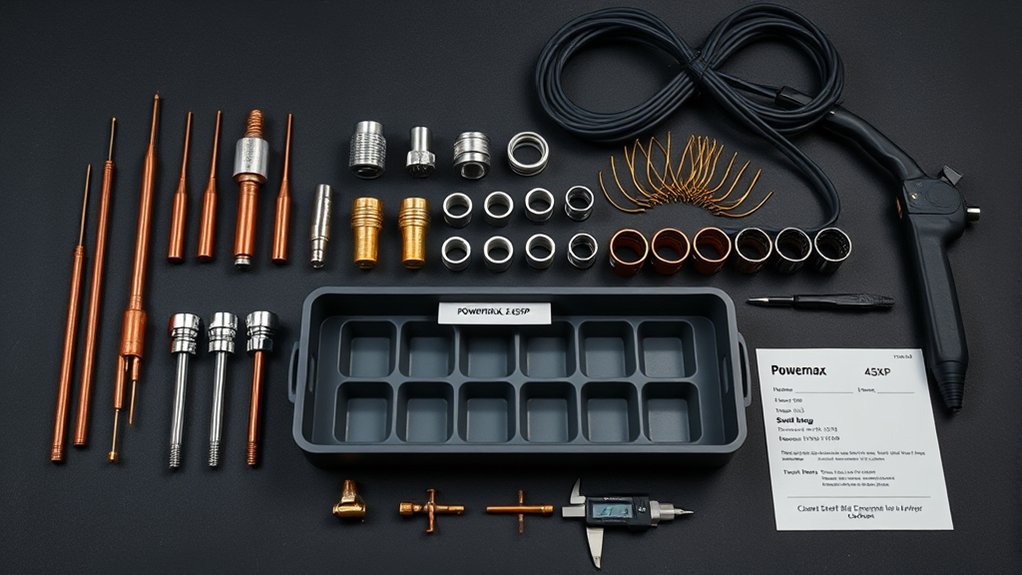
The Powermax45 XP Consumables Kit supports routine torch maintenance for the Hypertherm Powermax45 XP plasma system. You use it to replace worn electrodes, nozzles, swirl rings, shields, and retaining caps that affect arc quality and cut control.
The system can cut mild steel, stainless steel, and aluminum within its rated capacity. The article source lists clean cuts to 16 mm (5/8 in) and severance to 29 mm (1-1/8 in), but you should verify the exact rating in your machine manual before production work.
Each component must match the torch interface and gas flow path. Correct fit helps you avoid arc instability, double arcing, poor kerf control, and short consumable life.
Use this kit for scheduled changeouts, rough starts, heavy dross, bevel, and other wear-related symptoms. Follow your user manual for the final part order and safety checks because torch styles can vary.
After installation, make test cuts, confirm arc transfer, and adjust amperage and standoff. Clean, dry air and correct setup help maintain a stable kerf and consistent consumable lifespan.
Key Features and Technologies
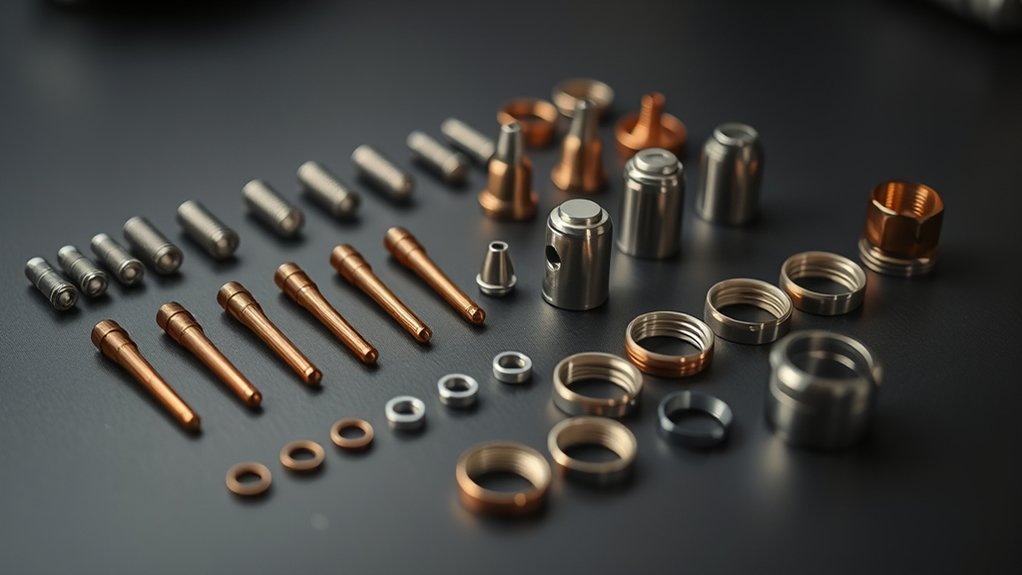
Focus on air flow, arc starting, and part alignment before you judge consumable performance. These areas control heat, arc shape, and how well the torch transfers from pilot arc to cut arc.
Check the cooling path, start behavior, swirl ring condition, and shield vents. Then record settings and results so you can repeat the same setup across materials and thickness ranges.
TrueFlow Cooling System
The source article describes the Powermax45 XP as using a TrueFlow Cooling System to support gas flow and thermal control. In practical use, your main job involves keeping the air path clean, dry, and unobstructed.
Before cutting, verify clean, dry air supply, confirm pressure, and purge the line. Cooling depends on open gas paths, so inspect torch vents, the shield, and the cap for debris or damage.
Seat consumables firmly by hand and check O-rings for cuts, flattening, or swelling. A small air leak can raise heat and shorten nozzle or electrode life.
Watch the duty cycle during longer work. Short pauses help the torch and consumables stay within safe operating limits.
Advanced Arc-Start Technology
The source article identifies SpringStart Electrode Technology as the arc-start design used with this consumable setup. A consistent electrode movement and clean contact area help support steady starts.
Gas flow, part alignment, and shield condition also affect startup. If any part sits crooked, the arc can wander, double arc, or damage the nozzle.
The Vented Shield Design helps manage excess energy around the cut area. The Advanced Axial Swirl Ring shapes the gas stream and helps center the plasma column.
To set up the torch, confirm the electrode and swirl ring orientation, check shield vent paths, set air pressure, then test-fire. Inspect the arc and cut edge before starting full work.
Kit Contents and Part Numbers
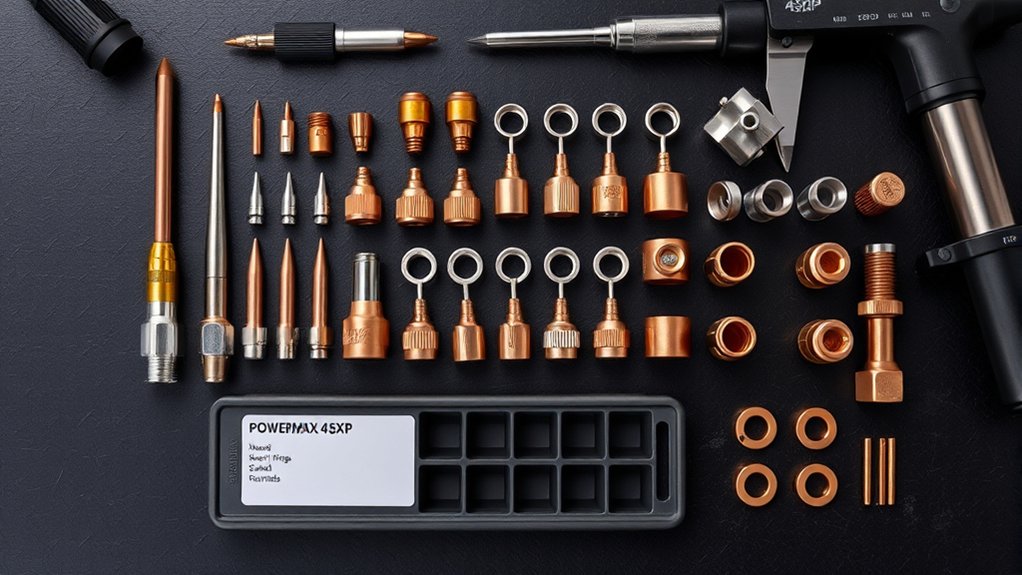
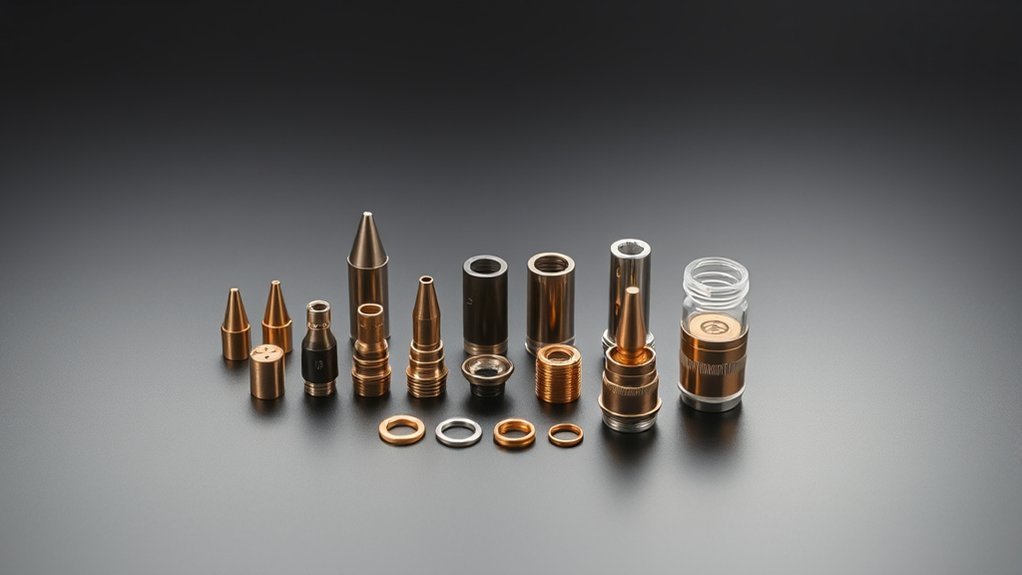
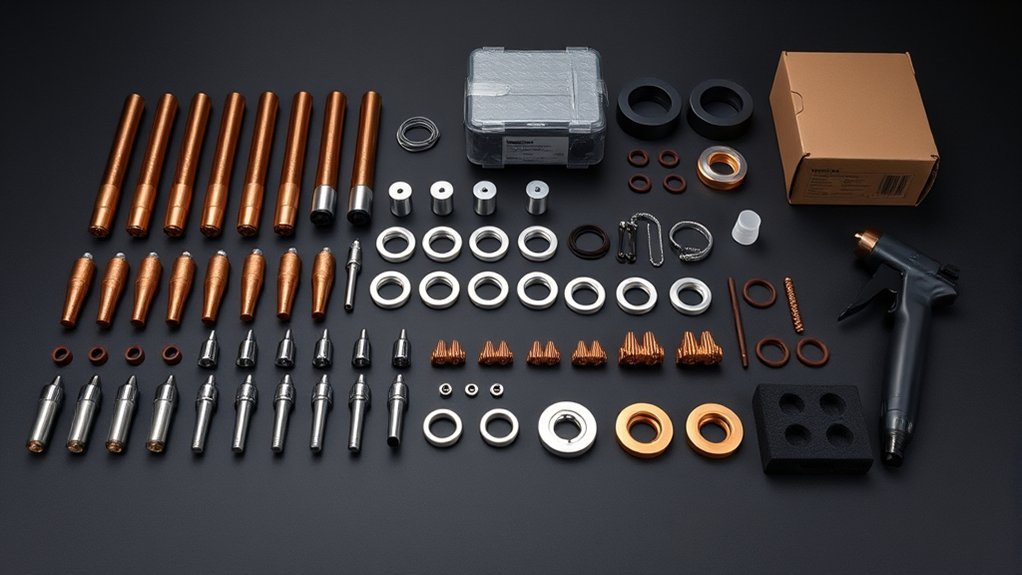
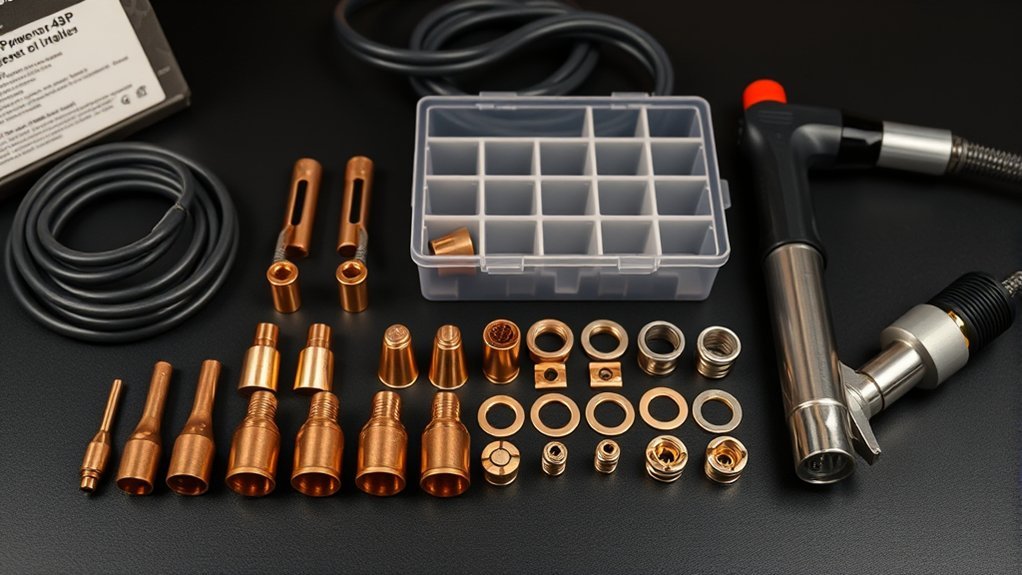
Confirm the kit’s consumables before you open the torch. Common parts in the source article include the CopperPlus electrode, drag cutting nozzle, retaining cap, swirl ring, and FlushCut components.
Record part numbers in your maintenance log before installation. This habit helps you reorder the same parts and avoid mixing parts from different setups.
Note: Match part numbers against your torch manual before ordering because consumable families can differ by torch and cut style.
Products Worth Considering

Tool free allows consumables to be easily changed out
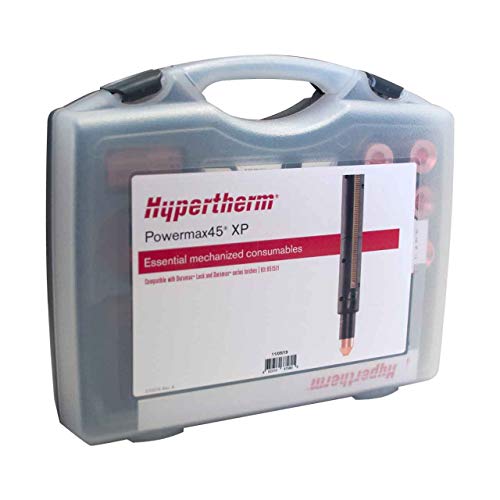
Hypertherm Powermax45 XP essential mechanized cutting kit, part number 851511.
Included Consumable Components
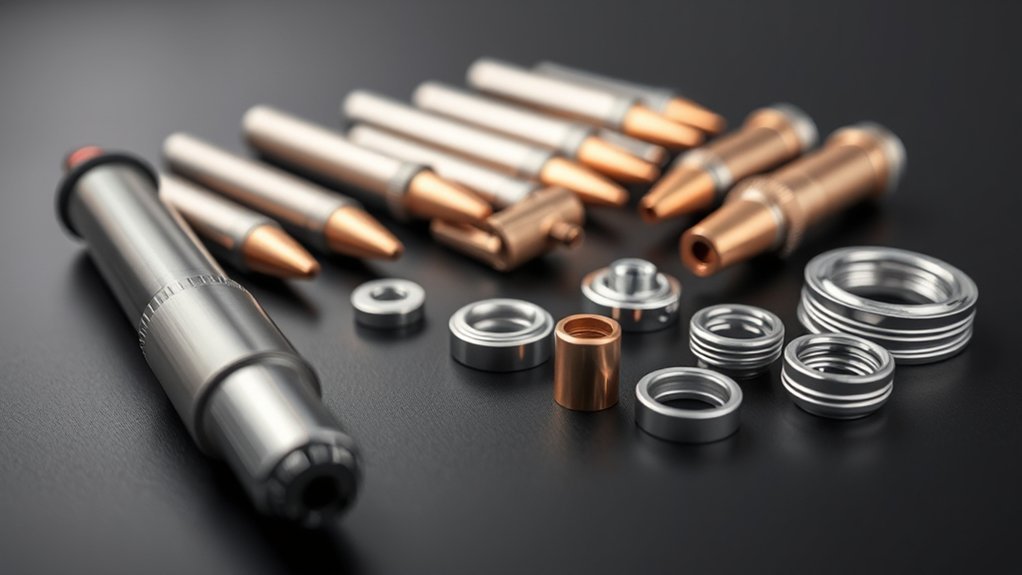
This guide references common Powermax45 XP consumables, including CopperPlus Electrode 220777, Drag Cutting Nozzle 220941, Retaining Cap 420536, and a matched swirl ring.
You can replace these parts tool-free on compatible torch setups. Clean handling and correct seating help sustain electrode durability, nozzle performance, and cut quality.
- CopperPlus Electrode 220777: supports stable arc starts and consistent wear when used in a compatible setup.
- Drag Cutting Nozzle 220941: controls the arc through the nozzle orifice for cleaner edges and a steady kerf.
- Retaining Cap 420536: holds the consumable stack in position and supports correct torch alignment.
- Matched swirl ring: regulates gas swirl for a balanced arc column and steady cooling.
- Procedure tip: inspect orifice wear, electrode pitting, cap threads, and O-rings before reuse.
Key Part Numbers
Use the part identifiers below when you order or maintain your Powermax45 XP consumable setup. Check each label before installation because one wrong part can change cut quality and wear rate.
- CopperPlus Electrode 220777
- Drag Cutting Nozzle 220941
- Retaining Cap 420536
- FlushCut Retaining Ring 420540
- FlushCut Swirl Ring 420634
- FlushCut Nozzle/Shield Assembly 420633
Use 220777 only where your torch and cut chart call for it. Pair caps, rings, shields, and nozzles only with their matching consumable family.
Do not assume every listed part fits every handheld or mechanized torch. Verify compatibility with your torch model before installation.
Compatibility and System Requirements
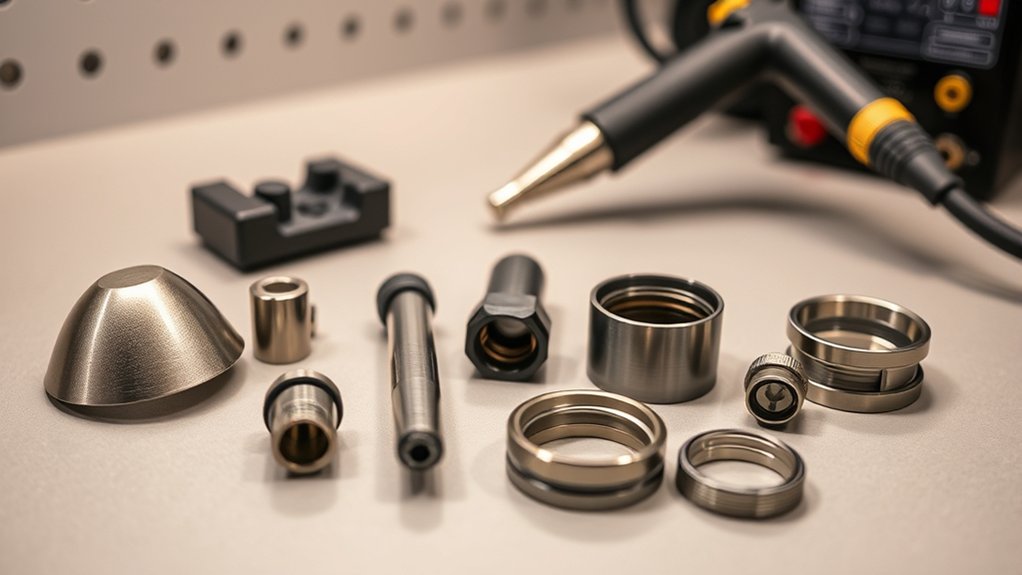
The Powermax45 XP Consumables Kit centers on Hypertherm’s Powermax45 XP plasma system. Some consumables may also support Duramax or Hyamp torch setups when the part family matches.
Confirm these system requirements before operation. Correct power, air, torch family, and material limits help protect cut quality and consumable life.
- Verify power: use the input power listed in your Powermax45 XP manual and on the machine rating plate.
- Match the torch family: use only consumables that match your Duramax, Hyamp, handheld, or mechanized torch setup.
- Confirm material scope: plan production cuts within the system’s rated capacity and reserve severance cuts for occasional use.
- Use the tool-free design correctly: make quick changes only after shutdown, pressure release, and safe torch handling.
- Check duty cycle and air delivery: provide clean, dry air and stay within duty cycle limits to avoid overheating.
When you meet these conditions, the kit can deliver predictable arc starts, stable kerf control, and more consistent wear patterns.
Products Worth Considering

【Great value】Includes 40Pcs 220990 Nozzle 【Working Conditions】85 A–105 A Cutting Nozzle Fit for PMX 105 Consumable 【More Lasting】The product is the exact same...
Before You Begin
Estimated total time: 10 to 20 minutes for inspection, replacement, and a basic test cut.
Prepare your work area before you remove any consumable. Keep the torch on a clean bench and separate worn parts from new parts.
What You’ll Need
- Compatible Powermax45 XP consumables
- Your torch and machine user manual
- Clean gloves
- Lint-free cloth
- Dry compressed air for light cleaning
- Maintenance log or job sheet
Safety Checks Before Replacement
Shut off machine power before you touch the torch head. Release residual air pressure and let hot parts cool before inspection.
Wear gloves when you handle used consumables because sharp edges and hot surfaces can cause injury. Keep oil, dust, and grit away from the new consumables.
Warning: Never change plasma consumables while the machine has power or trapped air pressure.
Step-by-Step Consumable Installation
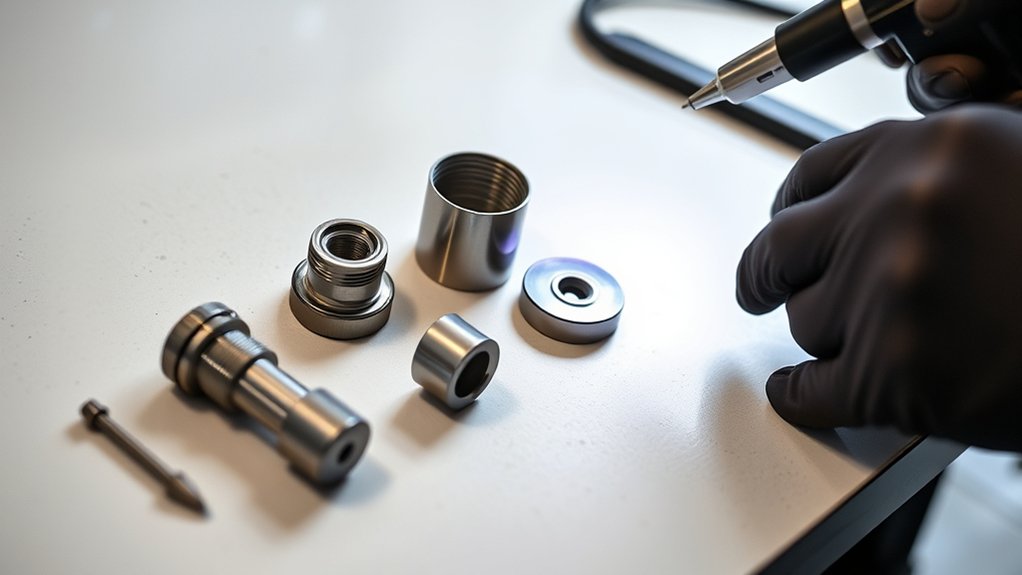
Follow this sequence after you confirm compatibility and isolate power. Use your torch manual if your torch head uses a different stack order.
With compatibility checked and power off, vent air, disconnect, and set the torch on a clean, static-free surface.
- Shut down the machine. Turn off power, release air pressure, and let the torch cool before handling.
- Set the torch on a clean surface. Keep dust, grit, and oil away from the torch head and new parts.
- Remove the retaining cap. Turn or release it as your torch manual directs, and do not force the threads.
- Withdraw the worn parts. Remove the shield, nozzle, swirl ring, and electrode in the correct order for your torch.
- Inspect the torch head. Check threads, seats, O-rings, and mating surfaces for debris, cracks, or heat damage.
- Install the new electrode. Seat it gently and confirm that it sits straight in the torch head.
- Install the swirl ring and nozzle. Align each part with the correct orientation and avoid cross-threading.
- Reinstall the shield and retaining cap. Hand-tighten the cap until it seats firmly, but do not over-torque it.
- Restore air and power. Check torch readiness indicators and listen for unusual leaks.
- Make a test cut. Confirm steady gas flow, clean arc transfer, and proper cut quality before production work.
Dispose of worn consumables according to local rules. Separate metal parts when your shop uses scrap or recycling procedures.
Maintenance, Inspection, and Storage
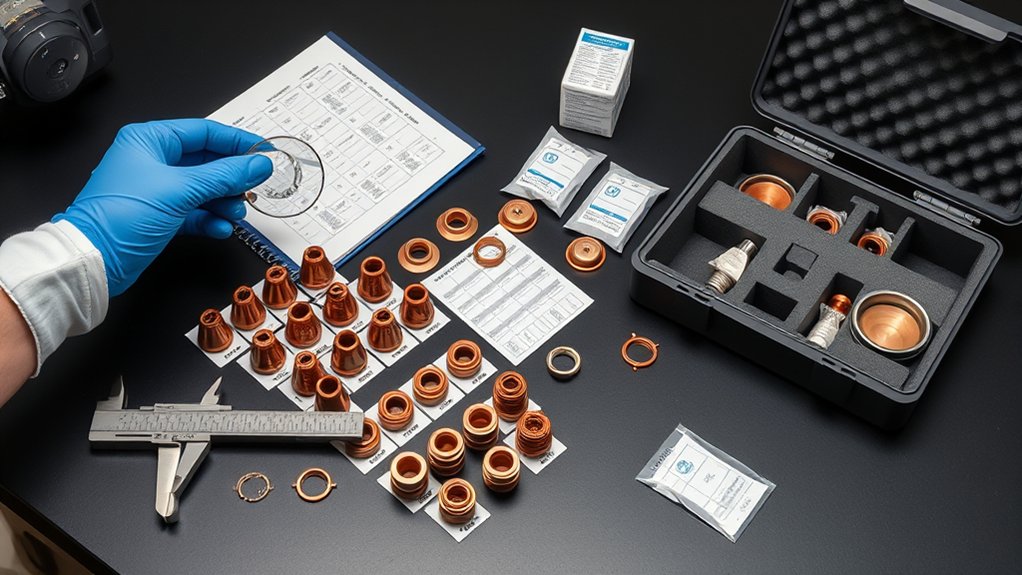
Before each shift, inspect all consumables and torch interfaces. Look for cracks, pitting, double-arcing marks, heat discoloration, oval nozzle holes, and damaged O-rings.
Check nozzle orifice roundness, electrode pit depth, swirl ring condition, and shield face condition. Debris can disturb the arc and cause rough cuts.
Follow the user manual’s maintenance schedule and keep a record of replacements. Consistent records help you find wear patterns before they interrupt work.
- Wipe consumables with a lint-free cloth and avoid abrasive cleaning.
- Apply only light, even O-ring lubrication when your manual allows it.
- Replace swollen, nicked, flat, or cracked O-rings.
- Measure electrode pit depth and replace the electrode at the stated limit.
- Clean torch threads and seats with dry air, not oily solvents.
- Store unused parts in the provided case in a clean, dry area.
- Label lots and rotate stock so older parts get used first.
Dispose of spent components under your local waste and recycling rules. Your shop may require separate handling for copper, brass, or contaminated parts.
Troubleshooting and Best Practices
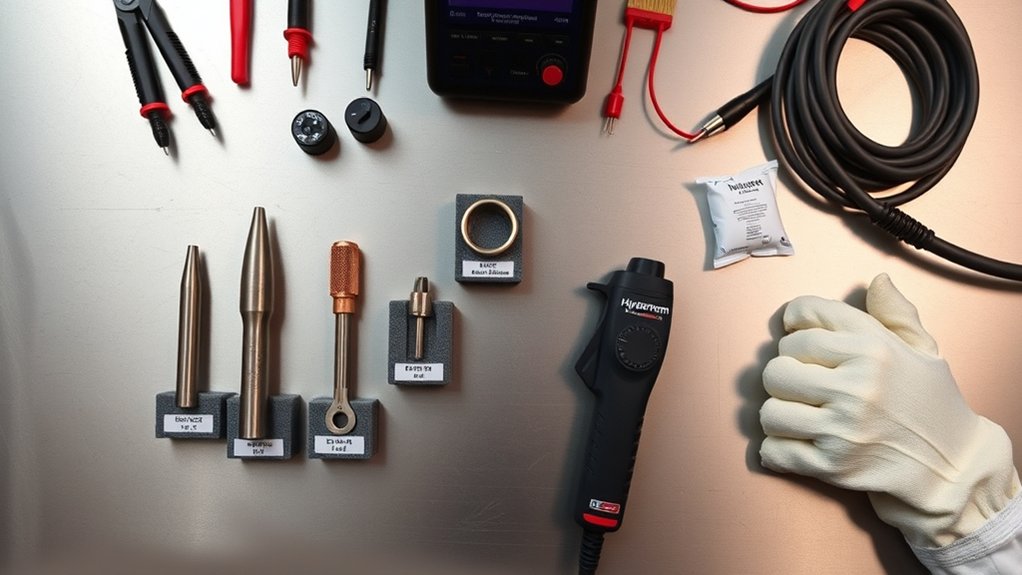
Good maintenance sets the baseline, but troubleshooting keeps cut quality steady when problems appear. Start with the easiest checks before you adjust advanced settings.
Replace electrodes with deep pits, nozzles with oval holes, and retaining caps with heat cracks. Reseat every consumable because misalignment can cause double arcing and an uneven kerf.
Keep parts clean, purge air before installation, and avoid oily gloves. For thinner steel work, use the electrode and nozzle style listed in your cut chart.
Address common issues in a clear order. If you see bevel, check nozzle wear and torch-to-work distance. If dross increases, verify consumable seating and gas flow. If the arc acts erratic, inspect the swirl ring and cap threads for debris.
| Symptom | Probable Cause | Corrective Action |
|---|---|---|
| Double arcing | Mis-seated consumables | Reseat parts and inspect cap threads |
| Heavy dross | Worn nozzle or wrong standoff | Replace the nozzle and verify standoff |
| Tapered kerf | Electrode pitting or torch angle error | Replace the electrode and square the torch |
| Erratic arc | Dirty swirl ring or poor air flow | Clean the torch and check air supply |
Common Mistakes to Avoid
- Mixing consumables from different torch families
- Over-tightening the retaining cap
- Cutting with wet or oily compressed air
- Ignoring small nozzle orifice damage
- Using production settings before making a test cut
Technical Specifications and Support Resources
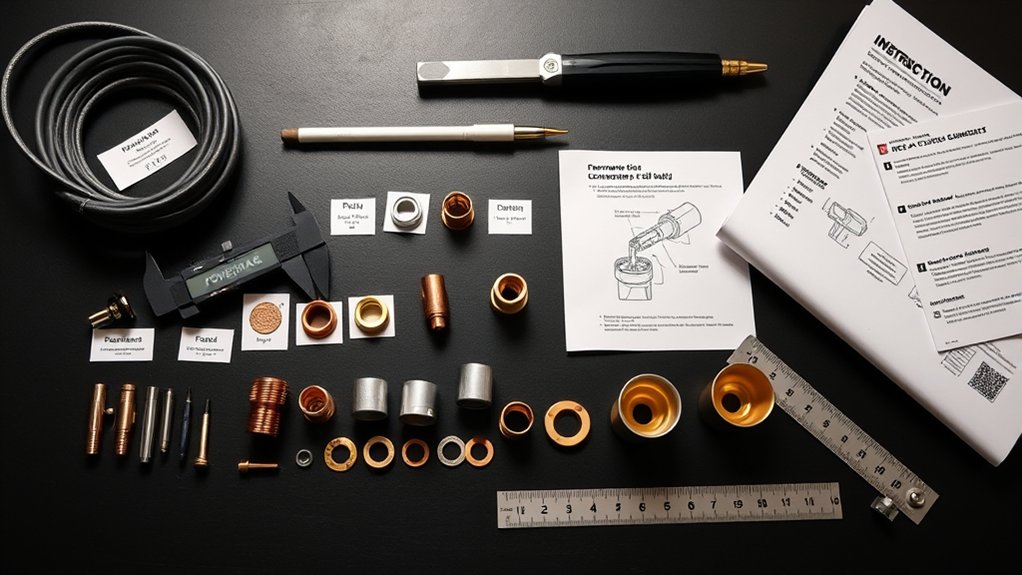
Specifications guide your setup and support planning for the Powermax45 XP consumables workflow. Check the machine label, user manual, and cut charts before you set production parameters.
Use the details below as a setup checklist, not as a replacement for the manual. Always follow the values listed for your exact machine and torch combination.
- Input power: verify voltage, phase, frequency, circuit rating, and cord gauge before operation.
- Duty cycle: schedule cutting and cooling intervals to prevent thermal limiting.
- Tool-free consumable changes: stage nozzles, electrodes, shields, caps, and O-rings before shutdown.
- Cooling and air flow: keep air clean and dry, and confirm open gas paths before cutting.
- Support resources: use cut charts for amperage, speed, and standoff.
- Service records: log part numbers, cut material, amperage, air issues, and replacement dates.
Frequently Asked Questions
How do I budget consumable usage for large production runs?
Track burn rates by material, thickness, amperage, and operator setup. Multiply your average consumable life by batch size, then add a buffer for scrap, test cuts, and downtime.
Are there eco-friendly disposal options for spent consumables?
Many spent consumables contain recyclable metal, but local rules can vary. Separate metal parts, remove loose debris, and send scrap through approved recycling or waste channels.
What training resources help new operators beyond the manual?
New operators can use OEM training videos, cut charts, shop checklists, and supervised practice. Start with safety, part identification, air setup, and test cuts before production work.
How can I prevent counterfeit consumables in my supply chain?
Buy from authorized suppliers and keep invoices, part labels, and lot details. Inspect packaging, markings, and fit before use, and quarantine any part that looks suspicious.
Can non-OEM parts affect warranty or insurance claims?
Non-OEM parts may affect warranty or insurance claims if they contribute to damage or failure. Review your warranty terms, document part sources, and ask the manufacturer or insurer before changing approved parts.
Conclusion
Correct consumable matching and careful installation matter more than speed. Confirm compatibility, check part numbers, shut down the machine, release pressure, and seat each part by hand.
Build a simple routine for inspection, storage, and recordkeeping so you can spot wear before it ruins cut quality. When problems appear, use the symptom table and test one change at a time.
Your next step is to compare your current torch stack with the manual and replace any worn or mismatched part. A clean, correct setup gives you safer work and more consistent cuts.