How to Set Voltage on a MIG Welder for Thin Metal
What’s in This Article
- Quick Guide to Setting Voltage for Thin Metal
- Common Mistakes to Avoid When Welding Thin Materials
- Best Practices for Setting Voltage on Thin Metal
- Recommended Wire Sizes and Their Voltage Settings
- Tips for Adjusting Voltage and Wire Feed Speed
- How to Spot Good Welds and Troubleshoot Issues
- Tools and Resources for Further Learning
- Troubleshoot MIG Welder Voltage Issues
- Setting MIG Welder Voltage for Thin Metal
- Frequently Asked Questions
- Conclusion
Thin metal can burn through fast if you set your MIG welder too hot. Start low, test on scrap, and adjust the voltage and wire feed speed until the arc sounds steady and the bead looks clean.
For many thin steel jobs, a starting range of 14 to 18 volts works well. For 18-gauge steel, try 14-16 volts first. For 24-gauge steel, use a small wire and test carefully before you weld the final piece.
Quick Answer
Set your MIG welder between 14 and 18 volts for most thin metal work. Use 0.024- or 0.030-inch wire for better control, then match the wire feed speed to the arc. If the bead gets wide, flat, or full of spatter, lower the heat and test again on scrap metal.
Key Takeaways
- Start with 14-18 volts when you weld thin metal with a MIG welder.
- Use 0.024- or 0.030-inch wire for better heat control on thin steel.
- Test every setting on scrap metal before welding your final workpiece.
- Lower the voltage if you see burn-through, undercut, or a wide flat bead.
- Adjust wire feed speed with voltage so the arc stays smooth and steady.
Quick Guide to Setting Voltage for Thin Metal
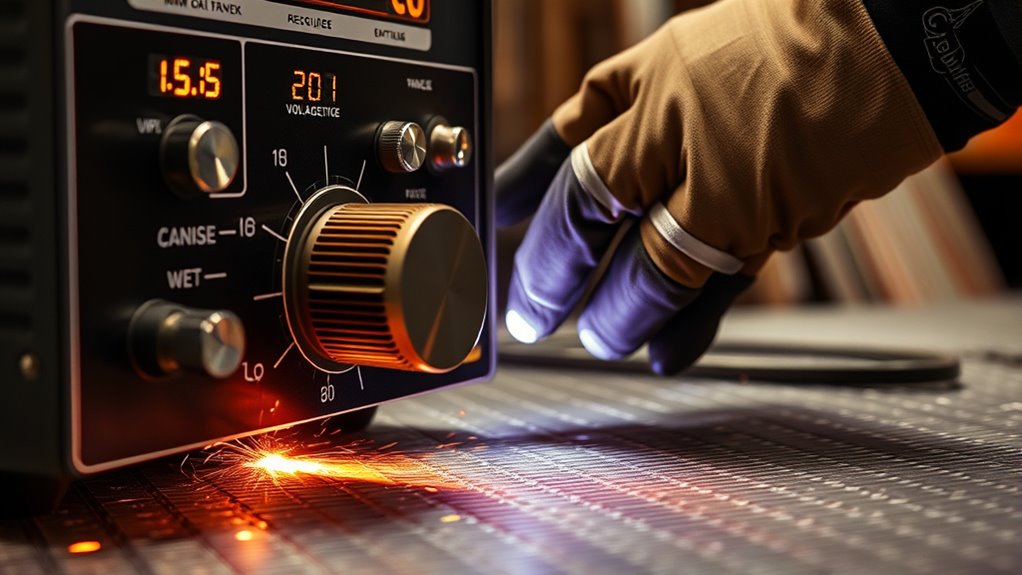
When you set the voltage on a MIG welder for thin metal, start within a low range to reduce the risk of burn-through. For 18-gauge steel, try 14-16 volts first, then adjust based on your machine, wire, joint fit-up, and welding position.
When you work with 24-gauge materials, use a small wire and test carefully. A wire feed speed of 150-200 inches per minute (IPM) can work for some setups, but your welder chart should guide the final setting. This balance helps control heat input and supports proper penetration.
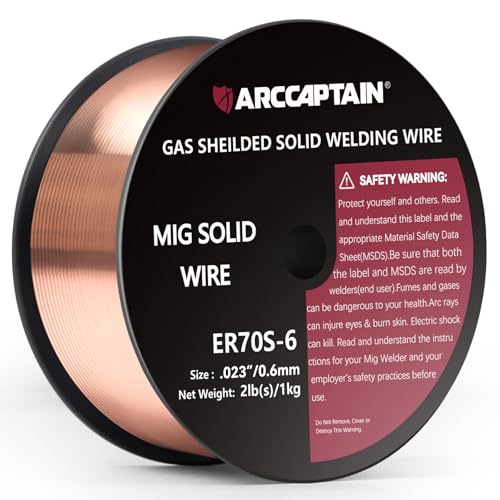
Always check your welder’s chart for specific MIG welding settings based on wire diameter and material thickness. In many thin metal jobs, 0.024- or 0.030-inch wire gives you better control than larger wire.
Also, keep a MIG welding settings chart nearby so you can make more accurate adjustments during your welding process.
Watch the weld bead appearance as you work. A consistent, slightly raised bead usually means the voltage and wire feed speed match well. Excessive spatter, burn-through, or a flat bead means you need to adjust your settings.
Common Mistakes to Avoid When Welding Thin Materials
Welding thin materials requires careful setup because small setting changes can cause big problems. One common mistake involves using too high of a voltage setting. Too much voltage can cause burn-through and leave holes that need rework.
Low voltage can also cause trouble. It may create poor penetration, weak fusion, and ropey weld beads that reduce joint strength.
Incorrect heat input from poor amperage and wire feed settings can distort the material. It can also affect fit-up and increase cleanup time. If your work requires a formal weld procedure specification (WPS), follow it closely so your weld quality stays consistent.
Don’t overlook the link between wire feed speed and voltage. If you change one setting and ignore the other, the arc may become unstable and create excessive spatter. Proper heat control also helps prevent burn-through and supports a stronger weld.
Warning: Galvanized metal can release harmful fumes, so use proper ventilation and suitable protective gear before welding it.
Best Practices for Setting Voltage on Thin Metal
When you weld thin metal, keep your voltage in a low range and adjust it in small steps. For many thin steel jobs, 14 to 18 volts gives you a practical starting point. Match the setting to the material thickness, wire diameter, joint type, and your welder’s chart.
Watch arc stability while you weld. A smooth arc helps you maintain a clean bead with less spatter. Also, use proper ventilation when you work with coated or galvanized steel because metal fume fever can become a serious safety risk.
Products Worth Considering

【Smart Synergic Control for Easier Setup】Built with smart synergic control, this 160A welding machine helps match wire feed and current settings based on your selected welding mode and material needs. It reduces guesswork, helps create a more stable arc, and makes setup easier for beginners, DIY users, and experienced welders working on repeat jobs.
![ARCCAPTAIN 165A MIG Welder 110V/220V [Large LED Display] 4 in 1 Gasless/Gas MIG/Lift TIG/Stick Welding Machine Multiprocess Welder Machine, IGBT Inverter Welder with Synergy, 2T/4T](https://m.media-amazon.com/images/I/51GW2TUAy1L._SL500_.jpg)
4-IN-1 MIG Welder: The welder machine offers GAS MIG/Flux Core MIG/Lift TIG/ MMA welding modes (Note: WP-17V TIG torch must be purchased separately). It can easily handle welding stainless steel, carbon steel, and even thicker steel materials, meeting diverse welding requirements.

4 In 1 Multifunctional MIG Welder: This 4-in-1 welding machine delivers Gas MIG, Flux MIG, Stick, and Lift TIG (with included torch)—more convenient and cost-effective than separate tools. The kit also comes with 1 lb of flux core wire and welding gloves—just load and start welding. This welding kit suits a wide range of welding applications and meets your various welding needs
Optimal Voltage Range
Correct voltage helps you get cleaner results on thin metals. For MIG welding 18-gauge steel, start around 14 to 16 volts when you use small solid wire. This range helps you control heat while still supporting proper penetration.
Use short-circuit transfer mode for thin materials when your machine and wire setup allow it. This mode uses lower voltage and gives you more control over heat input.
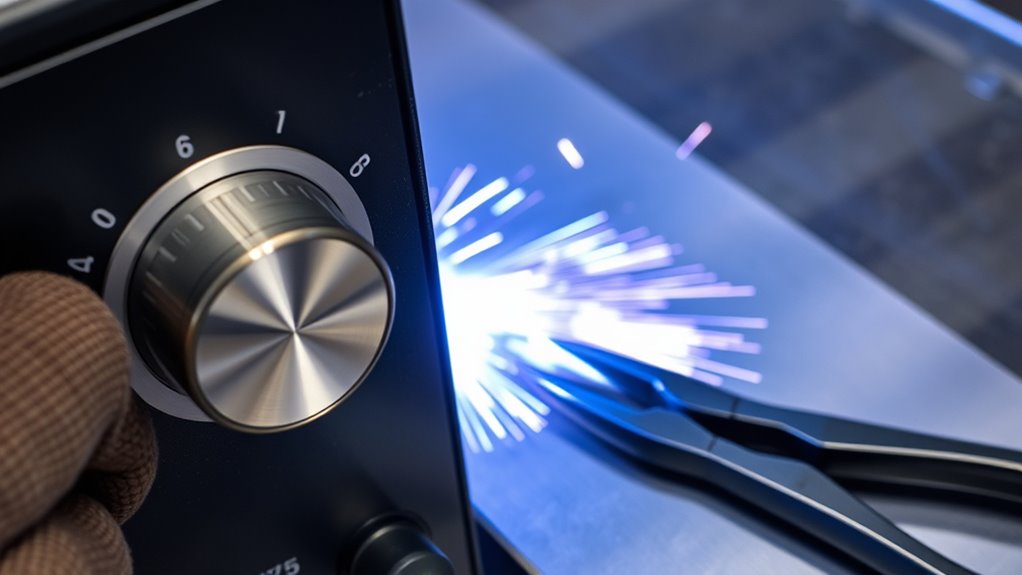
Watch the arc as you weld. If the wire stubs into the puddle, raise the voltage slightly. If the arc feels harsh, wide, or erratic, lower the voltage and test again.
Adjusting for Material Thickness
Material thickness affects how much heat your weld can handle. For thin materials, start with the lower end of your machine’s chart, then move up slowly only if the weld lacks fusion.
Avoid simple rules that suggest very high voltage for thin stock. For example, 0.125-inch steel does not require 125 volts on a standard MIG setup. Instead, use your welder’s chart, wire size, shielding gas, and test welds to guide the setting.
Use small-diameter welding wires, such as 0.024 to 0.030 inch, for better control on thin metal. While welding, monitor arc stability. Raise the voltage if the wire stubs, and lower it if the bead becomes too wide or the arc gets harsh.
Recommended Wire Sizes and Their Voltage Settings
Choosing the right wire size helps you control heat and avoid burn-through. Wire size, voltage settings, and wire feed speed work together when you weld thin materials. Use these starting points, then fine-tune them on scrap metal.
Selecting the correct wire size and voltage helps you weld thin materials with more control and fewer defects.
- Use 0.024- or 0.030-inch wire for very thin steel and start around 14-16 volts.
- Use 0.030-inch wire for 18-gauge steel and start around 15-16 volts with moderate wire feed speed.
- Use 0.035-inch wire only when the material can handle more heat, such as thicker sheet or light plate.
- Use lower voltage with thinner wire to reduce the risk of burn-through.
- Check the manufacturer chart for your exact material thickness, wire type, gas, and machine model.
- Review flux core welding basics if you use flux-core wire instead of solid MIG wire.
Products Worth Considering

Carbon-steel sound, porosity-free welds with powerful deoxidizers for your work with shielding gases.

Do Your Best Work ... Color all your clients impressed with the precision and arc control of the ER70S-6 solid MIG welder wire. You'll love the low splatter whether you're performing single or multi-pass welds. Great for T-joints, butt welds & lap welds.
High-quality: ARCCAPTAIN's ER70S-6 mig welding wire .023" meets industry standards(Net Weight: 2lbs), ensuring consistent performance, superior strength. With its smooth feeding and stable welding parameters, you can achieve optimal penetration, high deposition rates, and exceptional overall welding performance.
Tips for Adjusting Voltage and Wire Feed Speed

Start by setting voltage based on material thickness, then listen to the arc. Pair that setting with the correct wire feed speed so the arc stays smooth and stable. Watch the weld bead and adjust both settings in small steps.
Proper amperage settings can also improve weld quality and strength when you choose the right process for the job.
Voltage Adjustment Techniques
Fine-tuning voltage helps you create high-quality welds on thin metal. Use these practical techniques before you weld the final part:
- Start with 14-16 volts for 18-gauge steel when you use 0.030-inch wire.
- Listen to the arc. A steady sound usually means you’re close to the right setting.
- Lower the voltage if the bead looks too wide, too flat, or too hot.
- Raise the voltage slightly if the wire stubs into the puddle or lacks fusion.
- Keep the wire stickout short and consistent to improve arc stability.
Small changes work best on thin metal. Adjust one setting at a time so you know what caused the change.
Pro tip: Write down the voltage, wire feed speed, wire size, and material thickness after each good test weld.
Wire Feed Speed Influence
Voltage affects arc length and heat, but wire feed speed (WFS) controls how much wire enters the weld. Both settings must work together if you want a clean bead.
For thin materials, start with the machine chart and test on scrap. If you increase wire feed speed, you may need to adjust voltage so the arc stays stable.
A good starting point for 0.030-inch wire on 18-gauge steel often sits around 14-16 volts. Listen to the arc. A smooth, consistent tone usually means the voltage and WFS match well.
If the arc pops, stubs, or throws heavy spatter, stop and adjust. Always test welds on scrap material so you can refine bead appearance and penetration before welding your main part.
How to Spot Good Welds and Troubleshoot Issues
A good weld has a smooth bead, even width, and consistent penetration. It should not show heavy spatter, holes, sharp undercut, or poor fusion at the joint edges.
Use these checks when you inspect your weld:
- Look for a smooth, slightly raised bead with even edges.
- Check for consistent penetration without burn-through or cold spots.
- Reduce voltage if the bead looks too wide, flat, or overheated.
- Test on scrap material before you weld the final piece.
- Increase voltage slowly if the weld feels weak or shows poor fusion.
- Check gas flow because proper gas flow helps you avoid porosity and poor weld quality.
Tools and Resources for Further Learning
Use the right tools and resources if you want to improve your MIG welding skills. Start with your welding machine’s manual because it often gives specific voltage settings for different material thicknesses and wire sizes.
Next, review manufacturer-provided MIG welding charts. These charts list recommended voltage and wire feed speeds for common metals, wire sizes, and gas setups.
Online tutorials and videos can help when they show real bead results and setting changes. Choose lessons that focus on thin metal because thicker metal settings can mislead you.
Welding forums and community groups can also help you compare notes with experienced welders. Use their advice as guidance, but still test every setting on your own scrap metal.
Training materials or workshops can help you learn advanced MIG techniques. You can also study gas flow adjustment so you can improve weld quality and reduce defects.
Troubleshoot MIG Welder Voltage Issues
You can troubleshoot voltage issues on your MIG welder by starting with the manufacturer’s chart for your wire diameter and material thickness. Poor voltage settings can cause burn-through, weak fusion, spatter, or poor bead shape.
Start by checking the manufacturer’s settings for wire diameter and material thickness to reduce burn-through and weak penetration.
Follow these steps when the weld does not look right:
- Check arc stability. Lower the voltage if the arc feels harsh or erratic.
- Raise the voltage slightly if the wire stubs into the weld puddle.
- Inspect wire feed speed because poor WFS can change how the voltage behaves.
- Study the bead shape. A flat bead can signal too much voltage for thin metal.
- Review your welder’s manual or voltage chart before making large changes.
- Check material thickness because it strongly affects your best voltage range.
Setting MIG Welder Voltage for Thin Metal
Setting the voltage correctly on a MIG welder for thin metal helps you create strong, clean welds. For materials 3/16 inch or thinner, start with the lower range on your welder’s chart. Many thin metal jobs start between 14 and 20 volts, depending on wire size and material thickness.
For example, 15-16 volts can work as a starting point with 0.030-inch solid wire on 18-gauge steel. Your final setting may change based on shielding gas, joint fit-up, travel speed, and machine design.
Use caution with higher voltage settings because they can cause burn-through, undercut, and poor arc control. Settings that run too low can create excessive spatter, ropey beads, and weak welds.
Listen to the arc sound. A steady tone usually signals a stable arc. Excessive popping, harsh crackling, or wire stubbing means you should adjust voltage or wire feed speed.
Always check your welder’s specifications and welding charts for the most accurate settings. If you weld 304 stainless steel, choose the right filler metal and review guidance on ER308L filler wire before you start.
Frequently Asked Questions
What Are the Best Settings for MIG Welding Thin Metal?
For MIG welding thin metal, start around 14-16 volts and use small wire, such as 0.024 or 0.030 inch. Adjust wire feed speed until the arc sounds steady and the bead looks smooth. Always test on scrap before welding the final piece.
What Are the Average Settings on a MIG Welder for 3mm Steel?
For 3mm steel, many welders start around 19-21 volts with suitable wire feed speed for the wire size. Check your machine chart first because different machines, wires, and shielding gases need different settings. Test the setting on scrap and adjust until you get clean fusion.
How Many Amps to Weld 1mm Steel?
You may need around 40 amps to weld 1mm steel, but your exact setting depends on your wire, machine, and joint type. Use low heat, fast control, and short test welds to avoid burn-through. Prepare the metal well so the weld can fuse cleanly.
What Voltage Should My MIG Welder Be Set At?
Set your MIG welder voltage based on material thickness, wire diameter, and your machine chart. For thin metal, start in the 14-18 volt range and adjust in small steps. Pair the voltage with proper wire feed speed, gas flow, and clean metal preparation.
Why Does My MIG Weld Burn Through Thin Metal?
Burn-through usually happens when your voltage, wire feed speed, or travel speed puts too much heat into the metal. Lower the voltage, move a little faster, or use smaller wire. Also check for gaps in the joint because poor fit-up makes thin metal easier to burn through.
Conclusion
The right MIG voltage for thin metal starts low and changes only after you test the bead. Use small wire, check your welder chart, and adjust voltage with wire feed speed so the arc stays smooth.
Your next step should be simple: make several test welds on scrap that matches your project metal. With steady practice and careful heat control, you’ll create cleaner welds with fewer holes, less spatter, and


