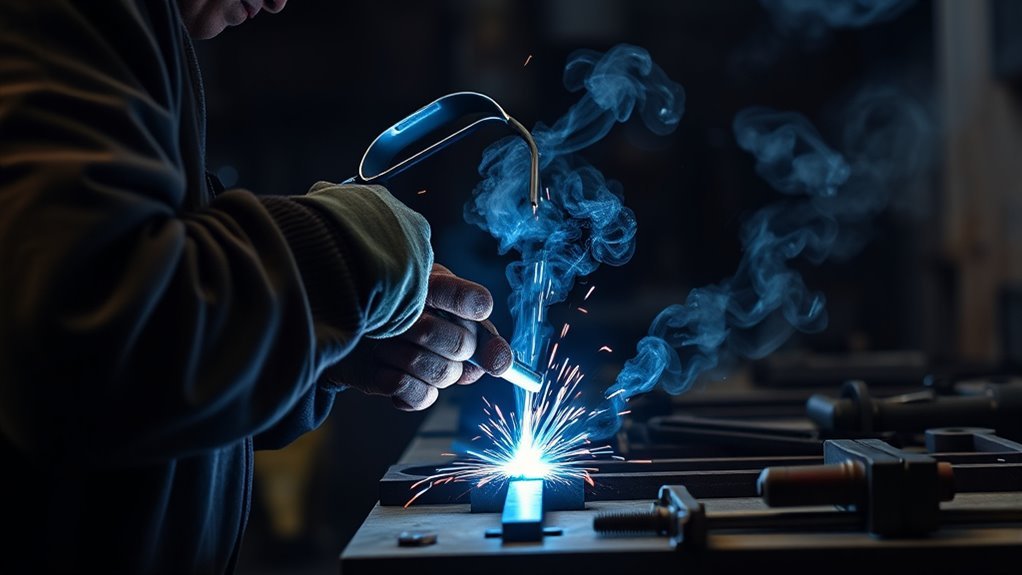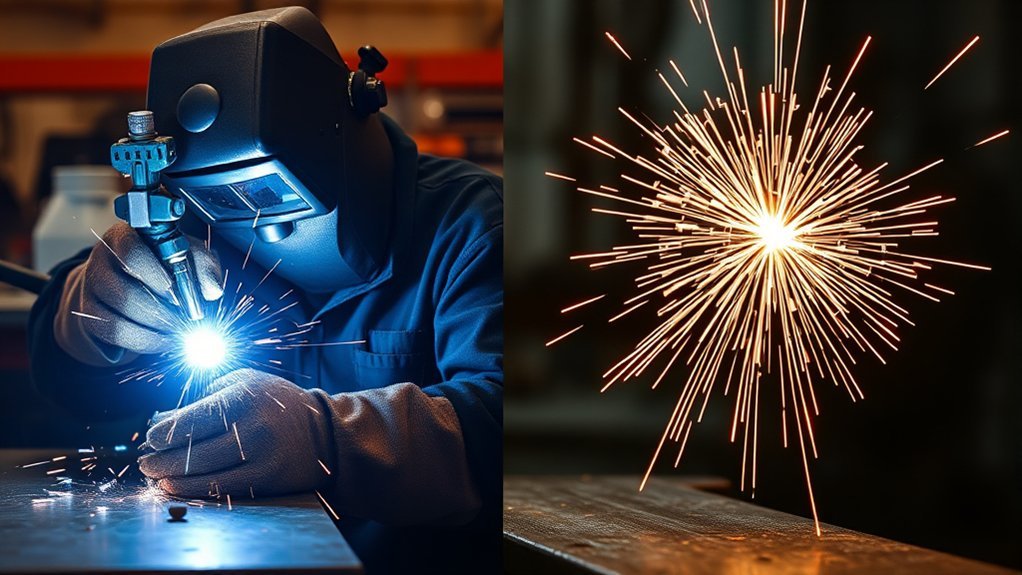
Choosing between forehand and backhand welding comes down to how much control, visibility, and penetration you need. Forehand welding, also called a push technique in many MIG discussions, usually helps on thin metal because you can see the joint and control the puddle more easily. Backhand welding, also called a pull or drag technique, often gives deeper penetration and works well on thicker material, root passes, and slag-producing processes.
Quick Answer
Use forehand welding when you want better puddle visibility, smoother bead control, and less heat concentration on thin metal. Use backhand welding when you need more penetration, a narrower bead, or better control on thicker material. The best choice also depends on the process, joint type, position, settings, and filler metal.
Key Takeaways
- Forehand welding points the torch or gun toward the unwelded joint, which often improves visibility and helps on thin sheet metal.
- Backhand welding points the torch, gun, or electrode back toward the completed weld, which often increases penetration.
- A “push” technique usually means forehand, while “pull” or “drag” usually means backhand.
- Do not choose by thickness alone. Joint fit, process, position, wire or rod type, travel speed, and heat input all matter.
- Always wear the right PPE, control fumes, and keep combustibles away before welding.
At a Glance
| Best Use | Forehand for thin metal and visibility; backhand for stronger penetration and thicker joints. |
| Difficulty | Beginner to intermediate. Backhand usually needs better puddle control and steadier travel speed. |
| Tools Needed | Welding machine or torch setup, correct filler, shielding gas when required, clamps, cleaning tools, PPE, and ventilation. |
| Cost | No extra cost if your machine, torch, wire, rod, gas, and safety gear already match the job. |
Warning: Welding can expose you to arc radiation, molten metal, fire hazards, and hazardous fumes. Use a proper helmet or hand shield, flame-resistant clothing, gloves, ventilation, and fire protection. Do not weld in confined spaces or near combustibles unless the area is prepared and controlled by a qualified person.
Understanding Forehand and Backhand Welding Techniques
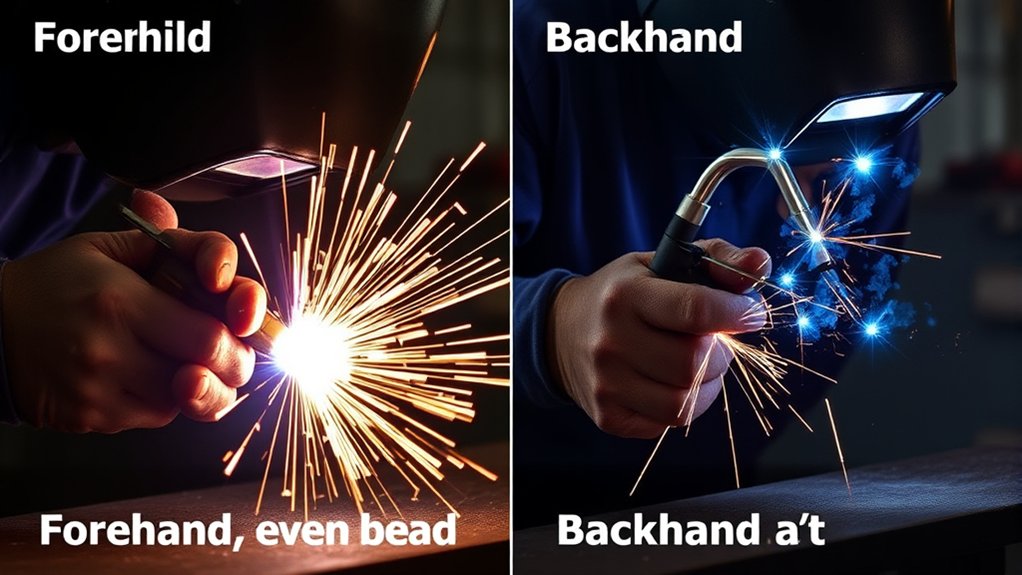
Forehand and backhand welding describe the direction you angle and move the torch, gun, or electrode. In forehand welding, you angle the heat toward the unwelded joint and move into it. In many MIG articles, this is called pushing the puddle. In backhand welding, you angle the heat back toward the completed weld and pull or drag the puddle along the joint.
The terms are used most often in oxy-fuel welding, TIG welding, MIG welding, and some flux-core discussions, but the best angle is not the same for every process. For MIG, Miller recommends starting around a 15-degree travel angle and then adjusting based on the joint, bead shape, and penetration. The same source notes that stickout, travel speed, settings, and gas coverage also affect weld quality, so travel direction is only one part of the setup.
Think of forehand as the better choice when you need visibility and heat control on thin metal. Think of backhand as the better choice when you need the heat to dig into the joint. The right choice still depends on base metal, filler, joint shape, welding position, and shielding gas.
Forehand vs. Backhand Welding Comparison
Both techniques can produce strong welds when your settings and preparation are right. The difference is how the heat, filler, and puddle flow into the joint.
| Factor | Forehand / Push | Backhand / Pull |
| Torch or gun direction | Points toward the unwelded joint. | Points back toward the finished bead. |
| Main strength | Better view of the joint and easier puddle control. | More focused heat and deeper penetration in many setups. |
| Best fit | Thin sheet, visible seams, and light fabrication. | Thicker joints, root passes, and stronger fusion needs. |
| Common risk | Too little penetration if speed is too fast or heat is too low. | Too much heat on thin metal, which can cause burn-through. |
For both techniques, clean metal matters. Rust, paint, oil, and mill scale can cause porosity, weak fusion, and uneven bead shape. Use the right proper cleaning techniques before you blame the welding direction.
Benefits of Forehand Welding: When and Why to Use It
Forehand welding is useful when you need a clear view of the joint and a smooth, controlled bead. It is common on thin sheet metal because the heat is spread forward instead of concentrated behind the puddle. That can help reduce burn-through when your settings and travel speed are correct.
Use forehand welding when:
- You are working on thin sheet metal, light brackets, small repairs, or visible seams.
- You need to watch the joint line closely while you weld.
- You want a wider, smoother bead profile.
- You are learning puddle control and need better visibility.
- You are using MIG with solid wire and shielding gas on clean material.
Forehand welding does not automatically make a weld stronger. If your travel speed is too fast, your wire stickout is too long, or your machine is set too cold, the weld can look smooth but still lack fusion. Check the backside of practice coupons when possible, and adjust heat, travel speed, and fit-up before welding a real part.
Pro Tip: On thin metal, run a short test bead first. If the bead sits high with little tie-in at the edges, slow down slightly or increase heat. If the edge melts away, reduce heat, move faster, or use a stitch-welding pattern.
Advantages of Backhand Welding: Ideal Applications
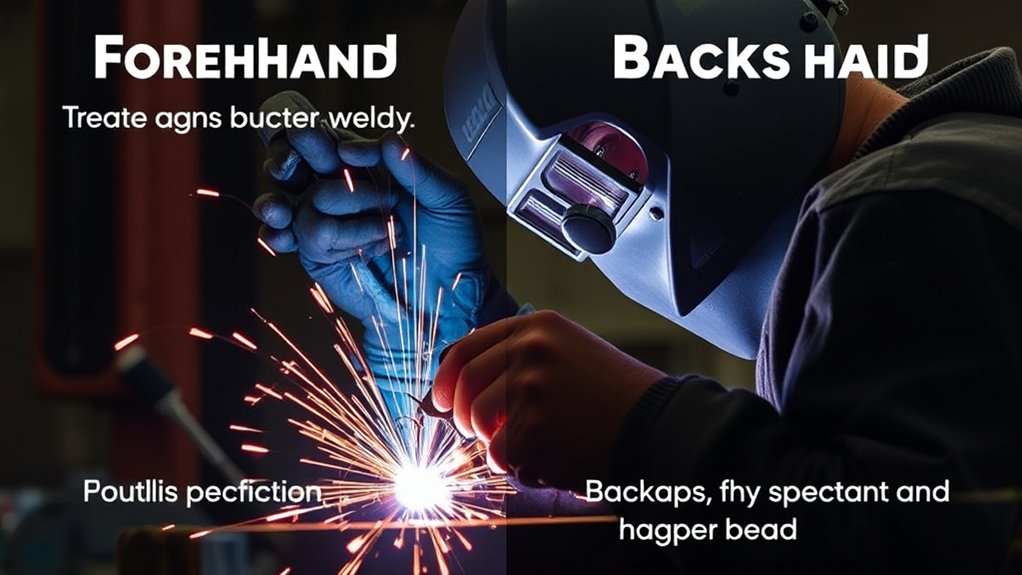
Backhand welding is useful when you need the heat to drive into the joint. Since the torch, gun, or electrode points back toward the completed weld, the arc or flame tends to focus more energy into the weld pool. That can improve penetration and tie-in on thicker material.
Backhand welding is often the better choice when penetration matters more than bead width, especially on thicker joints, root passes, and work where the weld must carry load.
Use backhand welding when:
- You are welding thicker steel or a joint that needs deeper fusion.
- You are using a process where dragging is recommended, such as many stick and flux-core applications.
- You need a narrower bead with stronger root penetration.
- You are welding in a position where pulling gives better puddle control.
- You are reinforcing structural parts where joint strength matters more than cosmetic bead width.
Backhand welding can also make slag control easier in processes that produce slag. That is why many welders drag stick electrodes and flux-core wire. Still, you must match the technique to your wire types and applications, because some wires and gases behave better when pushed.
Choosing the Right Welding Technique Based on Material Thickness
Material thickness is a good starting point, but it should not be the only factor. Thin metal needs heat control. Thick metal needs fusion. The technique you choose should help you solve that main problem.
For thin material, forehand welding usually gives you better control because you can see the joint before the puddle reaches it. This is helpful on auto body panels, thin tubing, and sheet metal repairs. For thicker material, backhand welding often helps the weld dig into the root and sidewalls. This is useful on heavy brackets, frames, farm repairs, and structural fabrication.
Joint design matters too. A tight butt joint on thin sheet needs a different approach than a beveled groove on plate. Fillet welds also need correct sizing, because a bead that looks large is not always the right weld. Understanding maximum fillet weld size helps keep the joint practical and strong.
Note: If the weld is safety-critical, do not rely on appearance alone. Follow the approved welding procedure, inspect the joint, and get qualified help when the weld carries load or affects a vehicle frame, lifting point, pressure part, or structural member.
Products Worth Considering

Value Pack: The package includes 24 packs of butt welding clamps, enough quantity to meet your daily needs and replacements. Each butt welding clamps is individually wrapped in a small bag, convenient to carry and use.

STRONG BUILD: Made of carbon steel with a nickel finish for improved hardness and rust resistance

Clamp for holding items in place; ideal for pocket hole joinery, woodworking, welding, and other projects or repairs
How the Welding Process Changes Your Choice
The same forehand-versus-backhand rule does not fit every process. Before you choose, think about how your process shields the puddle, handles slag, and controls heat.
| Process | Common Choice | Why |
| MIG with solid wire | Often push/forehand | Gives good visibility and gas coverage on clean metal. Pulling can be used when more penetration is needed. |
| Flux-core wire | Often drag/backhand | Dragging helps keep slag behind the puddle and can improve penetration. |
| Stick welding | Usually drag/backhand | Most stick electrodes are dragged so slag stays behind the weld pool. |
| TIG welding | Often forehand | The torch leads and the filler is added into the front edge of the puddle for control. |
| Oxy-fuel welding | Forehand for thinner work, backhand for thicker work | Forehand spreads heat ahead of the puddle, while backhand focuses heat into the completed weld area. |
No matter which process you use, heat input management is critical. Too little heat can cause lack of fusion. Too much heat can cause burn-through, distortion, or excessive penetration.
How Operator Skill Influences Welding Technique Selection
Your skill level affects which technique feels natural. Forehand welding usually gives newer welders a clearer view of the joint, so it can be easier for learning puddle shape, travel speed, and bead placement. Backhand welding may feel less forgiving because you need to read the puddle while pulling heat into the joint.
As you improve, you should practice both directions. Run test beads on scrap pieces that match the real joint. Cut, bend, or inspect the practice welds when possible. A bead that looks smooth on top can still be cold at the root, while a bead with too much heat can be weak from distortion or undercut.
- Use forehand when visibility and puddle control are the main challenge.
- Use backhand when penetration and root fusion are the main challenge.
- Change technique when the bead shape, sound, or puddle behavior shows a problem.
Good welding process selection starts before you strike an arc. The right process, filler, shielding, joint prep, and machine settings matter as much as the direction you travel.
What Equipment Do You Need for Effective Welding?
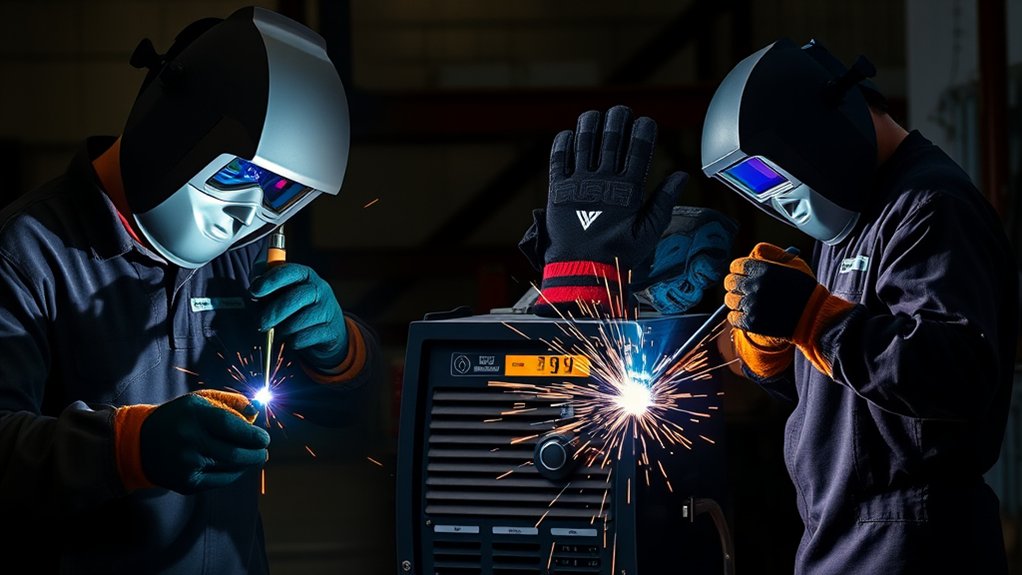
Effective welding starts with the right equipment for the process and metal. You need a welding machine or torch setup that can deliver stable heat, the correct filler wire or rod, and the right shielding method. For MIG, the gun trigger controls wire feed, welding current, and shielding gas flow. The distance from the gun to the work also matters because excessive stickout can reduce heat input and hurt gas coverage.
You also need clean joint surfaces, solid clamping, and a safe work area. Remove paint, oil, rust, coatings, and flammable items from the weld zone. Keep cables out of walkways and make sure your work clamp has a clean connection.
Personal protective equipment is not optional. OSHA requires appropriate eye and face protection when workers are exposed to hazards such as molten metal, flying particles, and injurious light radiation. For arc welding, use a welding helmet or hand shield with an appropriate filter lens. Wear gloves, hearing protection when needed, and flame-resistant clothing.
Ventilation is also part of the setup. OSHA requires ventilation or local exhaust to keep toxic fumes, gases, and dust below allowable exposure levels. NIOSH notes that welding fumes are made of metals and may contain manganese, and confined-space welding can greatly increase fume exposure. If you cannot control fumes, stop and improve ventilation or use the proper respiratory protection for the hazard.
Products Worth Considering
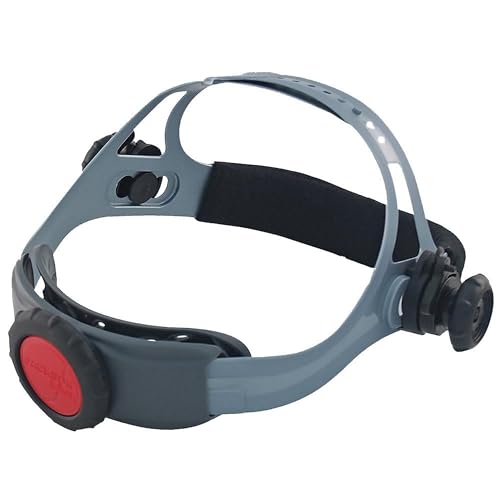
REPLACEMENT WELDING HELMET HEADGEAR - Jackson Safety's Premium 370 Speed Dial Replacement Headgear offers a perfect fit and secure hold for your welding hood

True Color Clear View: A 3.64" x 1.67" viewing area with 1/1/1/1 optical clarity delivers a true color view for improved visibility and reduced eye strain.

SUMMER FR MATERIALS:Made from 4oz EX lightweight 100% cotton flame-resistant fabric,this balaclava delivers a soft,breathable feel for long-hour comfort during summer hot days
Real-World Uses of Forehand and Backhand Welding
Forehand and backhand welding both have a place in real projects. The trick is matching the technique to the metal, joint, and job goal.
Automotive Industry Applications
In automotive work, forehand or push-style MIG welding is common on thin sheet metal because you can see the seam and reduce the chance of blowing through the panel. This helps on body patches, floor pans, tabs, and small brackets. Backhand welding is more useful when you move into thicker brackets, frame repairs, mounts, or reinforcement work where penetration matters more.
Use short stitch welds on thin panels to control heat. Let the metal cool between passes, and do not chase a long bead across a body panel. For cast parts and difficult metals, follow proper techniques for that material instead of relying on travel direction alone.
Heavy Equipment Manufacturing
Heavy equipment work often favors backhand welding because thick steel sections need strong fusion. Frames, buckets, brackets, and load-bearing parts usually require controlled penetration, proper joint preparation, and the right filler. A pulled technique can help concentrate heat, but it must be paired with the correct amperage, voltage, travel speed, and weld size.
Forehand welding still has a place in heavy equipment manufacturing when you work on covers, guards, thin panels, and non-critical sheet parts. It helps you see the joint and keep the bead smooth.
Pipeline Construction Techniques
Pipeline welding depends heavily on procedure, position, material grade, and inspection requirements. Backhand or drag techniques are common in many root, hot pass, and fill-pass situations because they can help control penetration and puddle shape. Forehand techniques may still appear in lighter tubing or process-specific work where visibility and bead control are more important.
Pipeline work is not a place for guessing. Follow the approved welding procedure specification, keep the joint clean, use the correct filler, and inspect each pass. If a weld will be pressurized or code-governed, it should be performed and inspected by qualified personnel.
Common Mistakes When Choosing Forehand or Backhand Welding
Most problems come from treating forehand and backhand welding as magic fixes. They are only technique choices. If the setup is wrong, neither one will save the weld.
- Using one rule for every process: MIG, TIG, stick, oxy-fuel, and flux-core do not behave the same way.
- Running too much travel angle: A steep angle can push shielding gas away, trap slag, or create uneven bead shape.
- Moving too fast: Fast travel can reduce penetration and leave a narrow, weak bead.
- Moving too slowly: Slow travel can overheat thin metal and create a wide, high bead.
- Ignoring joint prep: Dirty metal, poor fit-up, and wrong bevels cause problems no matter which direction you weld.
- Judging only by appearance: A pretty bead can still lack root fusion.
Quick Troubleshooting Guide
| Problem | Likely Cause | Fix |
| Weld sits high and cold | Too little heat, too fast travel, or poor angle | Slow down slightly, increase heat within the safe range, or try backhand for more penetration. |
| Thin metal burns through | Too much heat or too slow travel | Use forehand control, reduce heat, move faster, or stitch weld. |
| Porosity appears | Dirty metal, poor gas coverage, wind, or long stickout | Clean the joint, check gas flow, block drafts, and shorten stickout. |
| Slag gets trapped | Wrong travel direction or poor cleaning between passes | Drag slag-producing processes when recommended and clean each pass fully. |
Frequently Asked Questions
What is the difference between backhand and forehand welding?
Forehand welding points the torch or gun toward the unwelded joint and moves into it. Backhand welding points the torch, gun, or electrode back toward the finished weld and pulls the puddle along. Forehand often improves visibility, while backhand often improves penetration.
How do you know when to use forehand or backhand welding?
Use forehand welding when you need better puddle visibility and heat control on thinner metal. Use backhand welding when the joint needs deeper penetration or when the process, such as stick or flux-core, works better with a drag angle. Always confirm with a test weld when possible.
Is forehand welding the same as pushing?
In many MIG welding discussions, yes. Forehand usually means the gun is pushed in the direction of travel, with the arc aimed toward the unwelded joint. The term is also used in oxy-fuel and TIG welding, so the exact torch angle can vary by process.
Does backhand welding always give deeper penetration?
Backhand welding often gives deeper penetration, but not always. Penetration also depends on amperage, voltage, travel speed, wire or rod size, joint prep, stickout, shielding gas, and welding position. A poor setup can still create a weak backhand weld.
What are the 4 main welding positions?
The four main welding positions are flat, horizontal, vertical, and overhead. Flat is usually the easiest for beginners. Vertical and overhead welding need more puddle control because gravity pulls molten metal out of the joint.
What is the golden rule in welding?
The golden rule is to control the puddle. Keep a steady angle, travel speed, arc length or stickout, and heat setting so the weld ties into both sides of the joint without undercut, porosity, or lack of fusion.
Conclusion
Forehand and backhand welding are not competing tricks. They are two ways to control heat, visibility, and penetration. Use forehand welding when thin metal, puddle visibility, and smooth bead control matter most. Use backhand welding when thicker material, root fusion, or stronger penetration is the priority. For the best results, match the technique to the welding process, joint design, filler, position, and safety requirements.
Sources
- MillerWelds: MIG Welding Tips and Techniques for Beginners — supports MIG travel angle, stickout, gas coverage, and weld-quality guidance.
- OSHA 1910.133 Eye and Face Protection — supports eye and face protection requirements and filter lens guidance.
- OSHA 1910.252 Welding, Cutting, and Brazing General Requirements — supports fire prevention, protective clothing, eye protection, and ventilation safety points.
- CDC/NIOSH: Welding Fumes and Manganese — supports welding-fume and confined-space exposure cautions.