
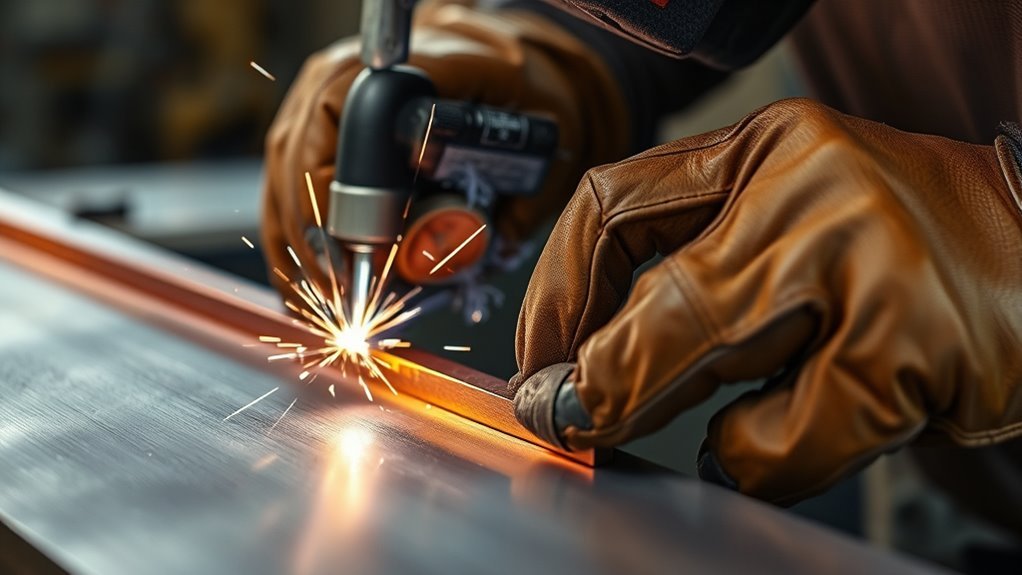
Thin sheet metal can turn from a smooth puddle into a hole in seconds. A backing bar, also called a backer bar or chill bar in shop use, supports the root side of the joint and can pull heat away from the weld. It is useful when the joint is easy to reach from behind and your normal settings, fit-up, and weld sequence do not give enough control.
Quick Answer
Use a backing bar when a thin butt joint, gap, or open root needs physical support and faster heat removal. Clamp a clean copper, aluminum, stainless, or ceramic backer tightly behind the seam, then test the full setup on scrap. Do not treat the bar as a substitute for correct fit-up, settings, shielding, or a qualified welding procedure.
Key Takeaways
- A backing bar helps most on thin butt joints and repairs where the molten root needs support.
- Copper is the usual first choice for strong heat sinking; aluminum is lighter, while stainless and ceramic are useful in selected procedures.
- Full contact matters. Gaps between the sheet and bar reduce heat transfer and can leave an uneven root.
- Temporary backing must not melt into the puddle. Permanent backing normally follows stricter material and code requirements.
- Use the machine chart or welding procedure as the starting point, then confirm the setup on matching scrap.
At a Glance
| Time Required | About 10–20 minutes for cleaning, clamping, and a scrap test |
| Difficulty | Moderate; access and tight clamping are the main challenges |
| Tools Needed | Clean backing bar, clamps or fixture, matching scrap, cleaning tools, welder, and welding PPE |
| Cost | Low to moderate; it depends on the bar material, size, and whether clean shop stock is available |
What’s in This Article
- When Should You Use a Backing Bar?
- Backing Bar vs. Backing Strip and Back Purge
- How Backing Bars Help Thin Sheet Metal
- Best Joints for Backing Bar Welding
- Backing Bar Setup for MIG Welding
- Backing Bar Setup for TIG Welding
- How Backing Bars Prevent Burn-Through
- How Backing Bars Control Warping
- Choosing the Right Backing Bar Material
- Temporary vs. Permanent Backing
- Step-by-Step Backing Bar Setup
- Common Backing Bar Setup Mistakes
- Backing Bar Troubleshooting
- When You Don’t Need a Backing Bar
- Frequently Asked Questions
- Conclusion
- Sources
When Should You Use a Backing Bar?
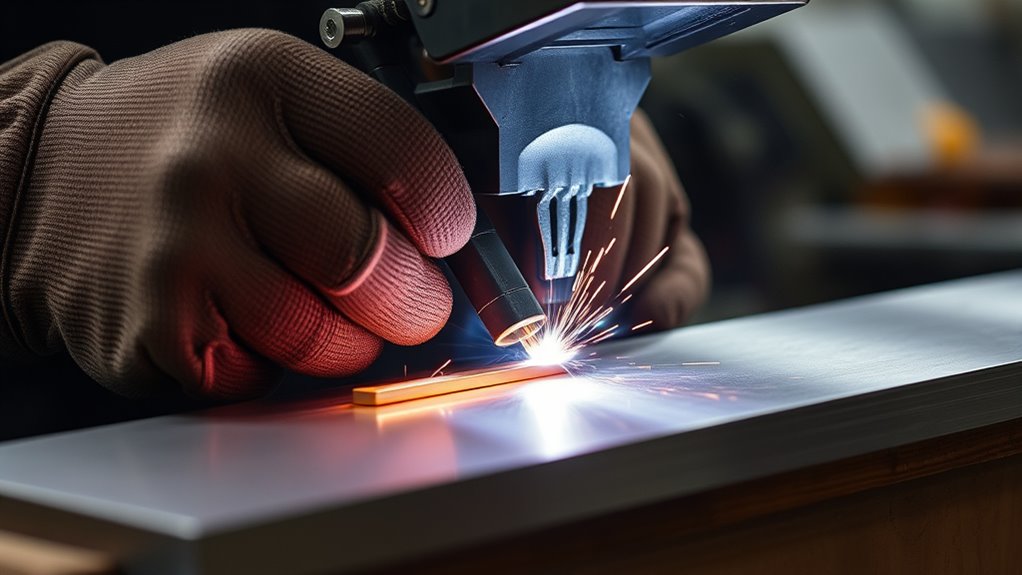
Use a backing bar when the root side of a weld needs support or when a heat sink would make a thin joint easier to control. Common examples include a thin butt joint, a patch-panel seam, a gap that is difficult to bridge, or a one-sided joint where molten metal may sag through the root.
There is no single gauge range that makes a backing bar mandatory. The decision depends on the base metal, thickness, joint gap, process, position, access, machine capability, and required weld quality. A bar may be helpful on one 18-gauge joint and unnecessary on another. Test the exact joint on matching scrap before working on the final part.
A backing bar adds support and heat capacity, but it cannot correct poor fit-up, the wrong filler metal, weak shielding, or excessive arc time.
Butt joints benefit most because they have little metal under the seam. Many lap joints already have support from the overlap, so a bar is optional unless the edge is lifting, the sheet is very thin, or the root profile must be controlled.
For MIG sheet-metal work, Miller recommends tight fit-up and notes that a copper backing bar can help dissipate heat faster than air cooling alone. The same source also stresses fast travel and planned bead sequences instead of dwelling in one area. See the Miller sheet-metal welding guidance.
Warning: Welding creates hot metal, ultraviolet radiation, sparks, fumes, and electric-shock hazards. Wear suitable eye, face, hand, body, and foot protection; control fire hazards; and keep fumes out of your breathing zone. Never hold a backing bar by hand while welding. Clamp it and allow it to cool before touching it.
If you weld galvanized or coated steel, the backing bar does not remove the fume hazard. OSHA identifies zinc-bearing coatings as a welding concern and requires suitable ventilation controls for covered work. Remove hazardous coatings from the weld area when the procedure permits, review the coating information or safety data sheet, and use ventilation or respiratory protection based on the hazard assessment.
A backing bar can also help with flux-core welding on thin material, but self-shielded flux core may produce more fume and spatter than short-circuit MIG. Confirm that the wire manufacturer lists the thickness and position you plan to weld.
Backing Bar vs. Backing Strip and Back Purge
Shop language varies, so it helps to separate three terms:
- Temporary backing bar or backer: A removable piece placed behind the root to support the puddle, shape penetration, or absorb heat.
- Permanent backing strip: A piece designed to remain attached to the weldment. Structural codes and qualified procedures may control its material, dimensions, and removal.
- Back purging: Shielding the root side with inert gas. Purge gas protects hot metal from the atmosphere; it does not provide solid support.
A joint may use backing, purge gas, both, or neither. For example, a stainless tube root may need purge gas to prevent heavy oxidation even if a copper fixture supports the seam. Follow the drawing, welding procedure specification, code, or customer requirement whenever the weld is structural, pressure-retaining, sanitary, or safety-critical.
Note: A removable heat sink used for cosmetic sheet-metal work is not automatically equivalent to code-defined backing in a welder qualification or welding procedure. Qualification rules can treat “with backing” and “without backing” differently.
How Backing Bars Help Thin Sheet Metal
A tight backing bar can help thin sheet in two ways. First, it adds a solid surface beneath the molten root so the puddle is less likely to fall through. Second, a conductive bar absorbs some heat from the sheet and spreads it over a larger mass.
That extra control can make it easier to place small tacks, bridge a narrow gap, and keep the root from becoming too convex or irregular. It may also reduce the amount of time spent filling accidental holes.
A backing bar does not guarantee penetration, fusion, strength, or freedom from porosity. If the bar chills the root too much, the joint is dirty, or the settings are too cold, lack of fusion can result. Porosity is usually tied to shielding loss, moisture, oil, coatings, oxide, or other contamination rather than the absence of a bar.
Thin sheet heats and moves quickly, so tight fit-up remains important. A gap forces you to slow down and add filler, which raises heat input and distortion. This is why correct thin sheet metal welding settings, tack spacing, and weld sequence still matter after the bar is installed.
Material-specific technique also matters. Advice for thin steel or aluminum should not be applied blindly to cast iron. Use a separate procedure when welding cast iron with flux core because cracking control, filler selection, and heat treatment are different concerns.
Products Worth Considering

Hot Rolled Steel Plate, Low Carbon Steel, Surface Treatment: Mill Finish

Premium 20 Gauge Mild Steel Sheet Metal – Crafted from high-quality cold rolled steel, these sheets offer exceptional durability and a smooth, uniform surface. Ideal for precision-driven projects requiring reliable material performance without compromising on structural integrit
✅Tabletop Gamers & Hobbyists--- Store and organize magnetic miniatures, terrain pieces, and game tokens securely. Craft supplies, tools, kitchen knives, photos, notes, and DIY projects. Great for magnetic boards, shop organization, and kids’ activities.
Best Joints for Backing Bar Welding
Backing is most useful where the root is unsupported and accessible from the back. Butt joints, edge repairs, open-root grooves, and thin patch seams are common examples. A contoured bar can also support curved panels, tube seams, or corners when it matches the work closely.
| Joint or Situation | Backing-Bar Value | Main Check |
|---|---|---|
| Thin butt joint | High | Tight fit-up and full bar contact |
| Patch or hole repair | High | Bar shape must cover the repair area |
| Lap joint | Low to moderate | Overlap may already support the puddle |
| Open-root groove | Procedure-dependent | WPS, code, and required root contour |
| Spot or plug weld | Usually low | Electrode access and joint design |
Lap Joints for Support
A lap joint often supports itself because one sheet lies behind the other. Add a backing bar only when it solves a clear problem, such as an unsupported edge, poor contact between layers, an edge that lifts as it heats, or a required root shape.
The backing bar cannot replace correct overlap or weld size. Check the drawing and avoid overwelding. This guide to maximum fillet weld size explains why a larger bead is not always a stronger or better bead.
Butt Joints with Backing
Butt joints are the most common use because the seam has no overlapping sheet beneath it. The bar can support the puddle and make a small root gap easier to bridge. For cosmetic panel work, it can also help keep the back side flatter.
| Benefit | Practical Result |
|---|---|
| Heat dissipation | More time before a thin edge overheats |
| Puddle support | Lower risk of sagging or an open hole |
| Root shaping | A flatter, more repeatable back-side profile |
Do not assume the bar makes every butt joint a complete-joint-penetration weld. Penetration and fusion must still be confirmed by the approved procedure, inspection method, or destructive test required for the job.
Backing Bar Setup for MIG Welding
For short-circuit MIG on thin steel, start with the wire, polarity, gas, voltage, and wire-feed recommendations in the machine or filler-metal chart. Clamp a clean copper backer directly behind the seam, then use short tacks or small weld segments with enough cooling time to prevent heat from building in one area.
Keep the contact-tip-to-work distance and gun angle steady. A long arc or slow travel can add heat and increase spatter. Tight fit-up is just as important as the backing bar because gaps force you to pause and deposit more metal.
For aluminum MIG, use equipment intended to feed soft aluminum wire and follow the filler manufacturer’s alloy and diameter guidance. ESAB recommends close fit-up, fast travel, suitable shielding, clean surfaces, and heat sinks or backer bars for thin aluminum. Copper or aluminum backing can be used when the procedure permits.
Pro Tip: Make the scrap coupon match the final joint: same alloy, thickness, gap, position, bar material, clamp pressure, and access. A test made flat on a heavy bench may look better simply because the bench acts as a large heat sink.
For stainless MIG work, a backing bar may control heat, while root-side shielding may still be needed for oxidation control. Review process-specific preparation before you MIG weld 304 stainless steel.
Flux-core wire can also be used with a temporary backer, but the wire’s operating range and polarity must match the sheet. Clean slag between passes or repair tacks, and do not let a backing bar give false confidence on material below the wire manufacturer’s listed range.
Backing Bar Setup for TIG Welding
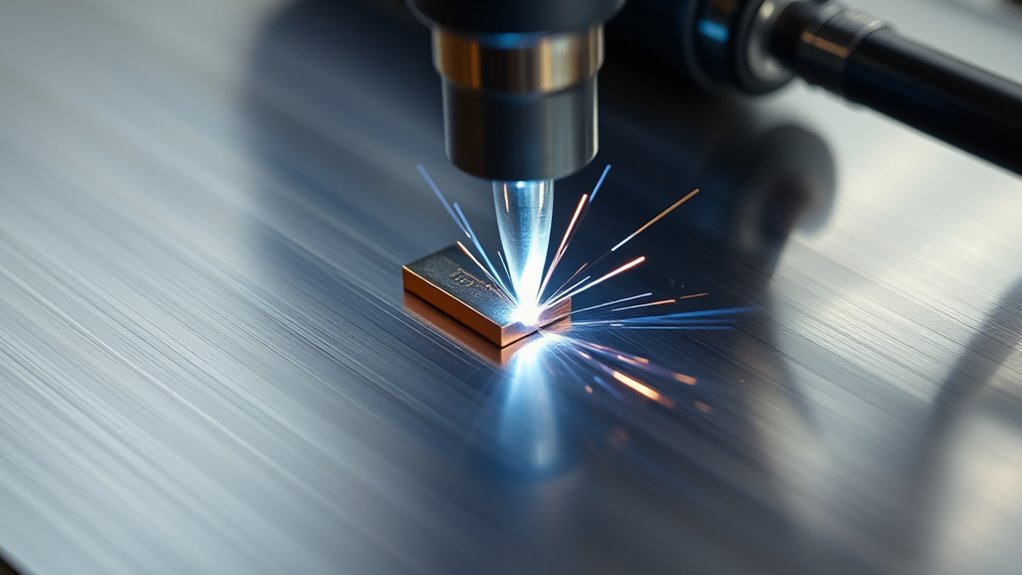
TIG gives fine puddle control, but thin metal can still overheat quickly. Place the backer directly under the seam and clamp the sheet flat against it. A copper bar is a strong general choice for heat removal; aluminum, stainless steel, anodized aluminum, or ceramic may be appropriate for selected materials and procedures.
Do not rely on a universal bar thickness such as 1/8 or 1/4 inch. A larger bar has more heat capacity, but shape, contact area, access, and clamping often matter more than a single thickness. Use a bar stiff enough to stay flat and large enough to cover the heated area.
Clean the joint and bar before welding. Remove oil with a suitable cleaner and allow it to dry fully. For aluminum, use tools reserved for aluminum and remove oxide as the procedure directs. Never use chlorinated solvent in or near an arc-welding area because heat and ultraviolet radiation can create highly toxic decomposition products.
A dedicated stainless brush helps avoid cross-contamination on stainless and aluminum work. The same preparation principle applies when preparing stainless steel for stick welding: use clean tools that have not been used on carbon steel.
Use the smallest practical puddle, add filler only as needed, and move once both edges fuse. If the root must stay bright and corrosion-resistant, add a proper purge setup rather than assuming the solid bar blocks all air.
How Backing Bars Prevent Burn-Through
Burn-through occurs when heat and arc force create more molten metal than the joint can support. A backing bar helps by adding a surface under the root and, when the material is conductive, by moving heat away from the seam.
Good edge preparation also reduces the need to dwell at the joint. Use cutting and finishing methods that leave a clean, controlled edge; this guide to cutting sheet metal with an angle grinder covers one common approach.
Heat Absorption Control
Copper is effective because it transfers heat quickly. The Copper Development Association lists copper’s thermal conductivity at about 400 W/m·K, although the exact value varies with alloy, temper, and temperature.
Heat sinking is not unlimited. After several tacks, the bar itself becomes hot and removes less heat. Pause when needed, move to a distant part of the seam, or use a larger fixture if the process allows.
Molten Pool Support
The bar also acts as a temporary floor under the puddle. This can help with:
- Bridging a narrow, controlled gap
- Supporting the root during tack welding
- Keeping a patch repair from falling through
- Limiting excessive root reinforcement
- Holding a curved or thin panel against a fixture
Keep the bar tight to the work. If molten metal enters a gap between the sheet and bar, it can lock the bar in place, form a sharp root fin, or create an irregular cavity.
How Backing Bars Control Warping
A backing bar may reduce local temperature peaks, but distortion control depends on the whole procedure. Tight fit-up, balanced tack placement, small beads, fast travel, skip or intermittent sequences, and suitable fixturing all matter.
Miller advises high travel speed and planned bead sequences for sheet-metal MIG work. It also warns that backstepping can increase heat input in thin aluminum MIG because it slows progress. That means the best sequence depends on the metal and process; do not use one distortion-control rule for every job.
Clamp the assembly without forcing it into a stressed shape. Place tacks at planned intervals, let them cool, and move around the part instead of completing one long hot section. The backing bar should support this sequence, not encourage a continuous pass that the sheet cannot tolerate.
Wear suitable protective clothing for arc welding. A backing bar can become hot far beyond the visible weld, and sparks may travel under the workpiece or fixture.
Choosing the Right Backing Bar Material
The best material depends on whether the backing is temporary or permanent, how much heat you need to remove, whether a smooth root is required, and whether the backing could melt into the puddle. For critical work, the welding procedure controls the choice.
| Material | Best Use | Main Limitation |
|---|---|---|
| Copper | Strong heat sinking and removable support for thin steel, stainless, or aluminum when allowed | Heavy, costly, and must not melt or contaminate the weld |
| Aluminum or anodized aluminum | Lightweight fixtures and temporary aluminum backing | Lower melting point and less heat capacity than a similar copper bar |
| Stainless steel | Durable temporary support in approved aluminum procedures | Less effective as a heat sink than copper |
| Ceramic | Root shaping and high-temperature temporary backing | Brittle and not intended to act like a metal chill bar |
| Same-alloy permanent strip | Designed joints where backing remains in place | Must meet drawing, code, and procedure requirements |
Store backing bars clean, dry, and separated by material. Protect machined contact faces from gouges. Good storage habits are similar to maintaining proper storage conditions for abrasive discs: prevent moisture, dirt, and physical damage before the tool reaches the job.
Copper for Heat Absorption
Copper is the usual first choice for thin sheet because it combines high thermal conductivity with a melting point well above aluminum. It often releases cleanly after steel welds because ordinary steel filler does not readily fuse to a cool, clean copper surface.
- Use a flat face for straight seams and a shaped face for corners or curved panels.
- Choose enough mass to stay flat and absorb heat through the planned weld sequence.
- Dress off embedded spatter before reuse.
- Keep the copper out of the molten puddle, especially on aluminum and code work.
- Allow the bar to cool before handling or cleaning.
Aluminum for Lighter Handling
Aluminum backing is lighter and easier to machine than copper, which can help on large or contoured fixtures. It still conducts heat well, but it can soften or melt if the arc reaches it. Use enough thickness, full contact, and a procedure that prevents the backing from entering the weld.
“Easy cleanup” is not guaranteed. Aluminum spatter or a melted edge can bond to the work, and oxide or embedded debris can mark the root. Inspect and clean the contact face before every use.
Stainless for Aluminum Support
Hobart’s aluminum welding guide lists copper, anodized aluminum, stainless steel, and ceramic among common temporary backing materials for aluminum. It also warns that the backing material must not melt into the weld puddle.
Stainless is durable and can provide stable physical support, but it removes heat less effectively than copper. Use it when the approved procedure calls for it or when physical support matters more than aggressive heat sinking.
- Keep the face clean and smooth.
- Do not use a contaminated carbon-steel fixture on aluminum.
- Prevent arc contact with the backer.
- Check the root for trapped or fused backing material.
- Use same-alloy material when the backing is designed to remain permanently.
Temporary vs. Permanent Backing
Temporary backing is removed after welding. Its job is to support the root, control penetration, or absorb heat without becoming part of the weld. Hobart states that temporary backing for aluminum is commonly copper, anodized aluminum, stainless steel, or ceramic and warns against melting it into the puddle.
Permanent backing remains in the assembly. For aluminum, Hobart states that permanent backing strips are made from the same alloy as the base metal and points users to AWS D1.2 for removal requirements. Other metals and codes have their own rules.
Do not substitute a convenient shop offcut for specified permanent backing. In structural, pressure, transportation, or fatigue-loaded work, backing can affect qualification, inspection access, corrosion, stress concentration, and service life.
Step-by-Step Backing Bar Setup
- Read the job requirements. Check the drawing, WPS, code, machine chart, filler-metal data, and base-metal identity.
- Select the backing type. Decide whether you need heat sinking, root support, root shaping, purge protection, or a combination.
- Prepare the joint. Remove rust, oxide, oil, paint, plating, and burrs as the material procedure allows. Keep chlorinated cleaners away from arc welding.
- Prepare the bar. Clean the contact face, remove embedded spatter, and confirm that it matches the seam shape.
- Set the fit-up. Hold the root opening and alignment required by the job. Do not use the clamps to hide a poor cut or forced mismatch.
- Clamp for full contact. Place clamps close enough to prevent lifting, but leave room for the torch or gun.
- Check grounding and access. Attach the work lead to clean base metal and confirm that cables, gas lines, and clamps cannot move into the arc.
- Test on matching scrap. Reproduce the final joint, backing, position, and sequence. Adjust only within the allowed procedure range.
- Weld in a controlled sequence. Use small tacks or segments, suitable travel speed, and cooling pauses. Watch both the puddle and sheet movement.
- Cool and inspect. Do not touch the bar until it is safe. Remove temporary backing, then inspect the root for fusion, contamination, trapped metal, cracks, and unacceptable profile.
Note: A backing bar changes the thermal behavior of the test coupon. Keep it in place while setting voltage, amperage, wire feed, pulse, and travel speed; settings developed without the bar may not transfer directly.
Common Backing Bar Setup Mistakes
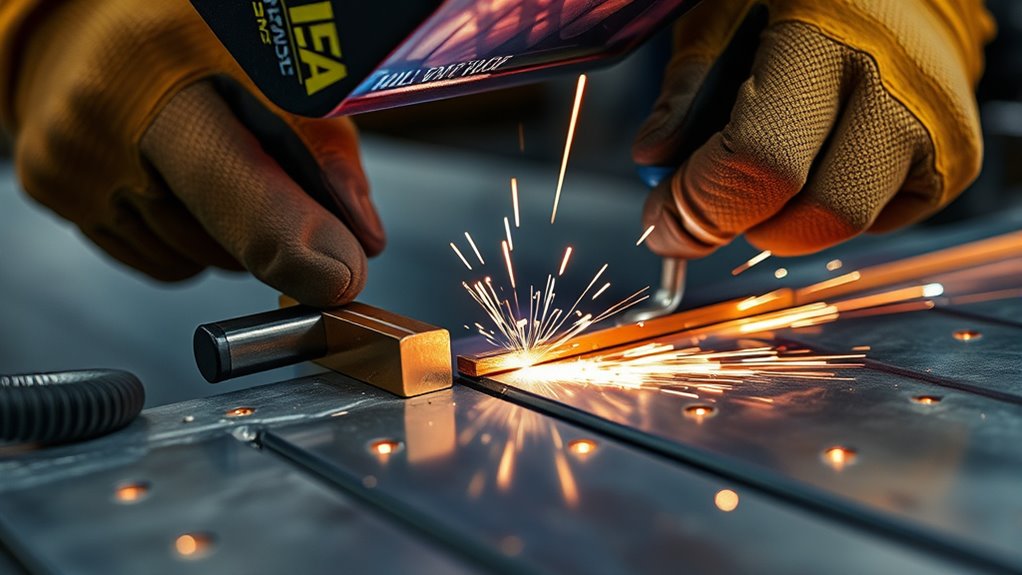
The most common mistake is poor contact. An offset, warped, dirty, or loosely clamped bar cannot move heat evenly and may allow molten metal to run into the space behind the joint.
Other common errors include:
- Using a universal thickness or material without checking the weld procedure
- Letting copper, aluminum, steel, or ceramic backing melt into the puddle
- Using a contaminated bar on stainless steel or aluminum
- Assuming the bar prevents porosity, oxidation, or lack of fusion
- Running a long bead because the joint seems harder to burn through
- Removing the bar while it is still hot or while metal has locked around it
- Using permanent backing that does not match the drawing or code
Consumable choice remains separate from backing choice. Match wire or electrode classification, diameter, and polarity to the base metal and power source. A bar cannot make unsuitable welding rods for a 110-volt welder appropriate for a specific joint.
Backing Bar Troubleshooting
| Problem | Likely Cause | Correction |
|---|---|---|
| Bar sticks to the root | Gap behind sheet, excessive penetration, or melted backing | Improve contact, reduce permitted heat input, and keep the arc off the bar |
| Burn-through still occurs | Slow travel, large gap, bar already hot, or settings too high | Correct fit-up, shorten weld segments, move around the seam, and retest settings |
| Cold or ropey root | Too much chilling, low settings, or poor torch angle | Use the qualified range, reduce unnecessary bar mass, and verify fusion on scrap |
| Porosity | Oil, moisture, oxide, coating, drafts, leaks, or wrong gas flow | Clean and dry the joint and bar; correct shielding and eliminate drafts |
| Panel still warps | Long welds, poor sequence, weak fixturing, or excessive bead size | Use smaller segments, balanced sequencing, proper clamps, and adequate cooling |
When You Don’t Need a Backing Bar
Skip the bar when it adds no clear benefit, blocks access, interferes with shielding, or conflicts with the approved procedure. Many lap joints, plug welds, spot welds, and well-fitted joints can be completed without removable backing.
You may also skip it when pulse control, small filler, tight fit-up, proper travel speed, and a planned tack sequence already keep the puddle stable. On some stainless roots, purge gas may be required while a solid bar is not. On code work, an open-root procedure may specifically require welding without backing.
- The back side is inaccessible.
- The overlap already supports the weld.
- The bar would trap contamination or shield gas.
- The procedure is qualified without backing.
- Inspection or service conditions prohibit permanent backing.
- A fixture or chill block already provides the needed support.
Understanding the advantages and disadvantages of the welding process helps you choose among backing, a different joint design, pulse welding, brazing, resistance spot welding, or another joining method.
Frequently Asked Questions
What is the purpose of a backing bar in welding?
A backing bar supports molten metal at the root and may absorb heat from the joint. It can reduce burn-through risk and help control root shape, but it does not guarantee fusion, penetration, shielding, or weld strength.
What material makes the best backing bar?
Copper is the usual first choice when strong heat sinking is needed. Aluminum is lighter and easy to shape. Stainless steel and ceramic can serve as temporary backing in selected procedures. Permanent backing should match the drawing, code, and welding procedure.
Is back purging necessary when using a backing bar?
Sometimes. A backing bar provides solid support, while purge gas protects the hot root from air. Stainless steel, titanium, sanitary tubing, and other oxidation-sensitive work may still require purging even when a bar or fixture touches the back side.
Can you use a backing bar with flux-core welding?
Yes, when the wire manufacturer allows the material thickness and the joint is accessible from behind. The bar may support the root, but you still need the correct polarity, voltage, wire speed, travel speed, slag removal, ventilation, and PPE.
What is the backstep method, and should you use it on thin sheet?
Backstepping means depositing short segments opposite the overall direction of progress. It can control shrinkage in some steel fabrication, but it is not a universal thin-sheet rule. Miller advises avoiding backstepping on thin aluminum MIG because slower progress can increase heat input and distortion. Use the sequence approved for the material and process.
How tight should a backing bar be?
It should sit flush against the root side with enough clamp pressure to prevent lifting as the sheet heats. Do not force distorted parts flat so hard that the assembly stores stress. Use a shaped bar when the panel or joint is curved.
Can a backing bar cause lack of fusion?
Yes. A large, cold bar can chill the root, and low settings or poor torch placement can leave incomplete fusion. Test the complete setup on matching scrap and inspect the root before welding the final part.
Conclusion
Use a backing bar when a thin or open root needs physical support, extra heat capacity, or a more controlled back-side profile. Copper is the usual starting point for heat sinking, while aluminum, stainless steel, ceramic, and same-alloy permanent strips have more specific uses.
The best setup is clean, tight, clamped, and tested on matching scrap. Keep the bar out of the puddle, follow the approved procedure, and inspect the root after removing temporary backing. Skip the bar when the joint already supports itself or when access, shielding, inspection, or code requirements make backing the wrong choice.
Sources
- Miller — Reducing Rework in Manufacturing: 5 Tips to Improve MIG Welding Sheet Metal — backs up tight fit-up, copper backing, fast travel, and bead-sequence guidance.
- ESAB — Is It Possible to MIG Weld Thin Aluminum? — supports aluminum preparation, travel speed, joint fit-up, and backer-bar use.
- Hobart Brothers — Guide for Aluminum Welding — supports temporary backing materials, permanent same-alloy backing, and contamination controls.
- OSHA — Controlling Hazardous Fume and Gases During Welding — supports ventilation, coating removal, fume control, and respiratory-protection guidance.
- OSHA — 29 CFR 1910.252, General Welding Requirements — supports eye protection, protective clothing, ventilation, and zinc-bearing material requirements.
- Copper Development Association — Thermal Conductivity of Copper — supports the approximate 400 W/m·K conductivity value.




